Engineer App guides
Engineer App · Inspections
Running a scheduled inspection
Last updated 16 Aug 2026
A scheduled inspection is the routine fire door inspection a door gets at its set frequency: quarterly, annual, or whatever was agreed when the door was set up. It uses the same checklist as the initial inspection, but skips the door profile step, so there are three stages: Inspection, Review and Sign Off. This guide covers finding what's due, starting the inspection, and what happens to the results.
Before you start
The door must be registered and have had its initial inspection: if it hasn't, see Running an initial inspection first. A scheduled inspection is only offered when it's actually due, from three months before the due date onwards. Outside that window the option is greyed out, and tapping it shows an "Action Not Available" message explaining why, with your company's contact details if you think that's wrong. Like all inspections, it works offline if you've downloaded offline data from the Home screen.
See what's due
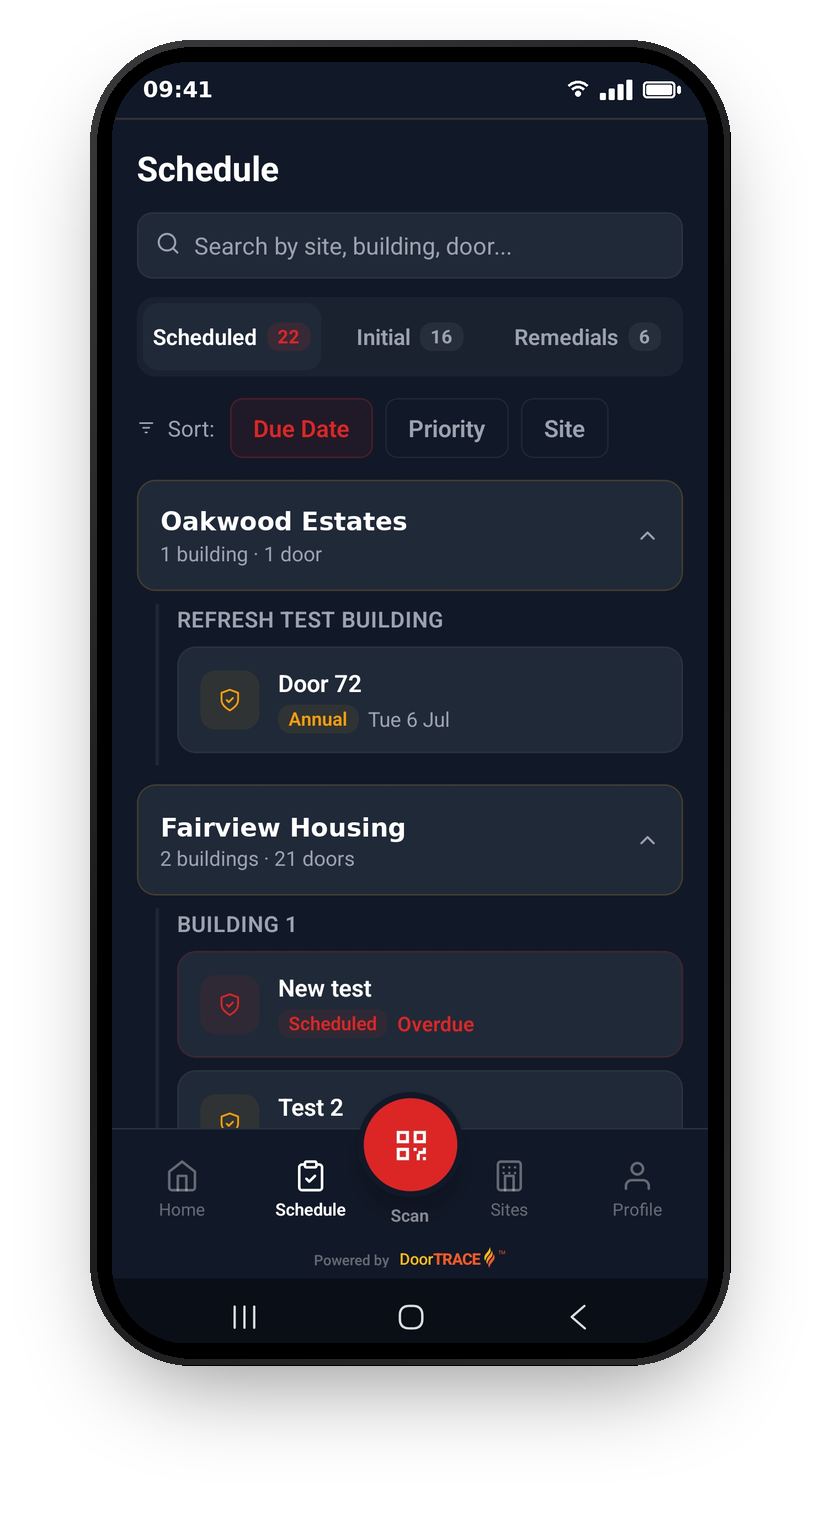
The Schedule tab is your work list. The Scheduled tab shows every door due a routine inspection, grouped by site and building, with each door's frequency and due date: Overdue doors are outlined in red, and dates show as Today, Tomorrow or the day and date. You can search by site, building or door, and sort by Due Date, Priority or Site. The list tells you where to go, but you start the inspection at the door itself: scan its tag when you get there. If you're an engineer whose company runs DoorTRACE, you can also track everything that's due across all sites in the FM portal.
Start the inspection
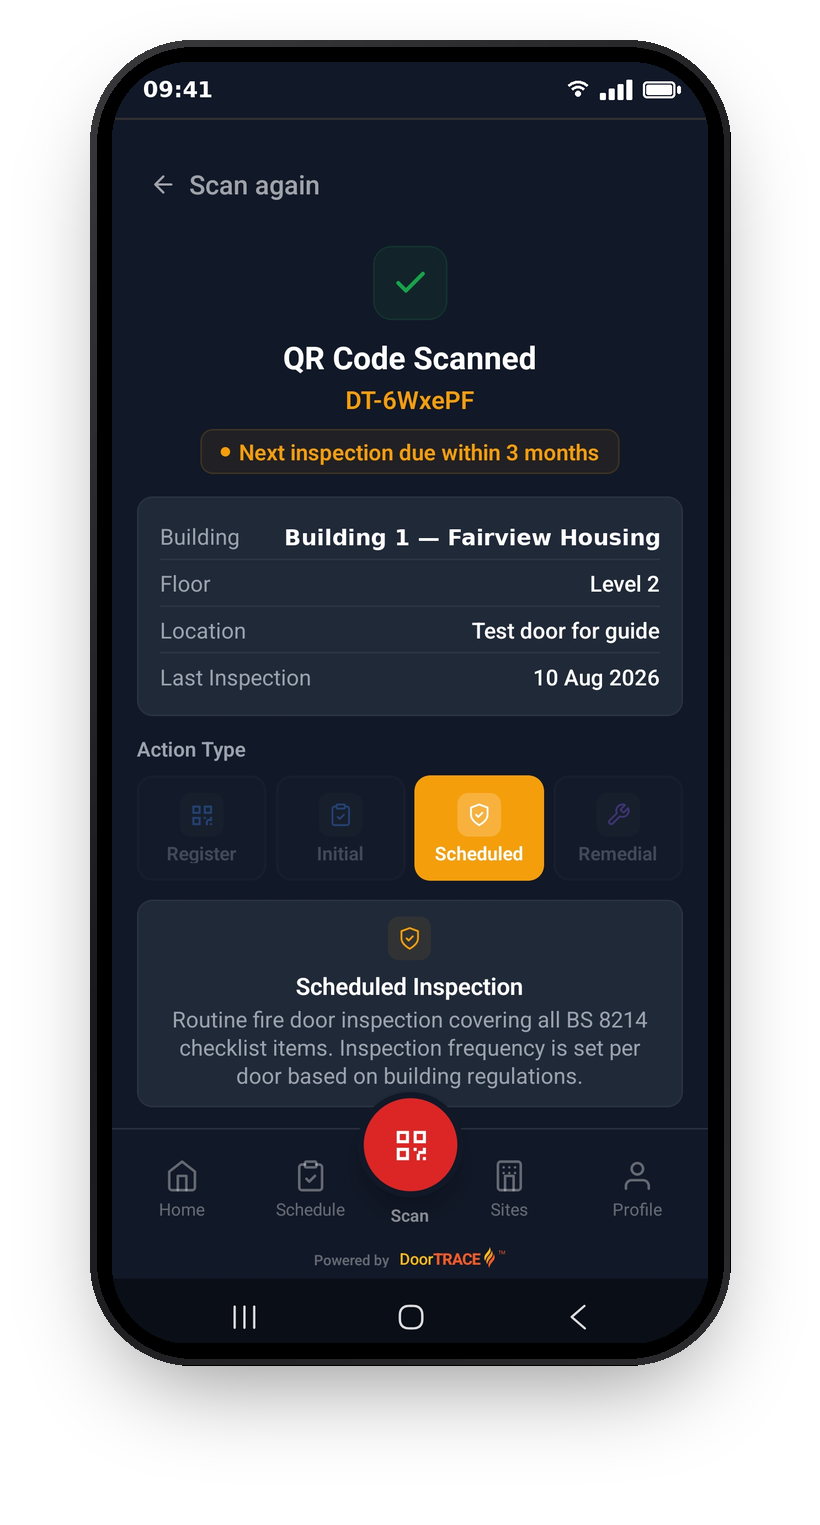
At the door, open the Scan tab and scan the QR tag. The app looks up the door and shows a badge with its inspection status: "Inspection overdue", "Inspection due soon" or "Next inspection due within 3 months". Tap Scheduled in the Action Type row if it isn't already selected, then tap Start Scheduled Inspection.
Important: if the door has outstanding remedial work, the app suggests Remedial instead. You can still run the routine inspection: just tap Scheduled. The remedial work stays outstanding either way, because a passing inspection never resolves a defect. Only a completed post-remedial form does that.
Work through the checklist
The checklist is identical to the initial inspection: 41 items worked through one category per page, each with Pass, Fail and N/A buttons and a Guidance toggle explaining what to check. Failed items need a photo and a note, and the two gap measurement items need a value in millimetres and a photo whatever the result. For the full walkthrough of the checklist, review and sign off screens, see Running an initial inspection: everything works the same way here, just without the Details step at the start.
At the review step, check the totals and expand any category to see item-level results. Then sign off: draw your signature, pick your name under Full Name, and tap Submit Inspection. Nothing is saved until you submit, so complete the inspection at the door in one go.
After you submit
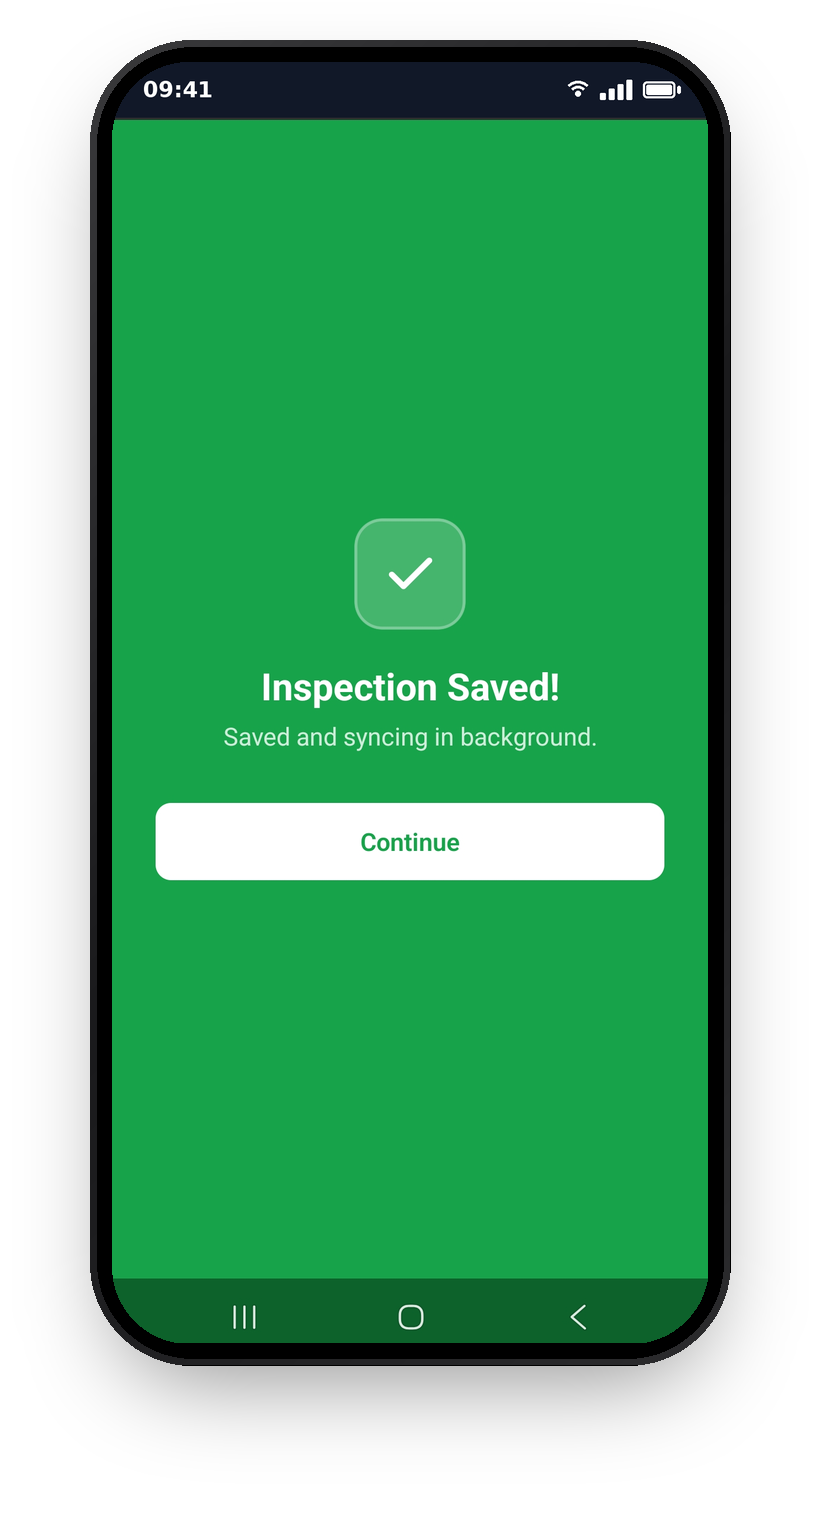
You'll see "Inspection Saved!" on a green screen, and the results, photos and signature upload in the background: offline, it reads "Saved to device. Will sync automatically when connected." and sends itself once you're back in signal. Every item you failed automatically becomes a defect on the door, with your photo and note attached, ready for your company to schedule the remedial work. The door's next due date is set automatically from its inspection frequency, and its status updates: compliant on a clean pass, or flagged for action if anything failed or earlier defects are still open.
What's next
If you failed items and want to understand how defects are recorded and prioritised, see Logging defects.
Still can't find the answer?
Send us a message and we'll help. We respond within one working day.