FM Portal guides
FM Portal · Clients and buildings
Adding a client
Last updated 13 Sept 2026
A client is a company you look after fire doors for. Everything else in the portal hangs off a client: their buildings, the doors in those buildings, the inspections and the defects. Adding a client takes two short pages of details and your password. This guide walks through the form, explains what the portal does the moment you confirm, and covers the invitation the client's main contact receives.
Before you start
Have these to hand:
- The client's company name and registered address. Both appear, exactly as you type them, on every report the portal produces for that client.
- The name, email address and phone number of their main contact. This person becomes the administrator of the client's own portal, so use an address they check.
- Optionally, their logo as a PNG, JPG, SVG or WebP file up to 2MB.
Important: The contact's email address must not already belong to anyone on DoorTRACE, in any company. The portal checks this before it creates the client and will not continue if the address is in use.
The Clients page
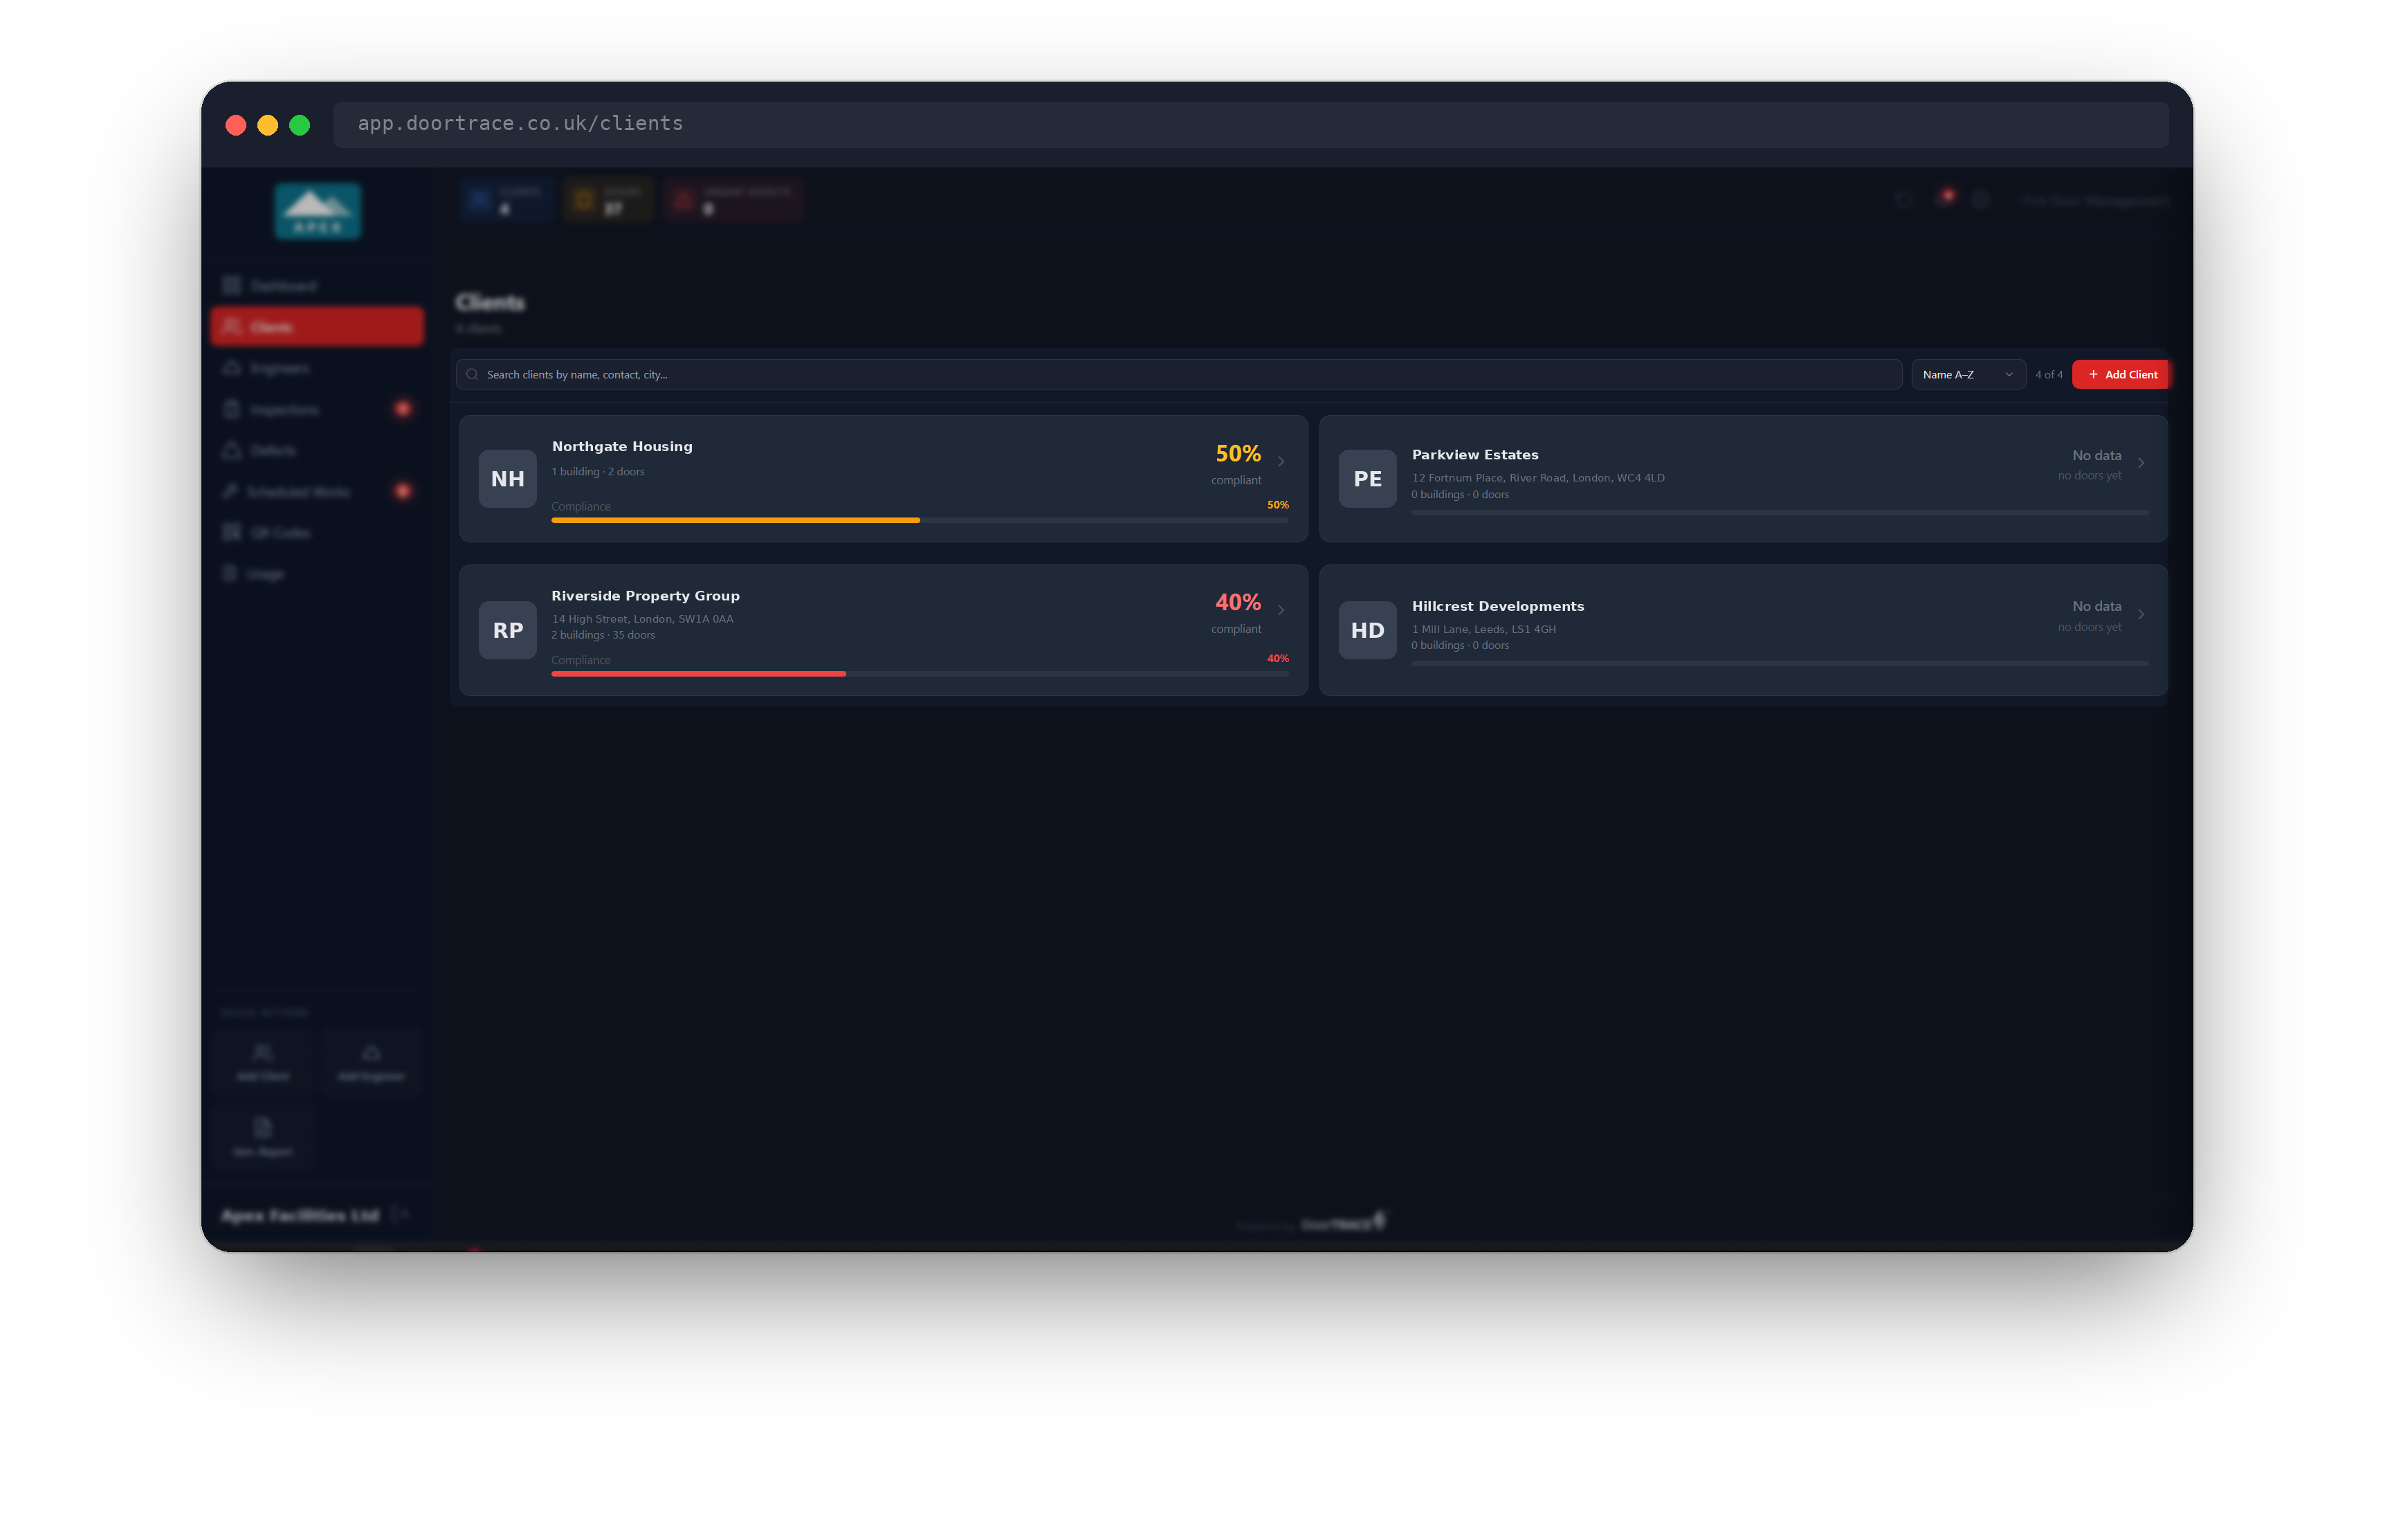
Open Clients in the sidebar. Each client is a card showing its name, address, how many buildings and doors it has, and its compliance figure: the share of its registered doors that are currently Compliant, green at 85 percent and above, amber from 50 to 84 percent and red below 50 percent. A client with no doors yet shows No data instead. A Demo badge marks your demo client (see the note at the end of this guide), and Removal Pending appears while a request to remove the client is being processed.
The search box matches the client's name, the contact's name or any part of the address, including the city. The dropdown sorts by Name A–Z, Most Buildings, or compliance ascending or descending. Click a card to open that client.
Opening the form
Click Add Client at the top right of the Clients page. If you have no clients yet, the page shows Add Your First Client instead. The Add Client quick action at the foot of the sidebar opens the same form from any page.
The form has two pages, Client details and Primary contact, with a progress bar and Step 1 of 2 in the header. Nothing is saved until the end, so you can close the form partway through without leaving a half-finished client behind. Cancel on the first page and Back on the second both keep what you have typed while the form is open.
Step 1: Client details
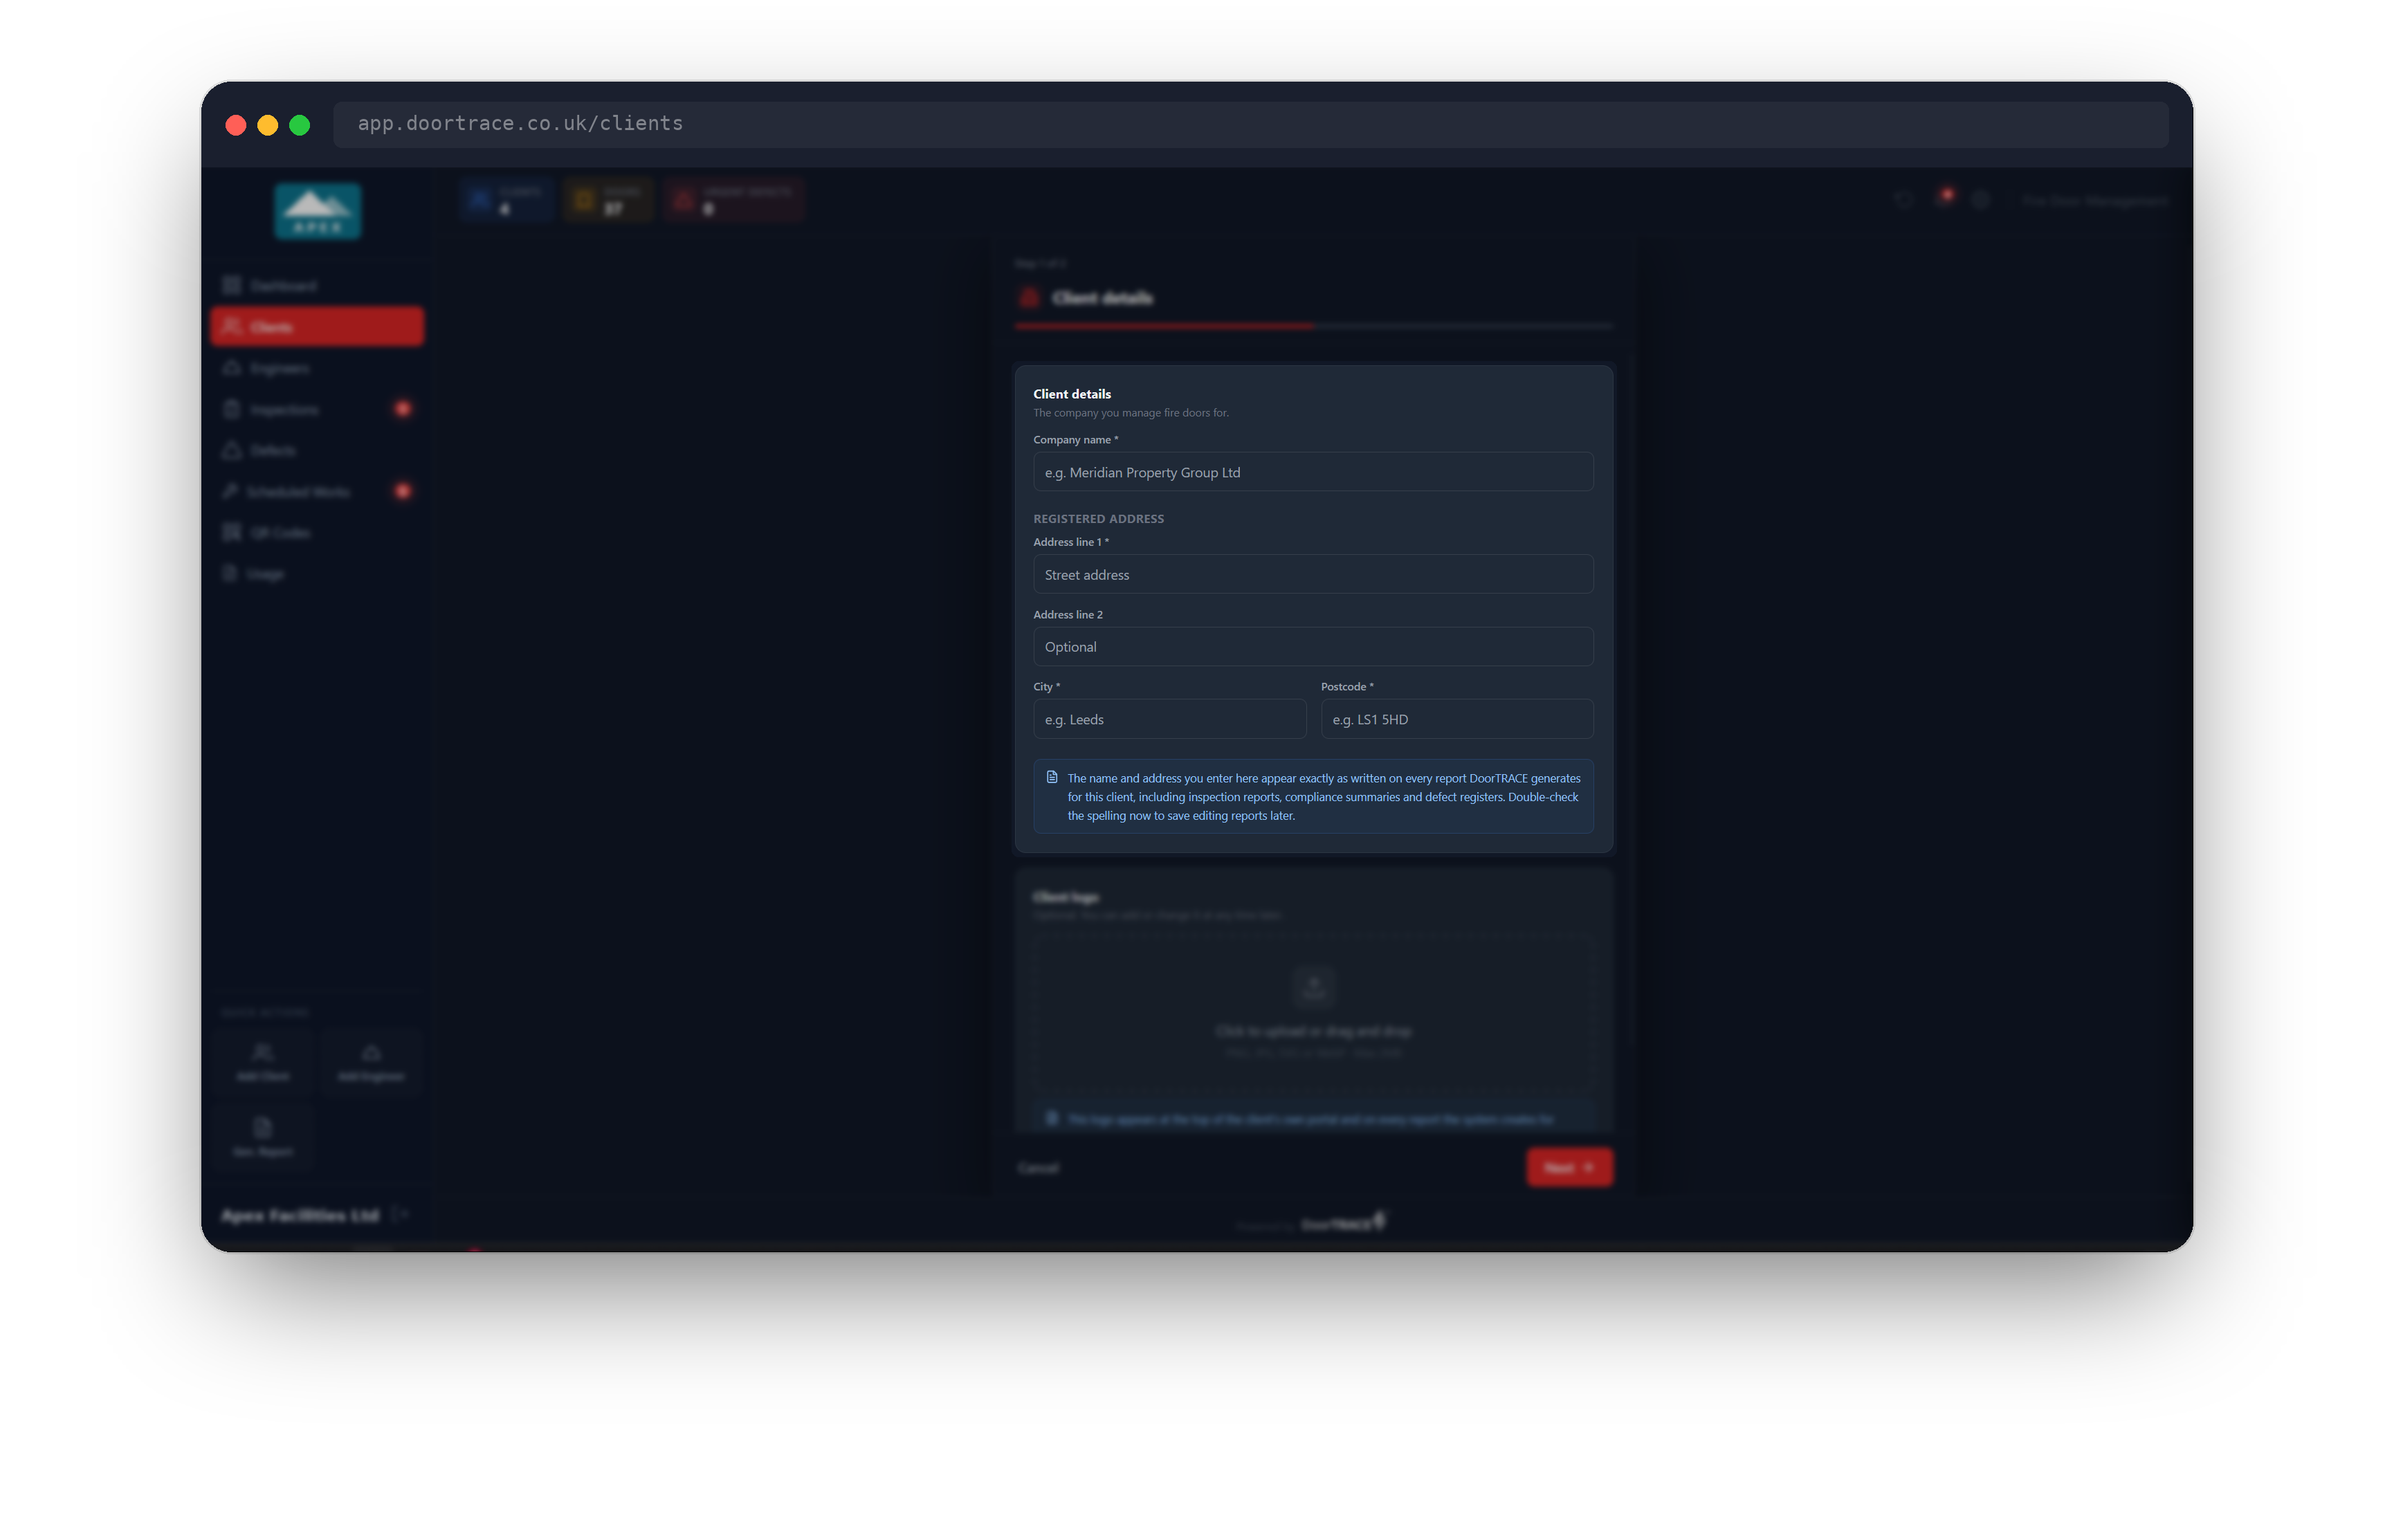
Enter the Company name, then the Registered address: Address line 1, Address line 2 (optional), City and Postcode. Fields marked with an asterisk are required, and the postcode must be a valid UK postcode. If anything is missing or wrong, the field turns red with a message underneath when you click Next, and the form stays on this page until it is fixed.
The name and address are printed on every inspection report, compliance summary and defect register for this client, so check the spelling before you move on.
Adding a logo
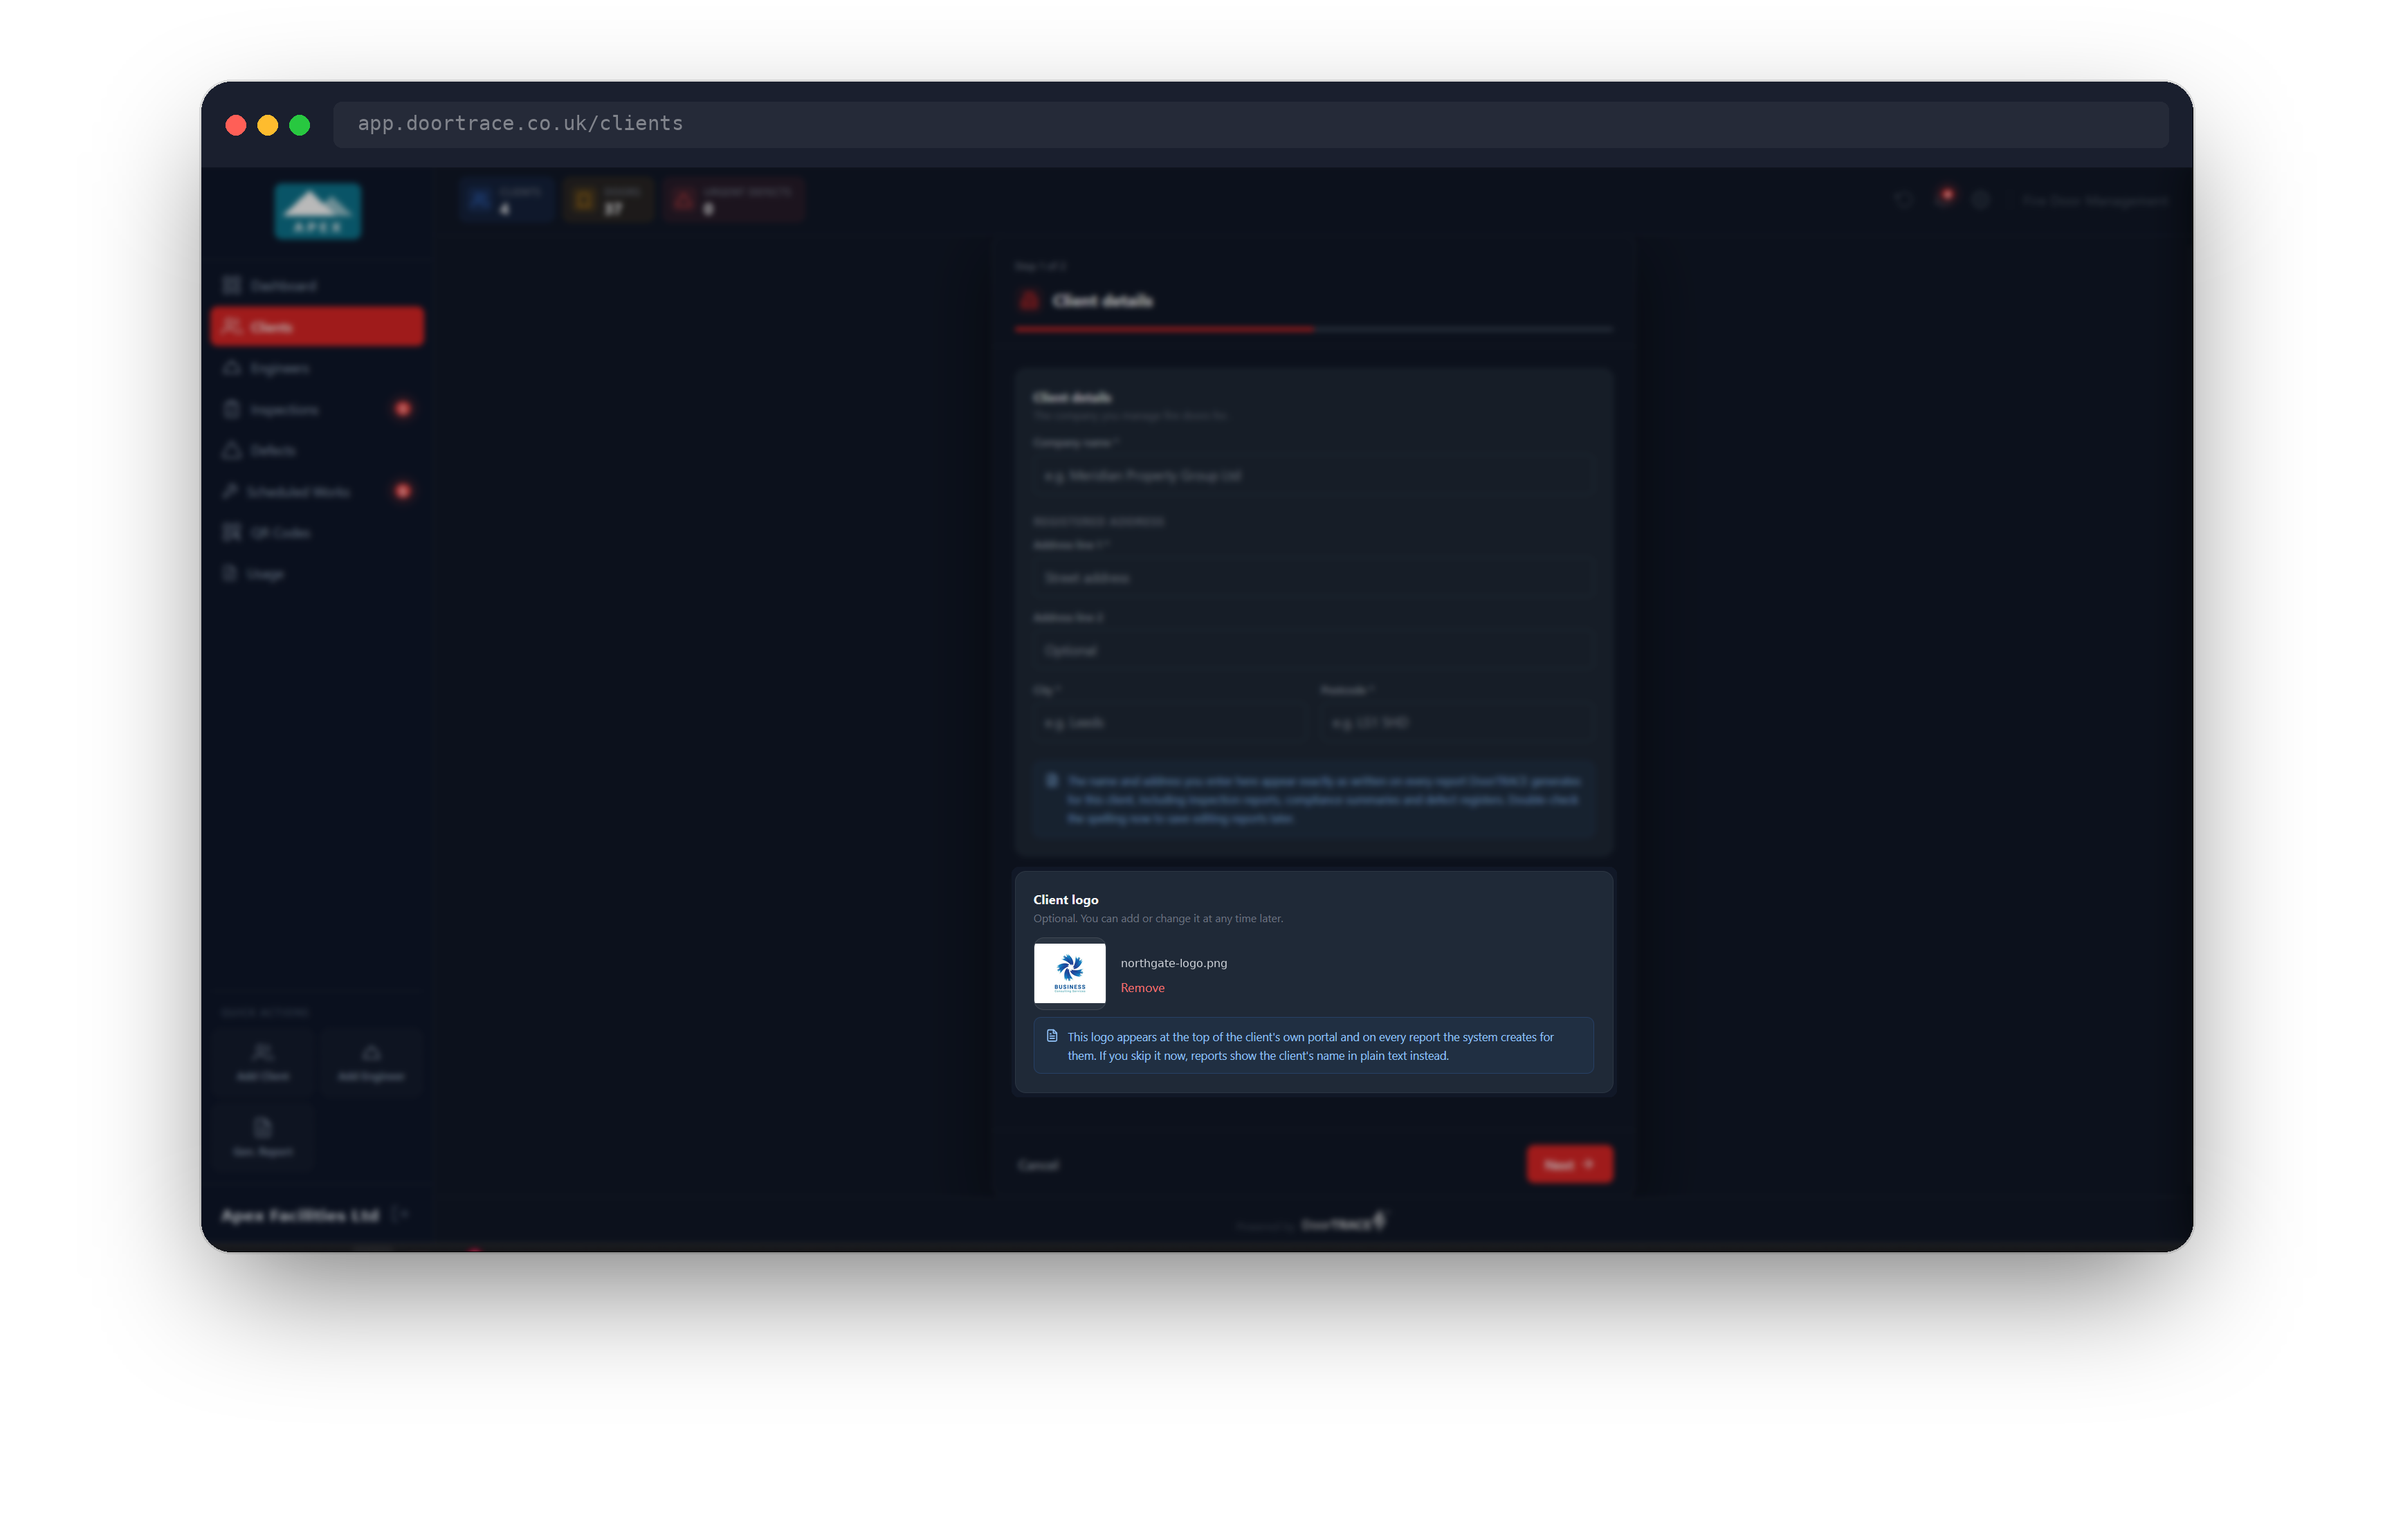
The logo is optional. Click the dashed box, or drag a file onto it, to choose a PNG, JPG, SVG or WebP image up to 2MB. Other file types and larger files are refused with a message. Once chosen, the file name and a preview appear, with Remove if you change your mind.
The logo shows at the top of the client's portal and on every report the portal creates for them. If you skip it, reports show the client's name as plain text instead, and you can add a logo later from the client's page.
Click Next to move to the second page.
Step 2: Primary contact
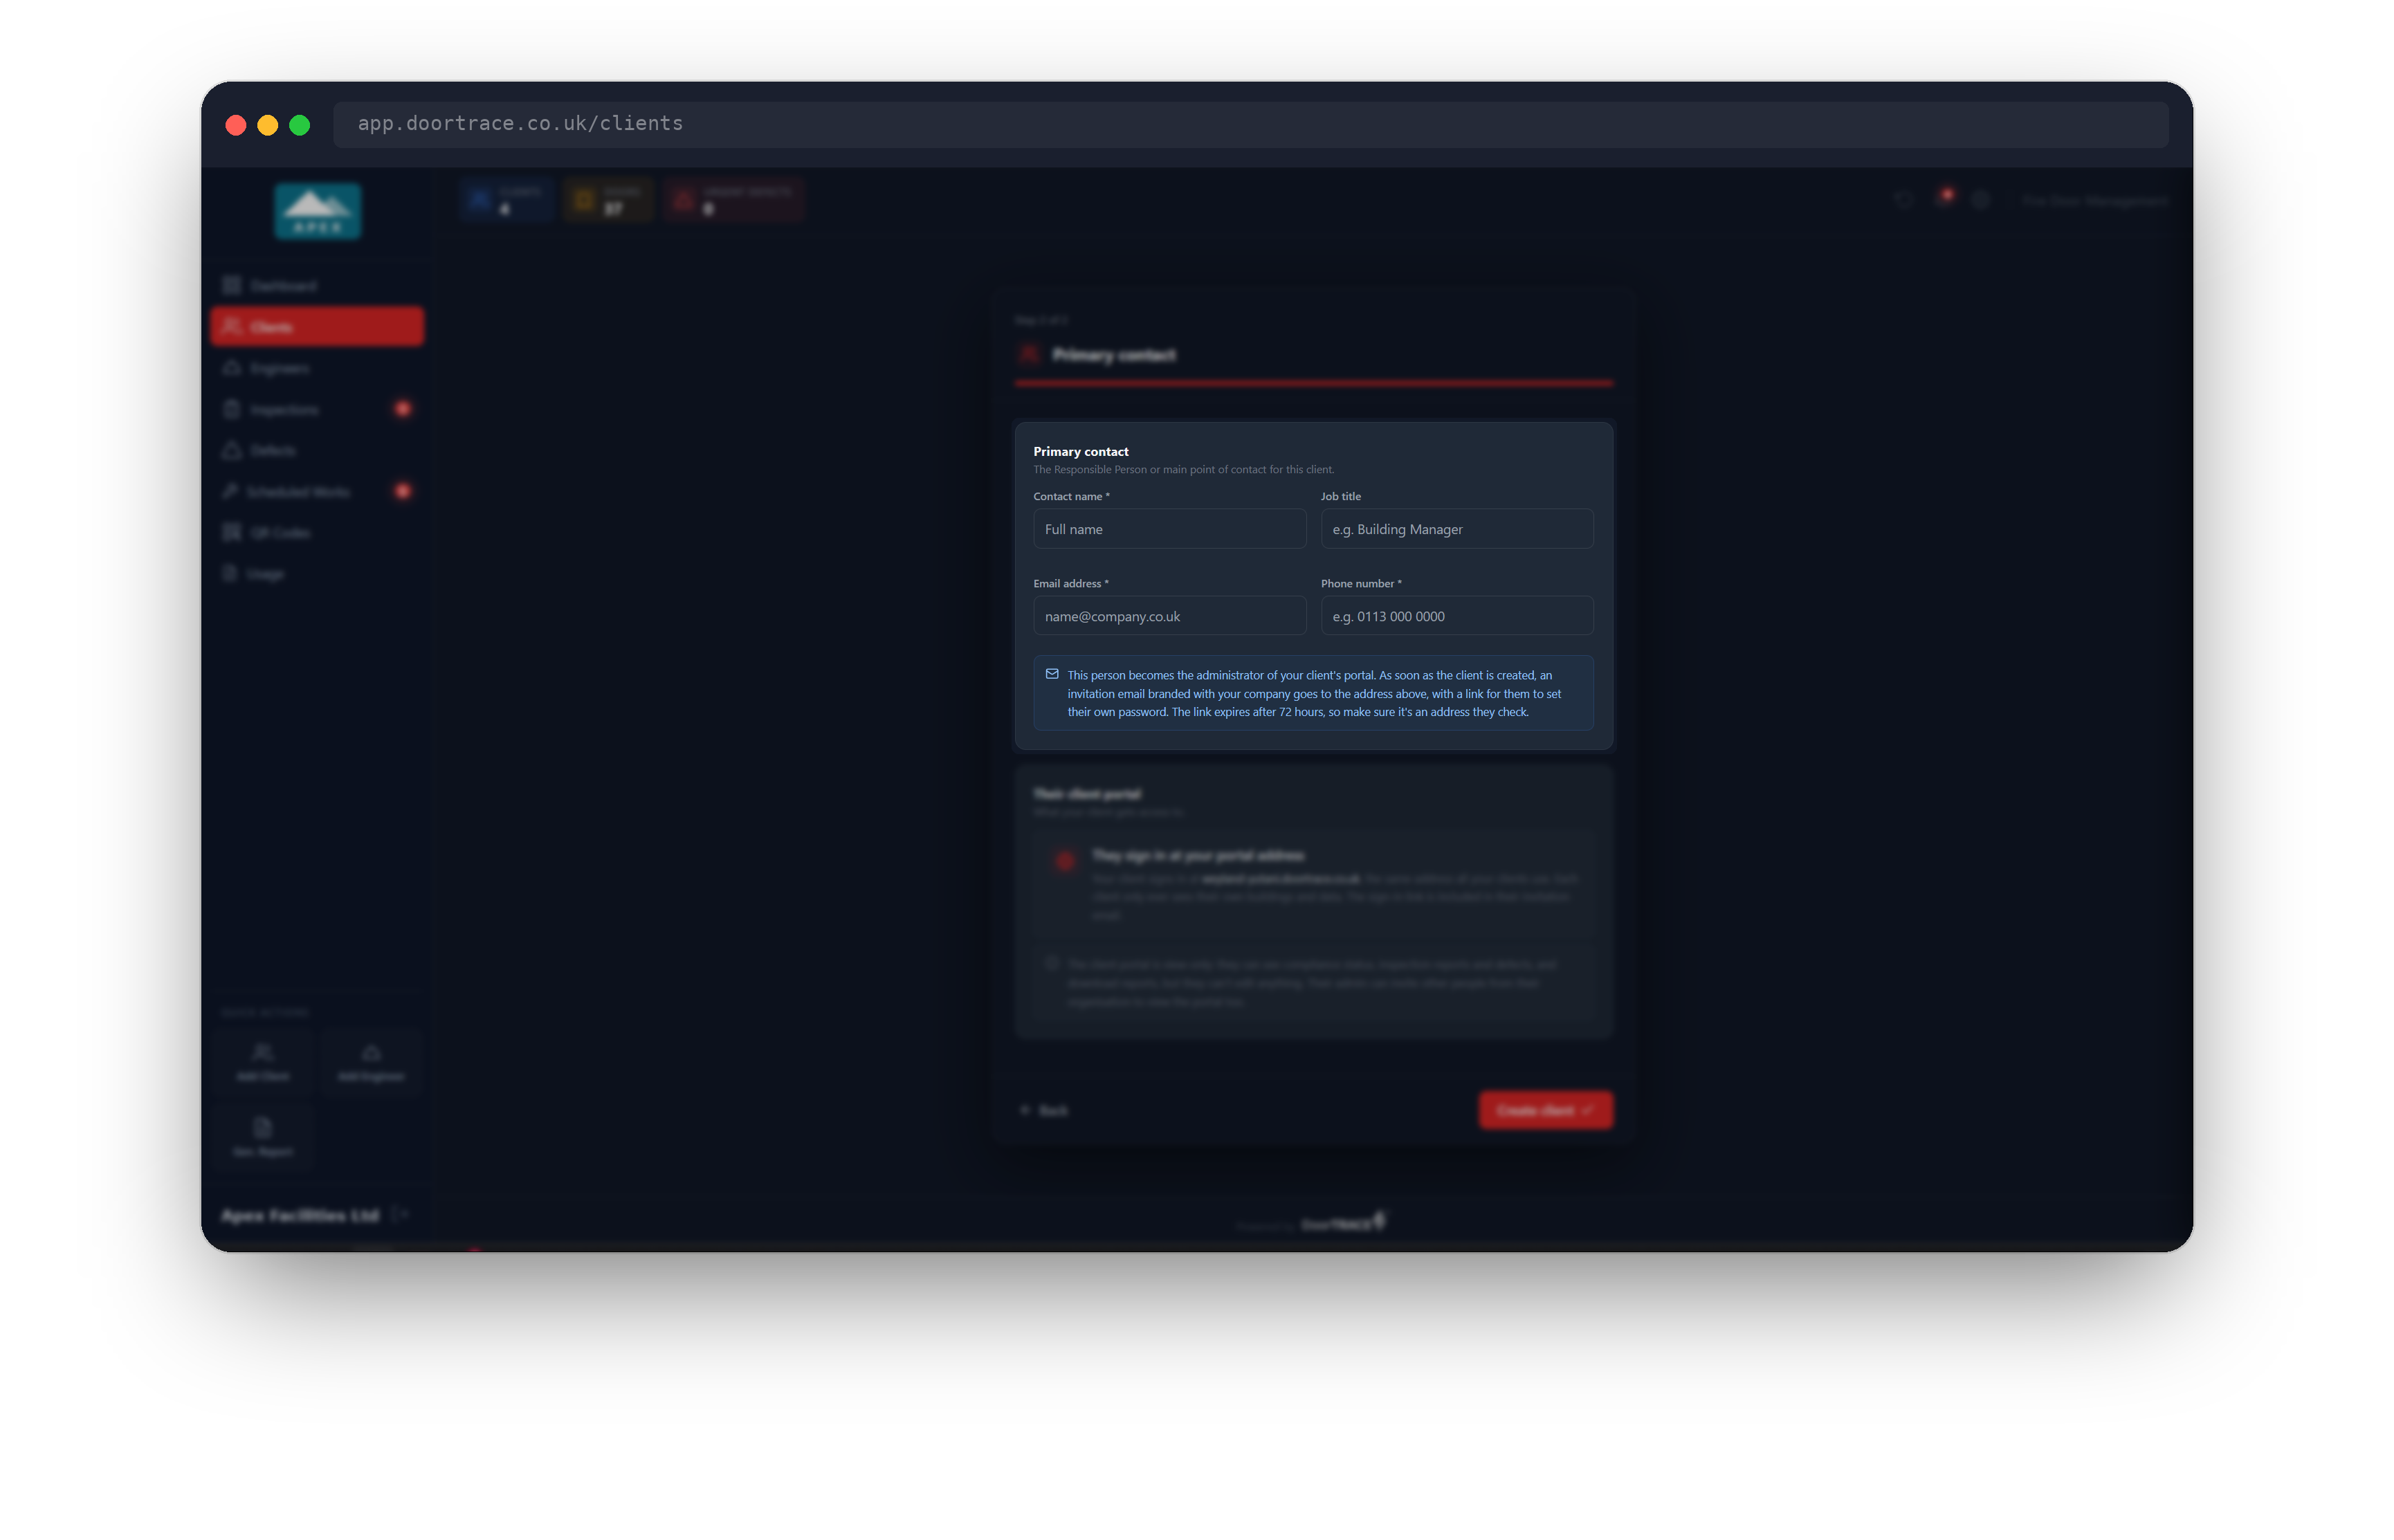
Enter the Contact name, their Job title (optional), Email address and Phone number. The email must be a valid address and the phone number between 10 and 15 characters, digits with any spaces, brackets, plus or minus signs.
This person is the Responsible Person or main point of contact for the client. As soon as the client is created, an invitation email branded with your company goes to this address, with a link for them to set their own password. The link lasts 72 hours.
Their client portal
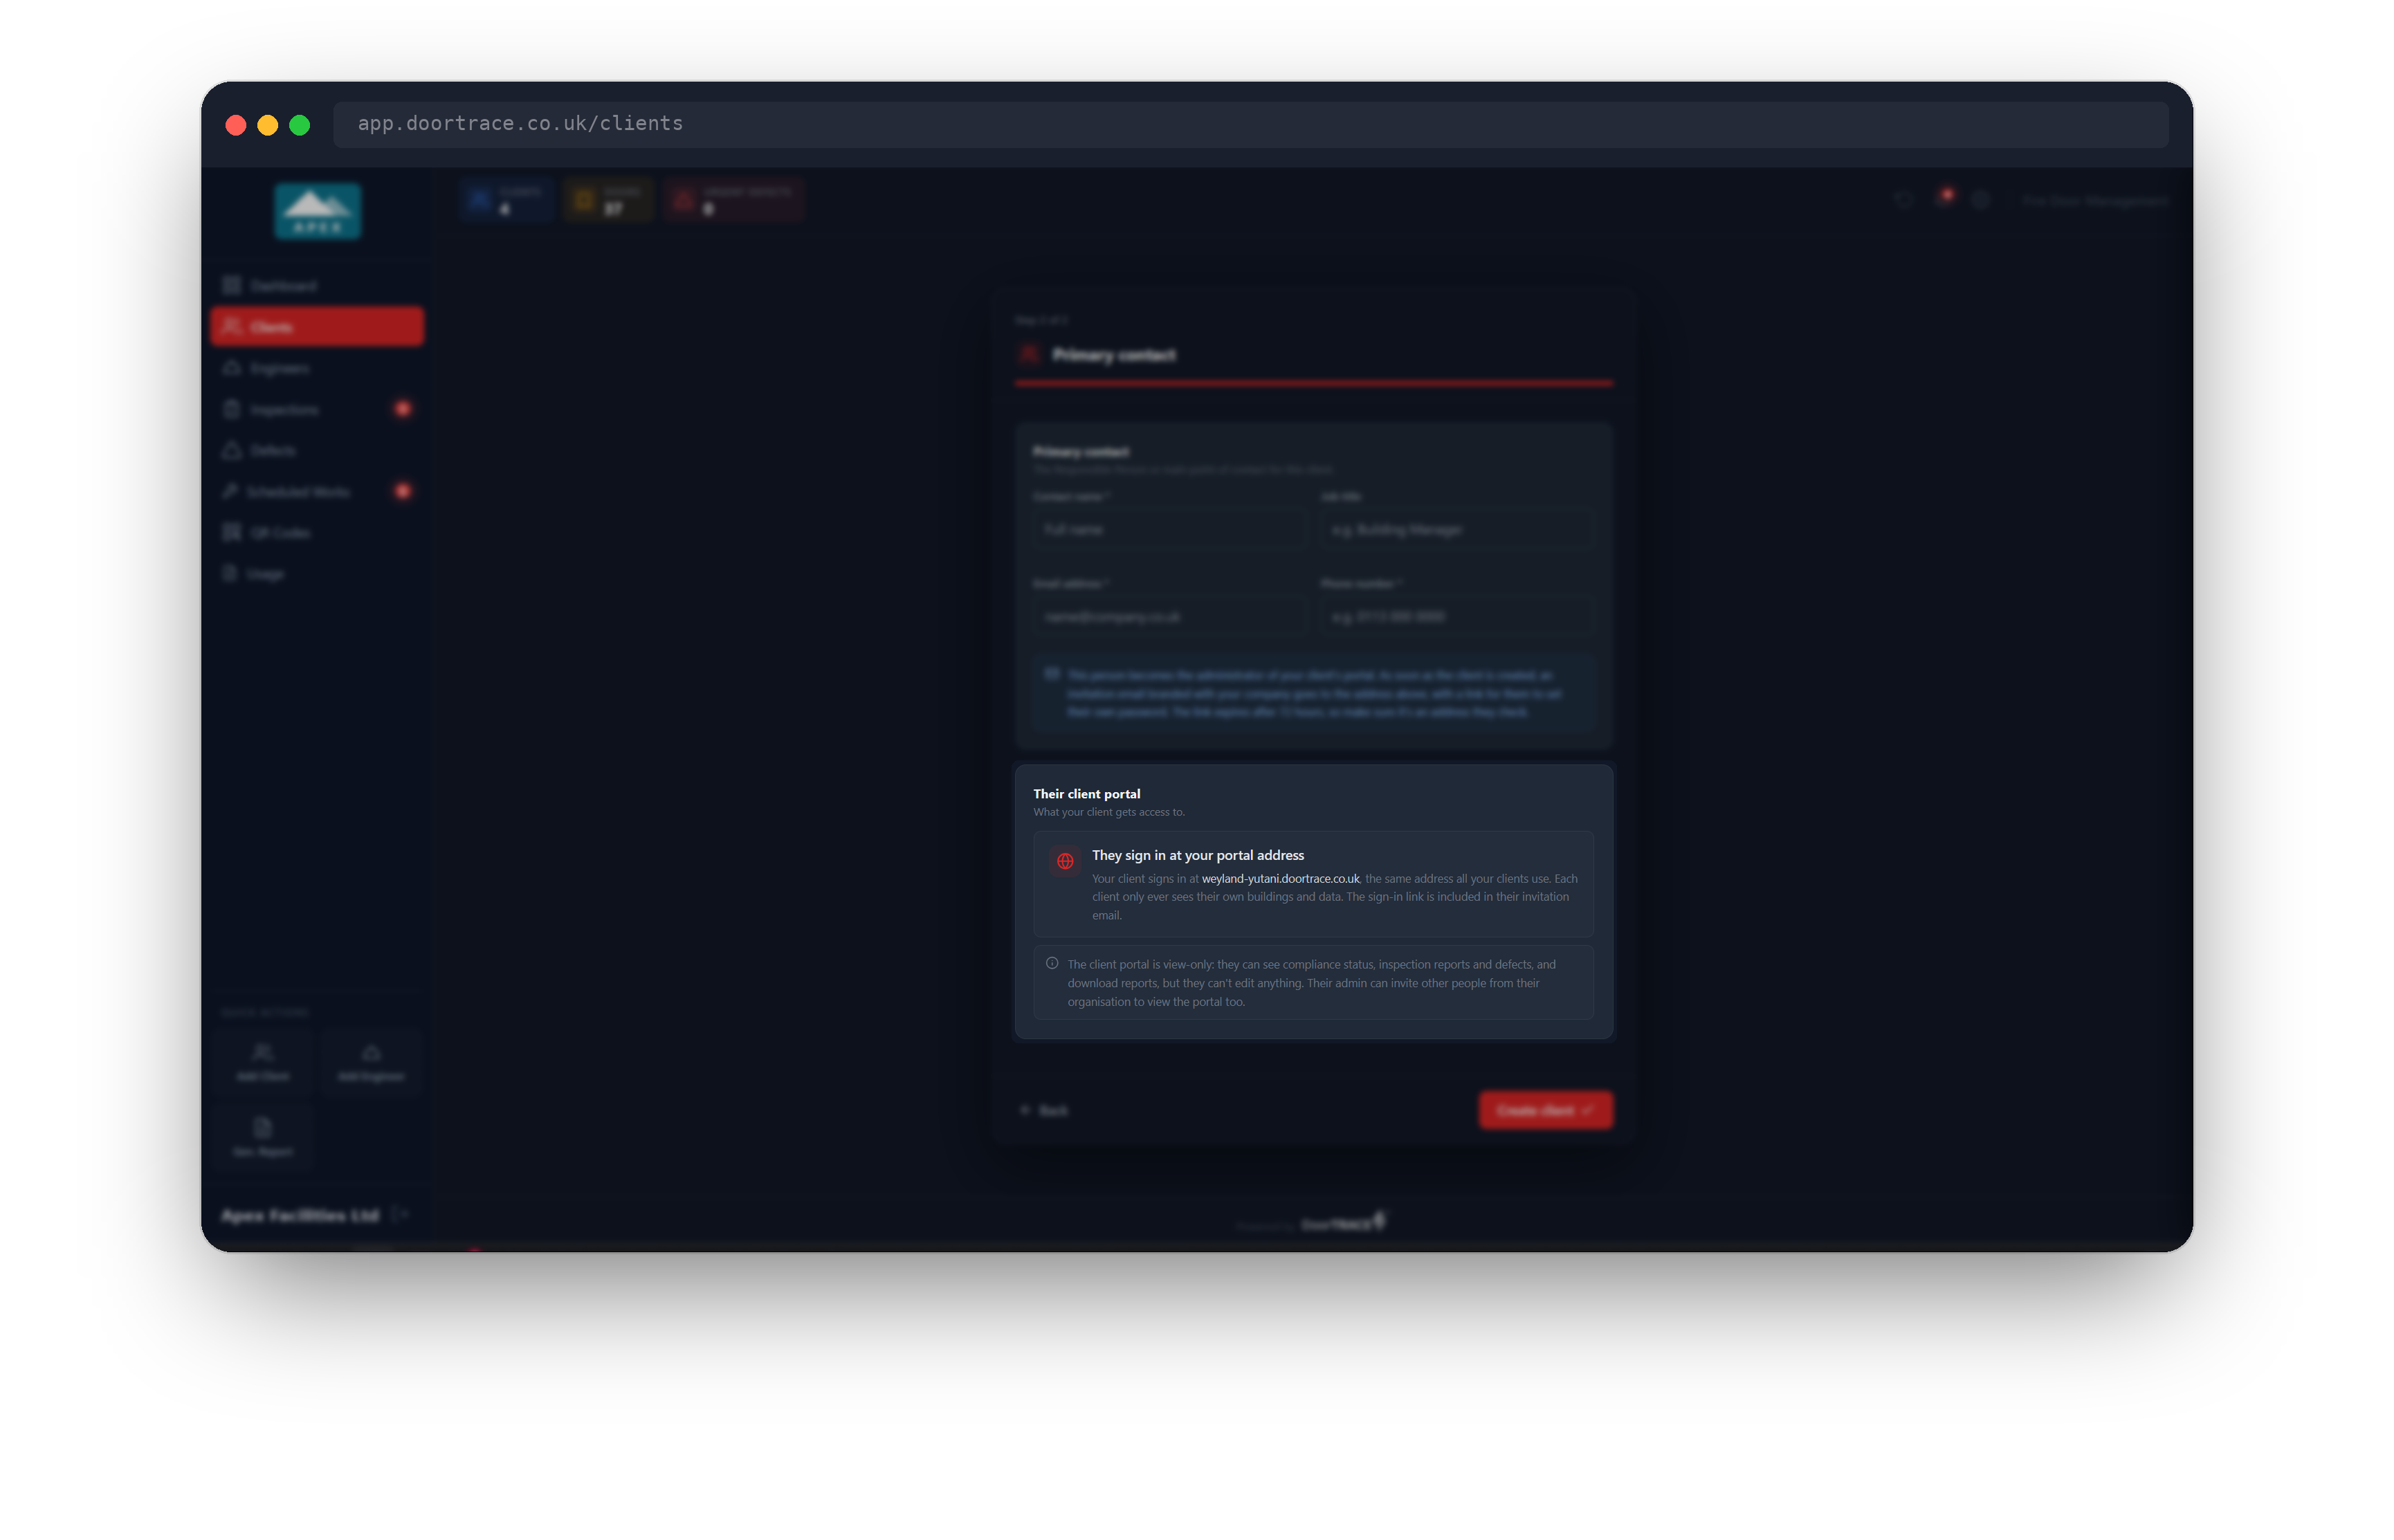
Below the contact fields, the Their client portal card shows the address where your clients sign in: your company's own DoorTRACE address, in the form yourcompany.doortrace.co.uk. Every one of your clients uses the same address, and each one only ever sees their own buildings and data. The sign-in link is included in the invitation email, so the contact does not need to remember it.
The client portal is view-only. Your client can see compliance status, inspection reports and defects, and download reports, but cannot edit anything. Their administrator can invite other people from their organisation to view it too.
Creating the client
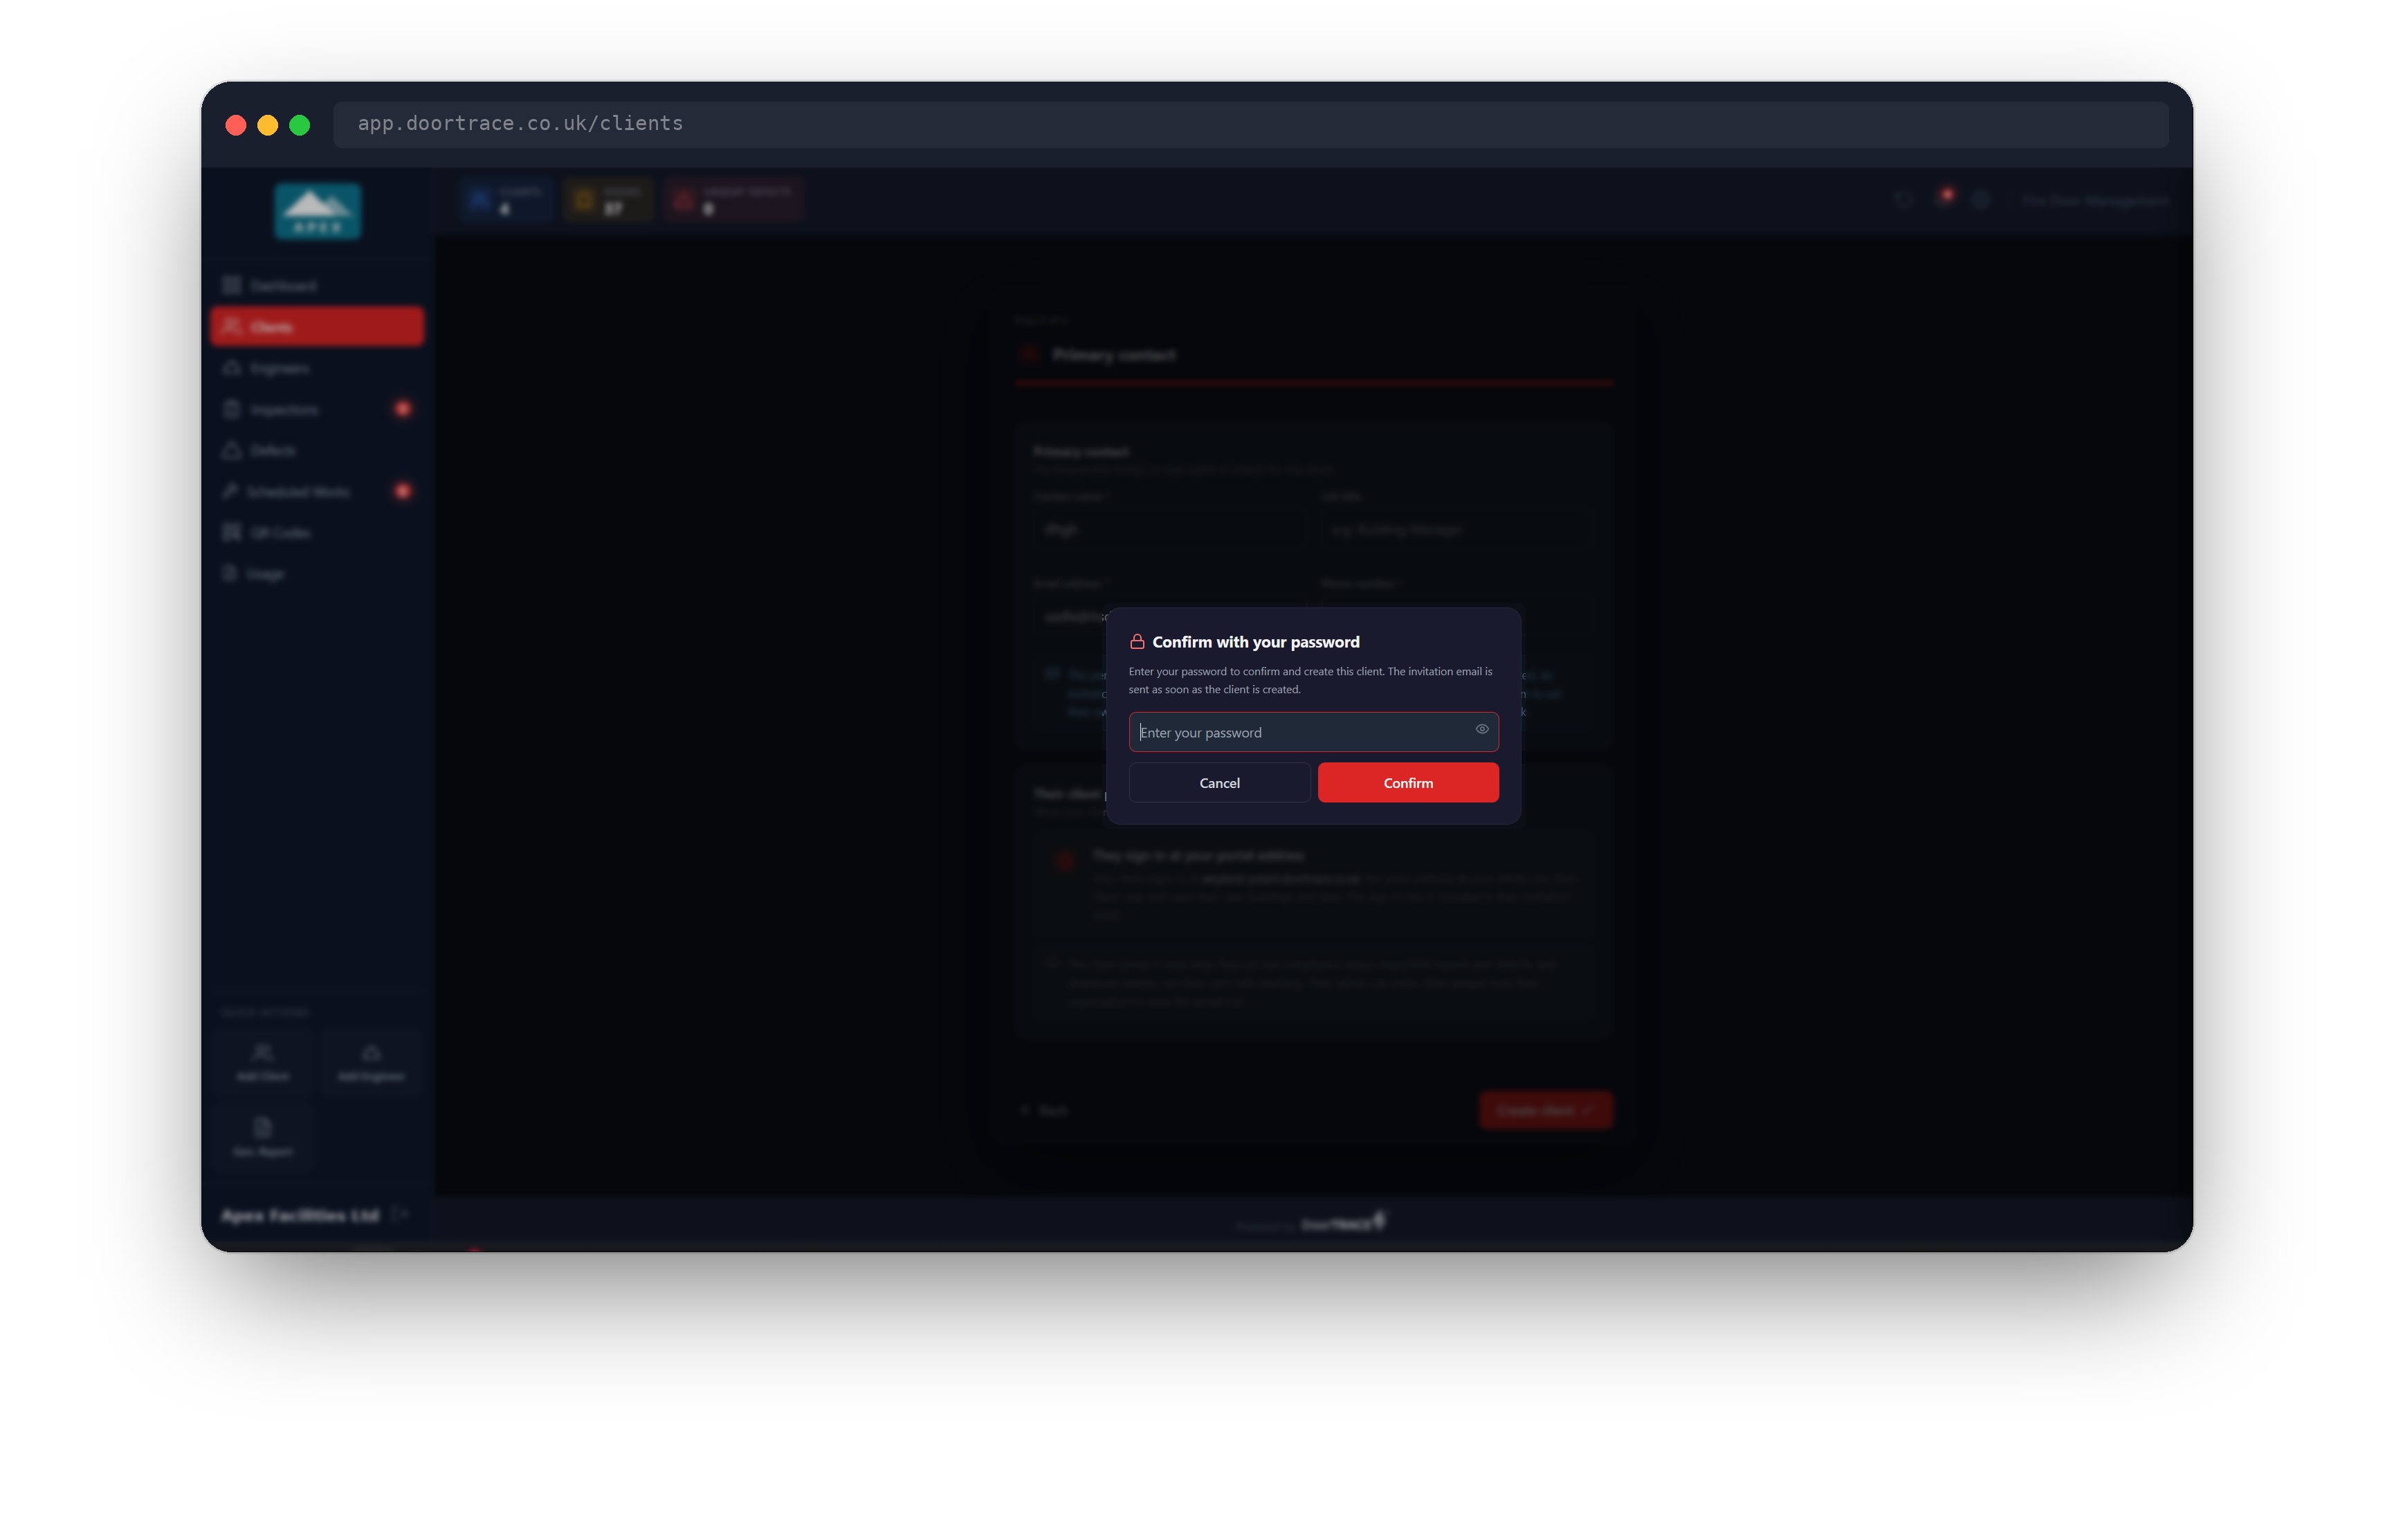
Click Create client. The button shows Checking for a moment while the portal confirms the contact's email address is not already registered on DoorTRACE. If it is, the email field shows This email is already registered. Use a different email address. and nothing is created.
If the address is free, the Confirm with your password window opens. Enter your portal password and confirm. The portal then, in one go:
- Creates the client and records it in your audit trail.
- Creates a portal login for the contact and emails them the invitation.
- Uploads the logo, if you chose one.
The success card
The final page confirms [Client name] has been created and that an invitation has been emailed to the contact, with the sign-in address underneath. What's next sets out the order to work in: add the client's buildings from their page, then register doors against those buildings with QR tags.
Important: QR tags cannot be assigned to any doors until the building exists in the portal. Add the buildings before anyone goes to site with a sheet of tags.
Click Go to client to open the new client's page, where Add Building is waiting.
The invitation email
The contact receives an email from DoorTRACE (noreply@doortrace.co.uk) with the subject [Your company] has invited you to DoorTRACE. It carries your company's logo if you have uploaded one under Settings, or your company name if not. It explains that you have set up a client portal for them and has a Set Up My Account button that takes them to a page where they choose their password. The link expires 72 hours after the client was created.
If the contact misses the 72-hour window, or the email does not arrive, open the client's page, click Details and use Reset Password to send them a fresh link. Managing a client covers this.
If something goes wrong
- The email is already registered. Someone on DoorTRACE already signs in with that address. Use a different address for the contact. If the portal was unable to run the check at all, it shows Could not verify email availability; try again in a moment.
- A client with this name already exists. The password window shows this when another active client of yours has a name that matches, ignoring capitals and punctuation. Adjust the name.
- Incorrect password. The password window stays open with Incorrect password. Please try again. Nothing has been created.
- The invitation was not sent. The success card tells you if the email could not be sent. The client exists; open its page, click Details and use Reset Password to send the link again.
- The logo did not upload. A message tells you the client was created but the logo failed. Add it from the client's page.
Your first client is your demo client
The very first client your company ever creates is automatically marked as your demo client and shows a Demo badge on its card. It works exactly like any other client, but work recorded against it is never billed and, if you choose, it can be left out of your headline figures on the dashboard. This applies only to the first client you create; every client after that is a normal, billable client. If you would rather a different client carried the demo flag, contact DoorTRACE support.
What's next
With the client created, the next step is their buildings. Managing a client explains the client's page, including Add Building, Details and the client report.
Still can't find the answer?
Send us a message and we'll help. We respond within one working day.