FM Portal guides
FM Portal · Clients and buildings
Managing a client
Last updated 14 Sept 2026
Each client has its own page in the portal. It shows their contact details, a summary of every building you manage for them, and the buttons for everything you can do with that client: change their details, download a report, manage their portal login, and add buildings. This guide covers all of that. Adding a client in the first place is covered in Adding a client.
Opening a client
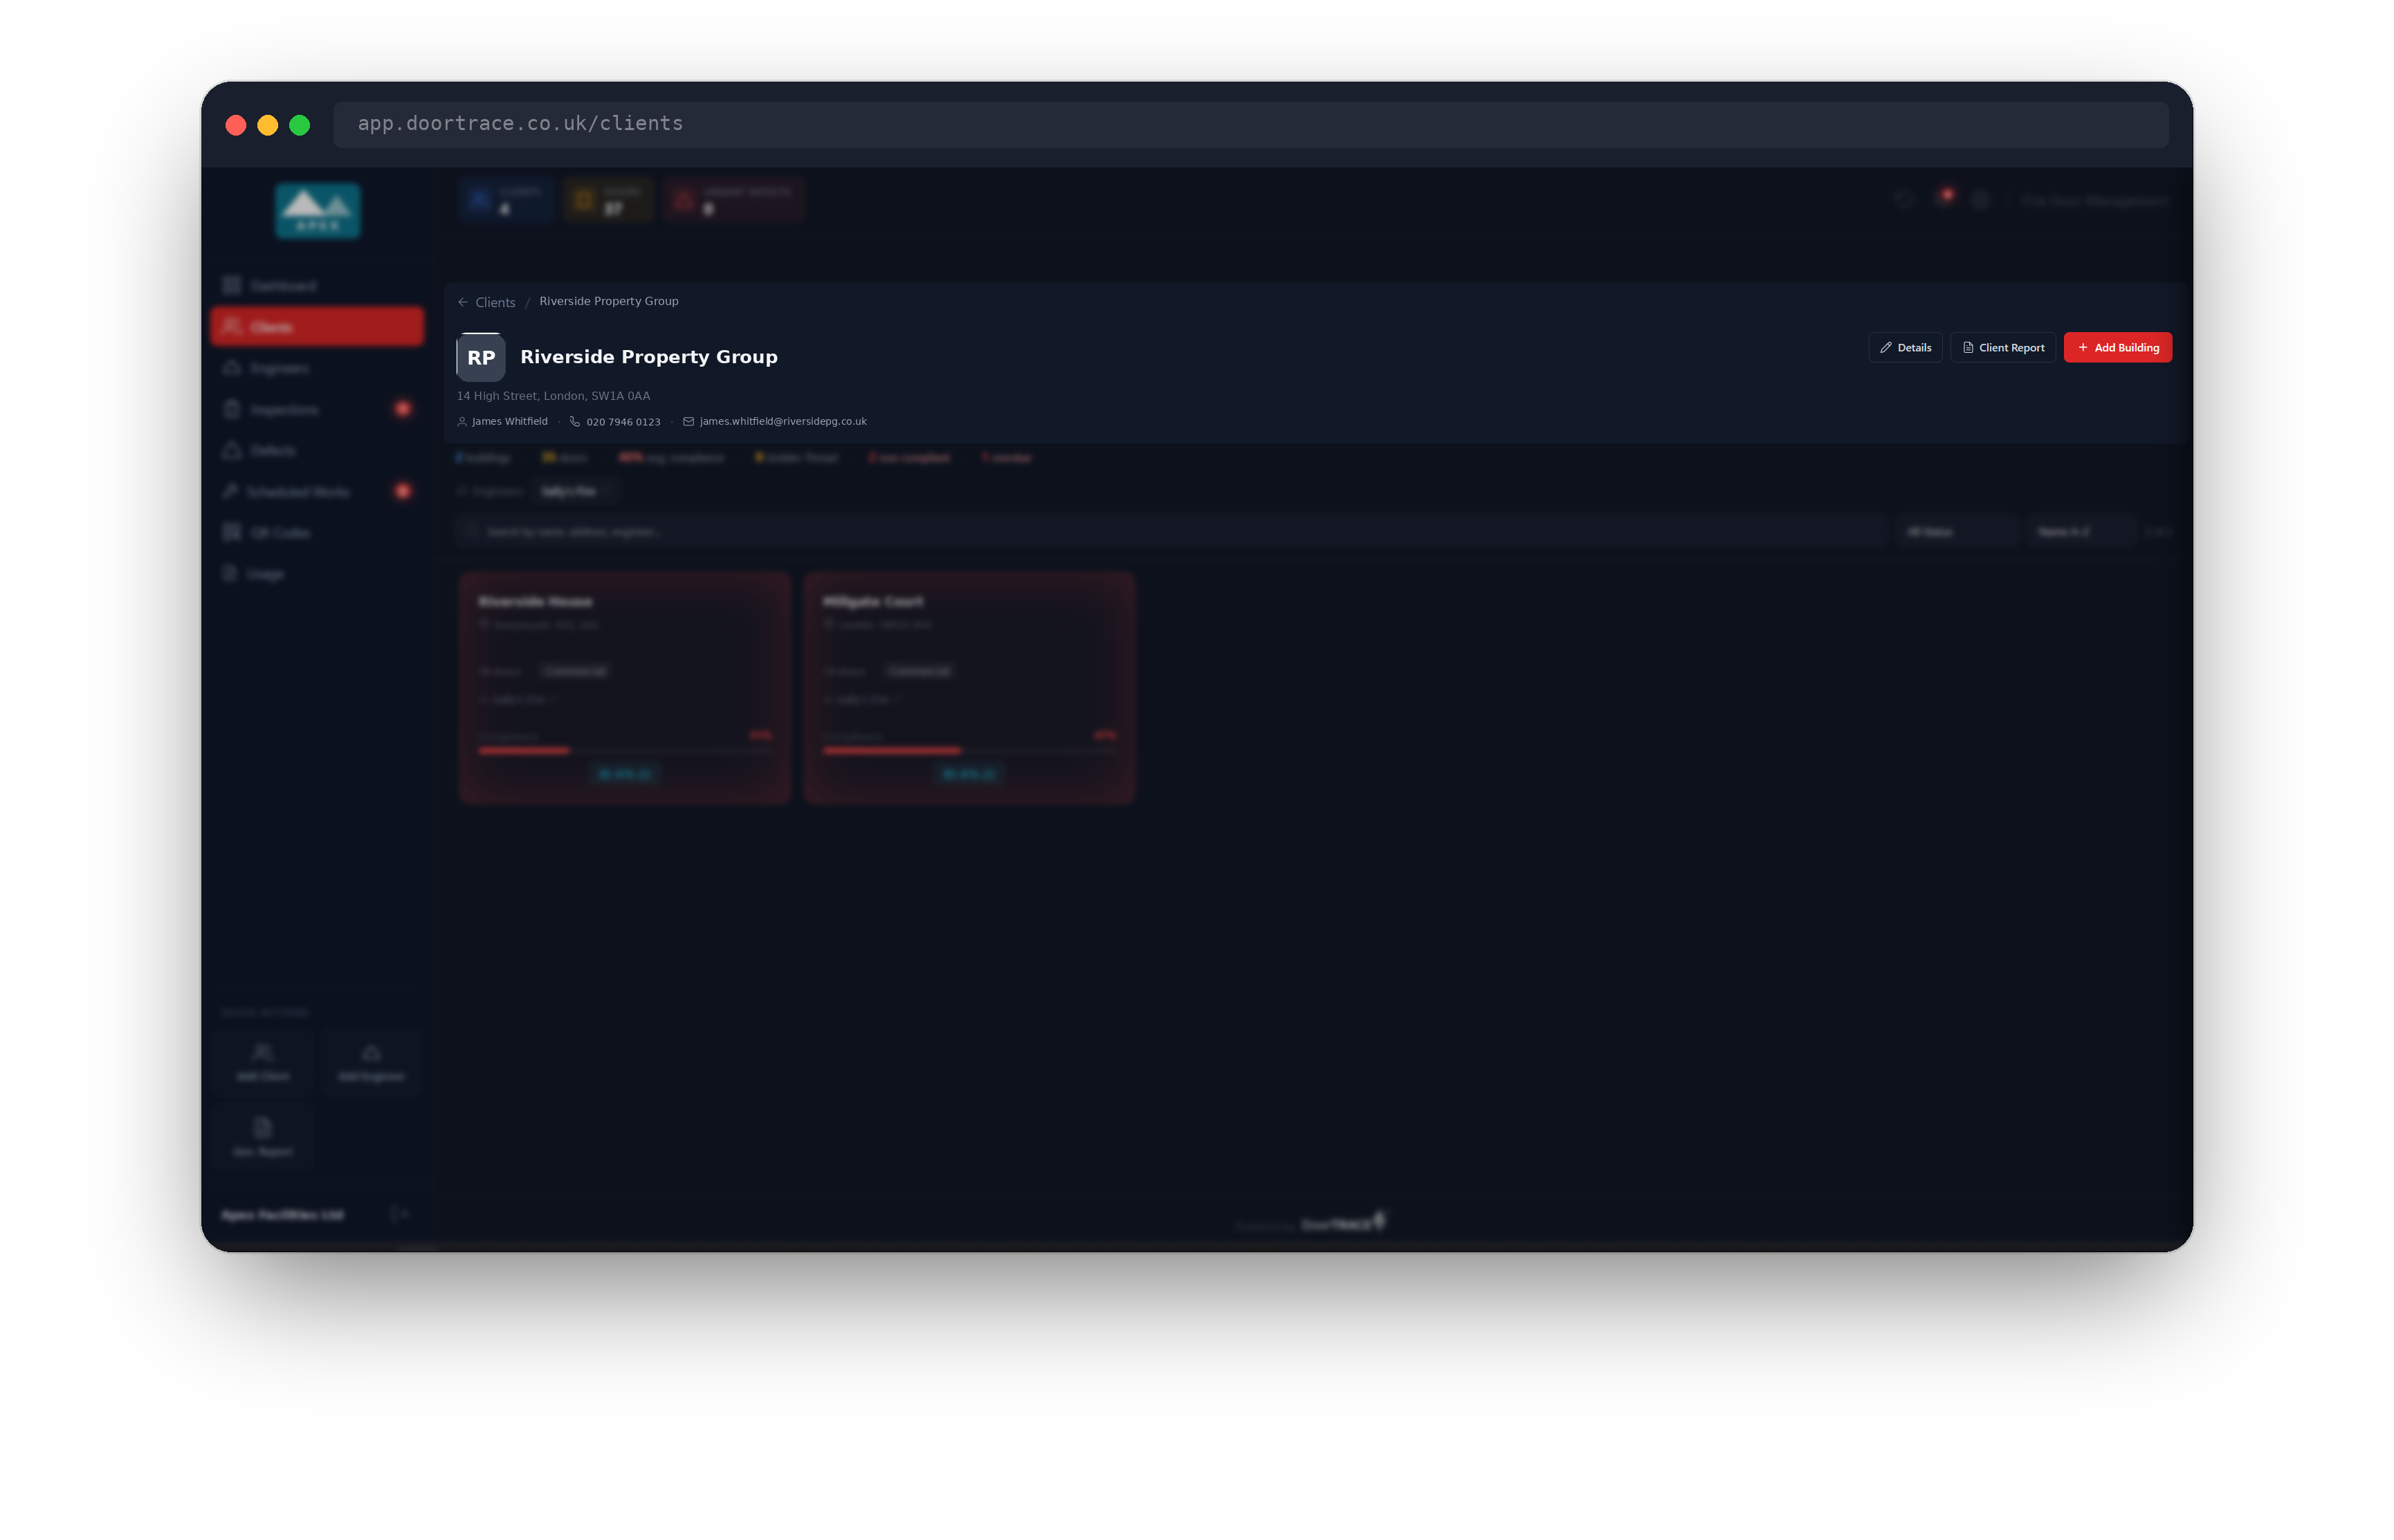
Go to Clients in the sidebar and choose a client. The top of the page shows the client's logo (or their initial if they have no logo), their name, their address and their primary contact. The phone number and email address are links: clicking the phone number opens your phone app, and clicking the email address opens a new message in your mail app.
The three buttons on the right are the main actions for this client: Details opens the edit page, Client Report downloads a PDF, and Add Building starts a new building. Adding a building is covered in Adding a building.
The summary line
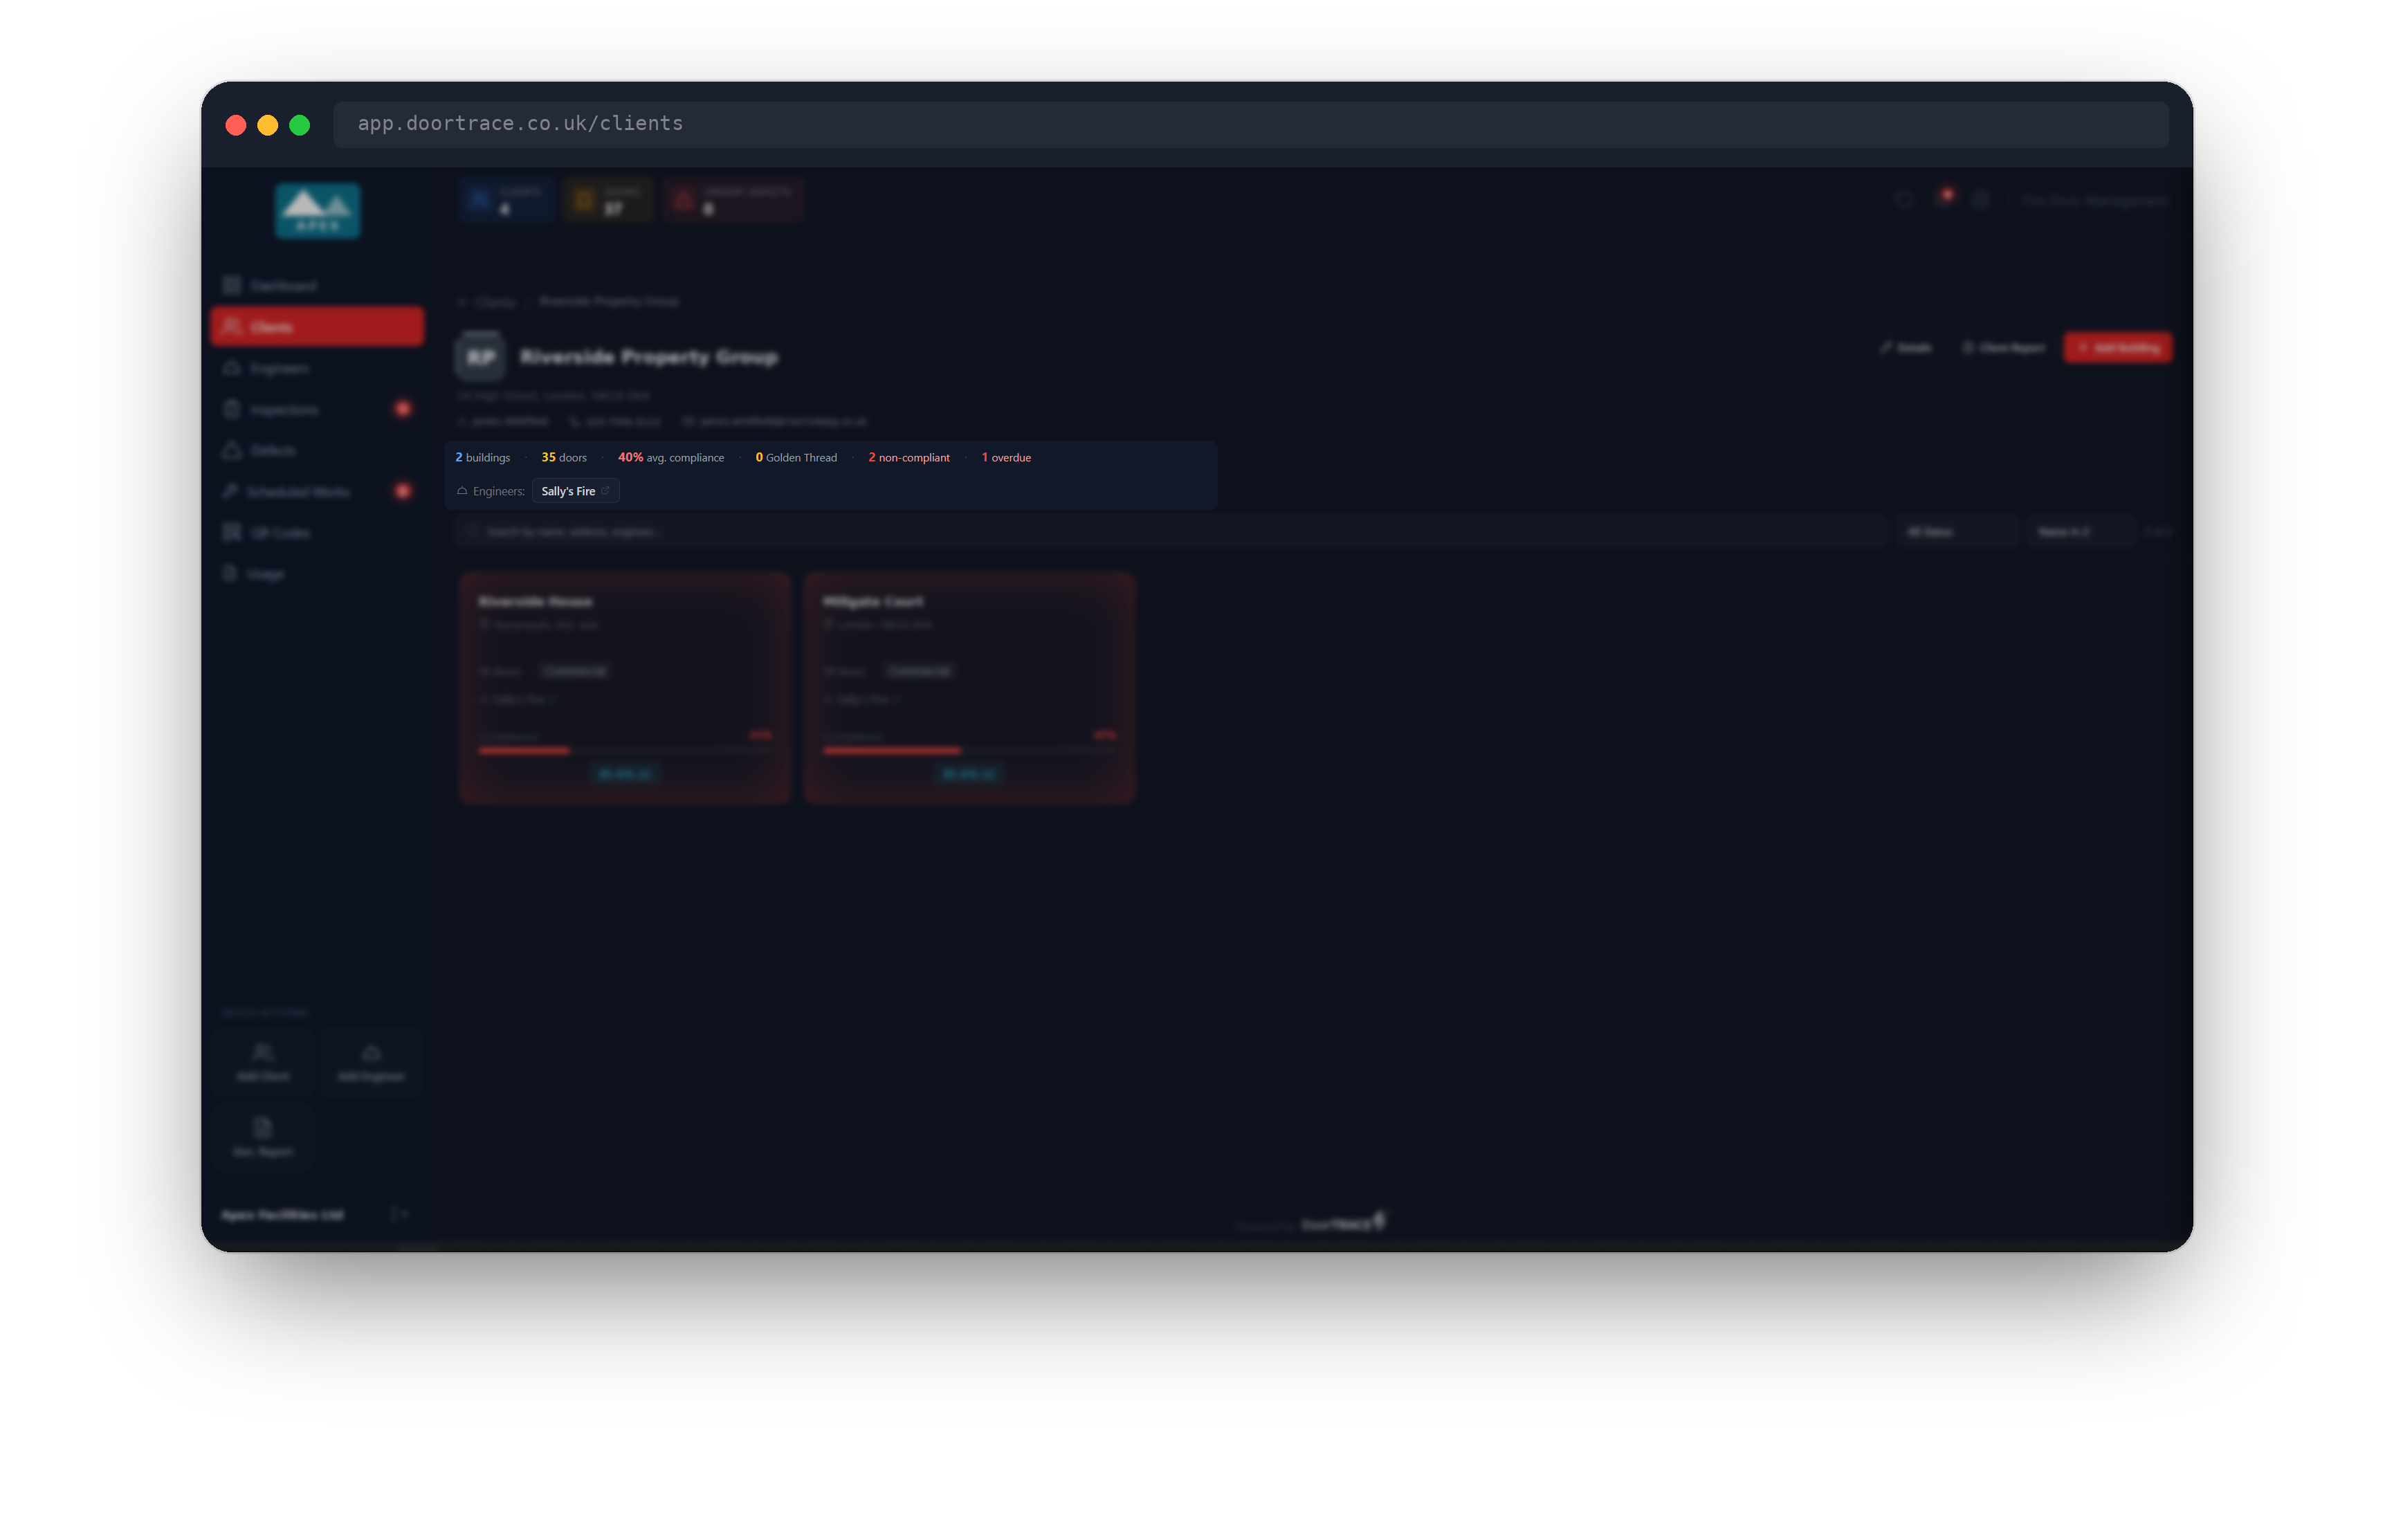
Under the contact details is a one-line summary for the whole client: how many buildings and doors you manage for them, their average compliance (compliant doors as a share of all doors, green at 85 percent and above, amber from 50 to 84, red below 50), and how many of their buildings are Golden Thread buildings. Two extra figures appear only when they are above zero: the number of non-compliant buildings (with a note of how many of those are Golden Thread buildings) and the number of overdue inspections.
If engineer companies are assigned to this client's buildings, an Engineers: row lists them. Click a name to open that engineer's page.
Finding a building
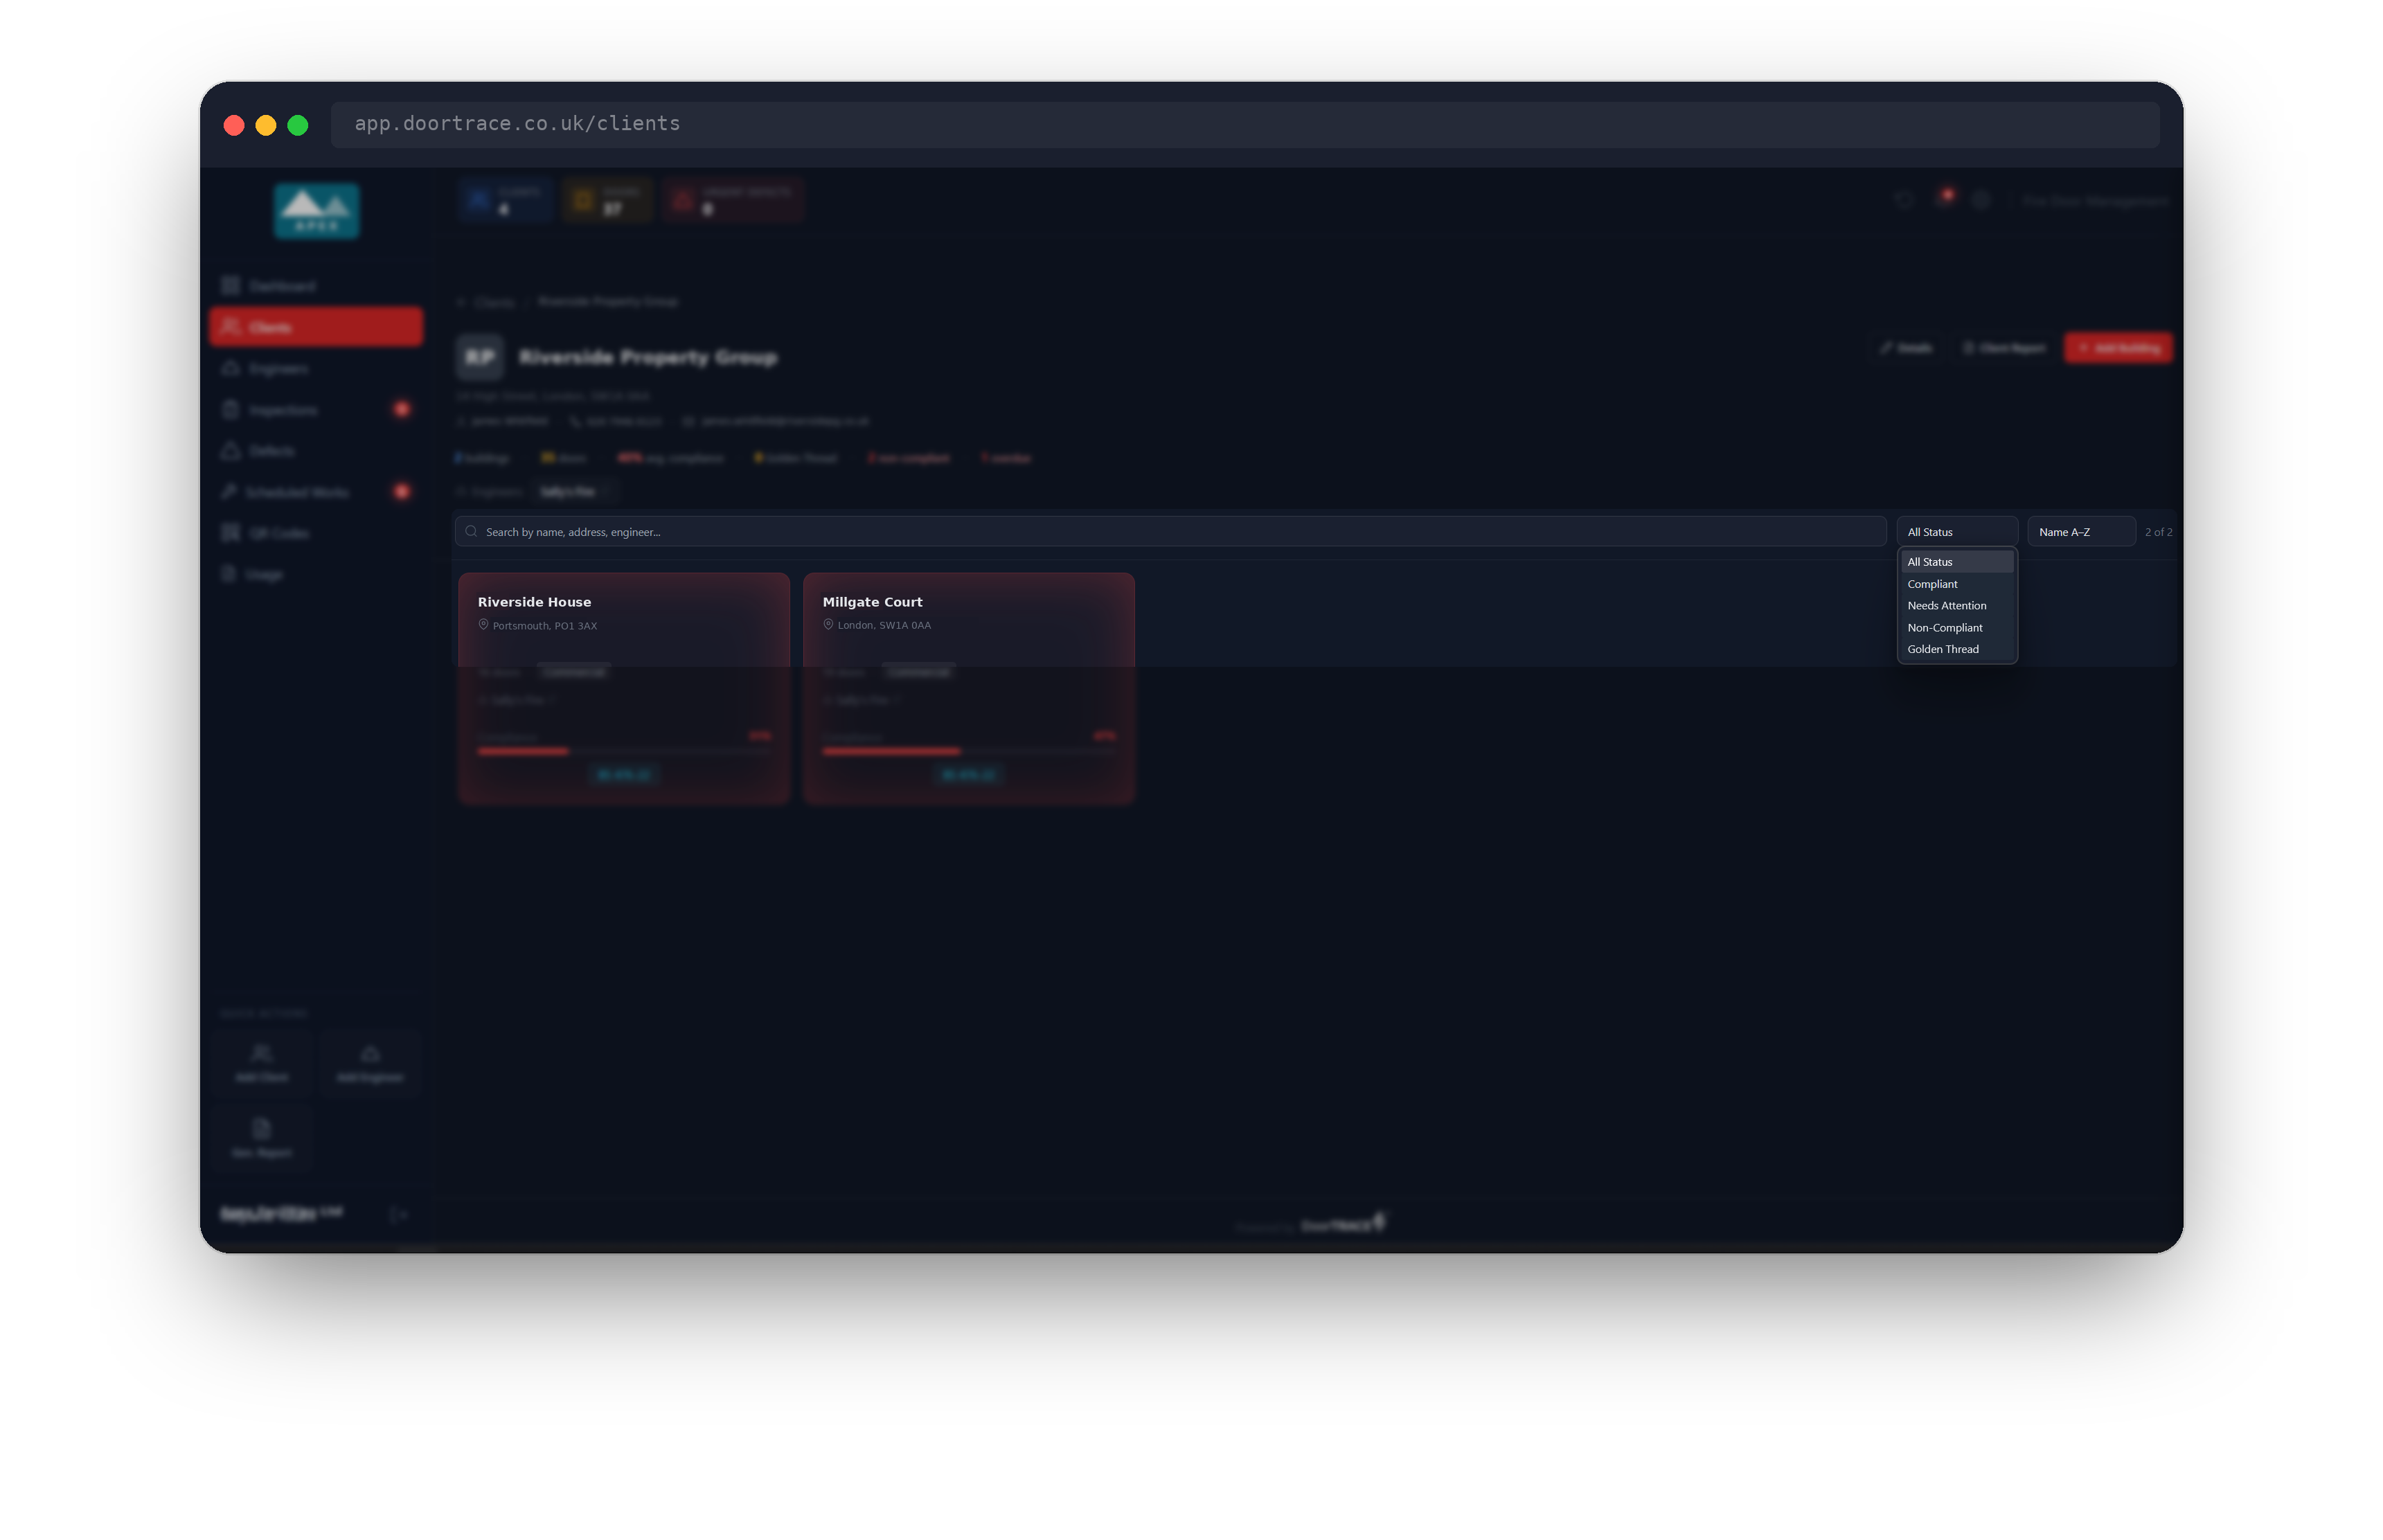
Every building you manage for this client appears as a card. Click a card to open the building; managing a building is covered in Managing a building.
When a client has many buildings, use the toolbar above the cards. The search box matches on building name, address, city and assigned engineer. The status dropdown filters to Compliant (85 percent and above), Needs Attention (50 to 84 percent), Non-Compliant (below 50 percent) or Golden Thread buildings; All Status clears it. The sort dropdown offers Name A–Z, Compliance ↑, Compliance ↓ and Most Doors. A counter on the right shows how many buildings match.
If nothing matches you will see "No buildings match your filters." with a Clear filters link that resets the search and the status filter.
Downloading a client report
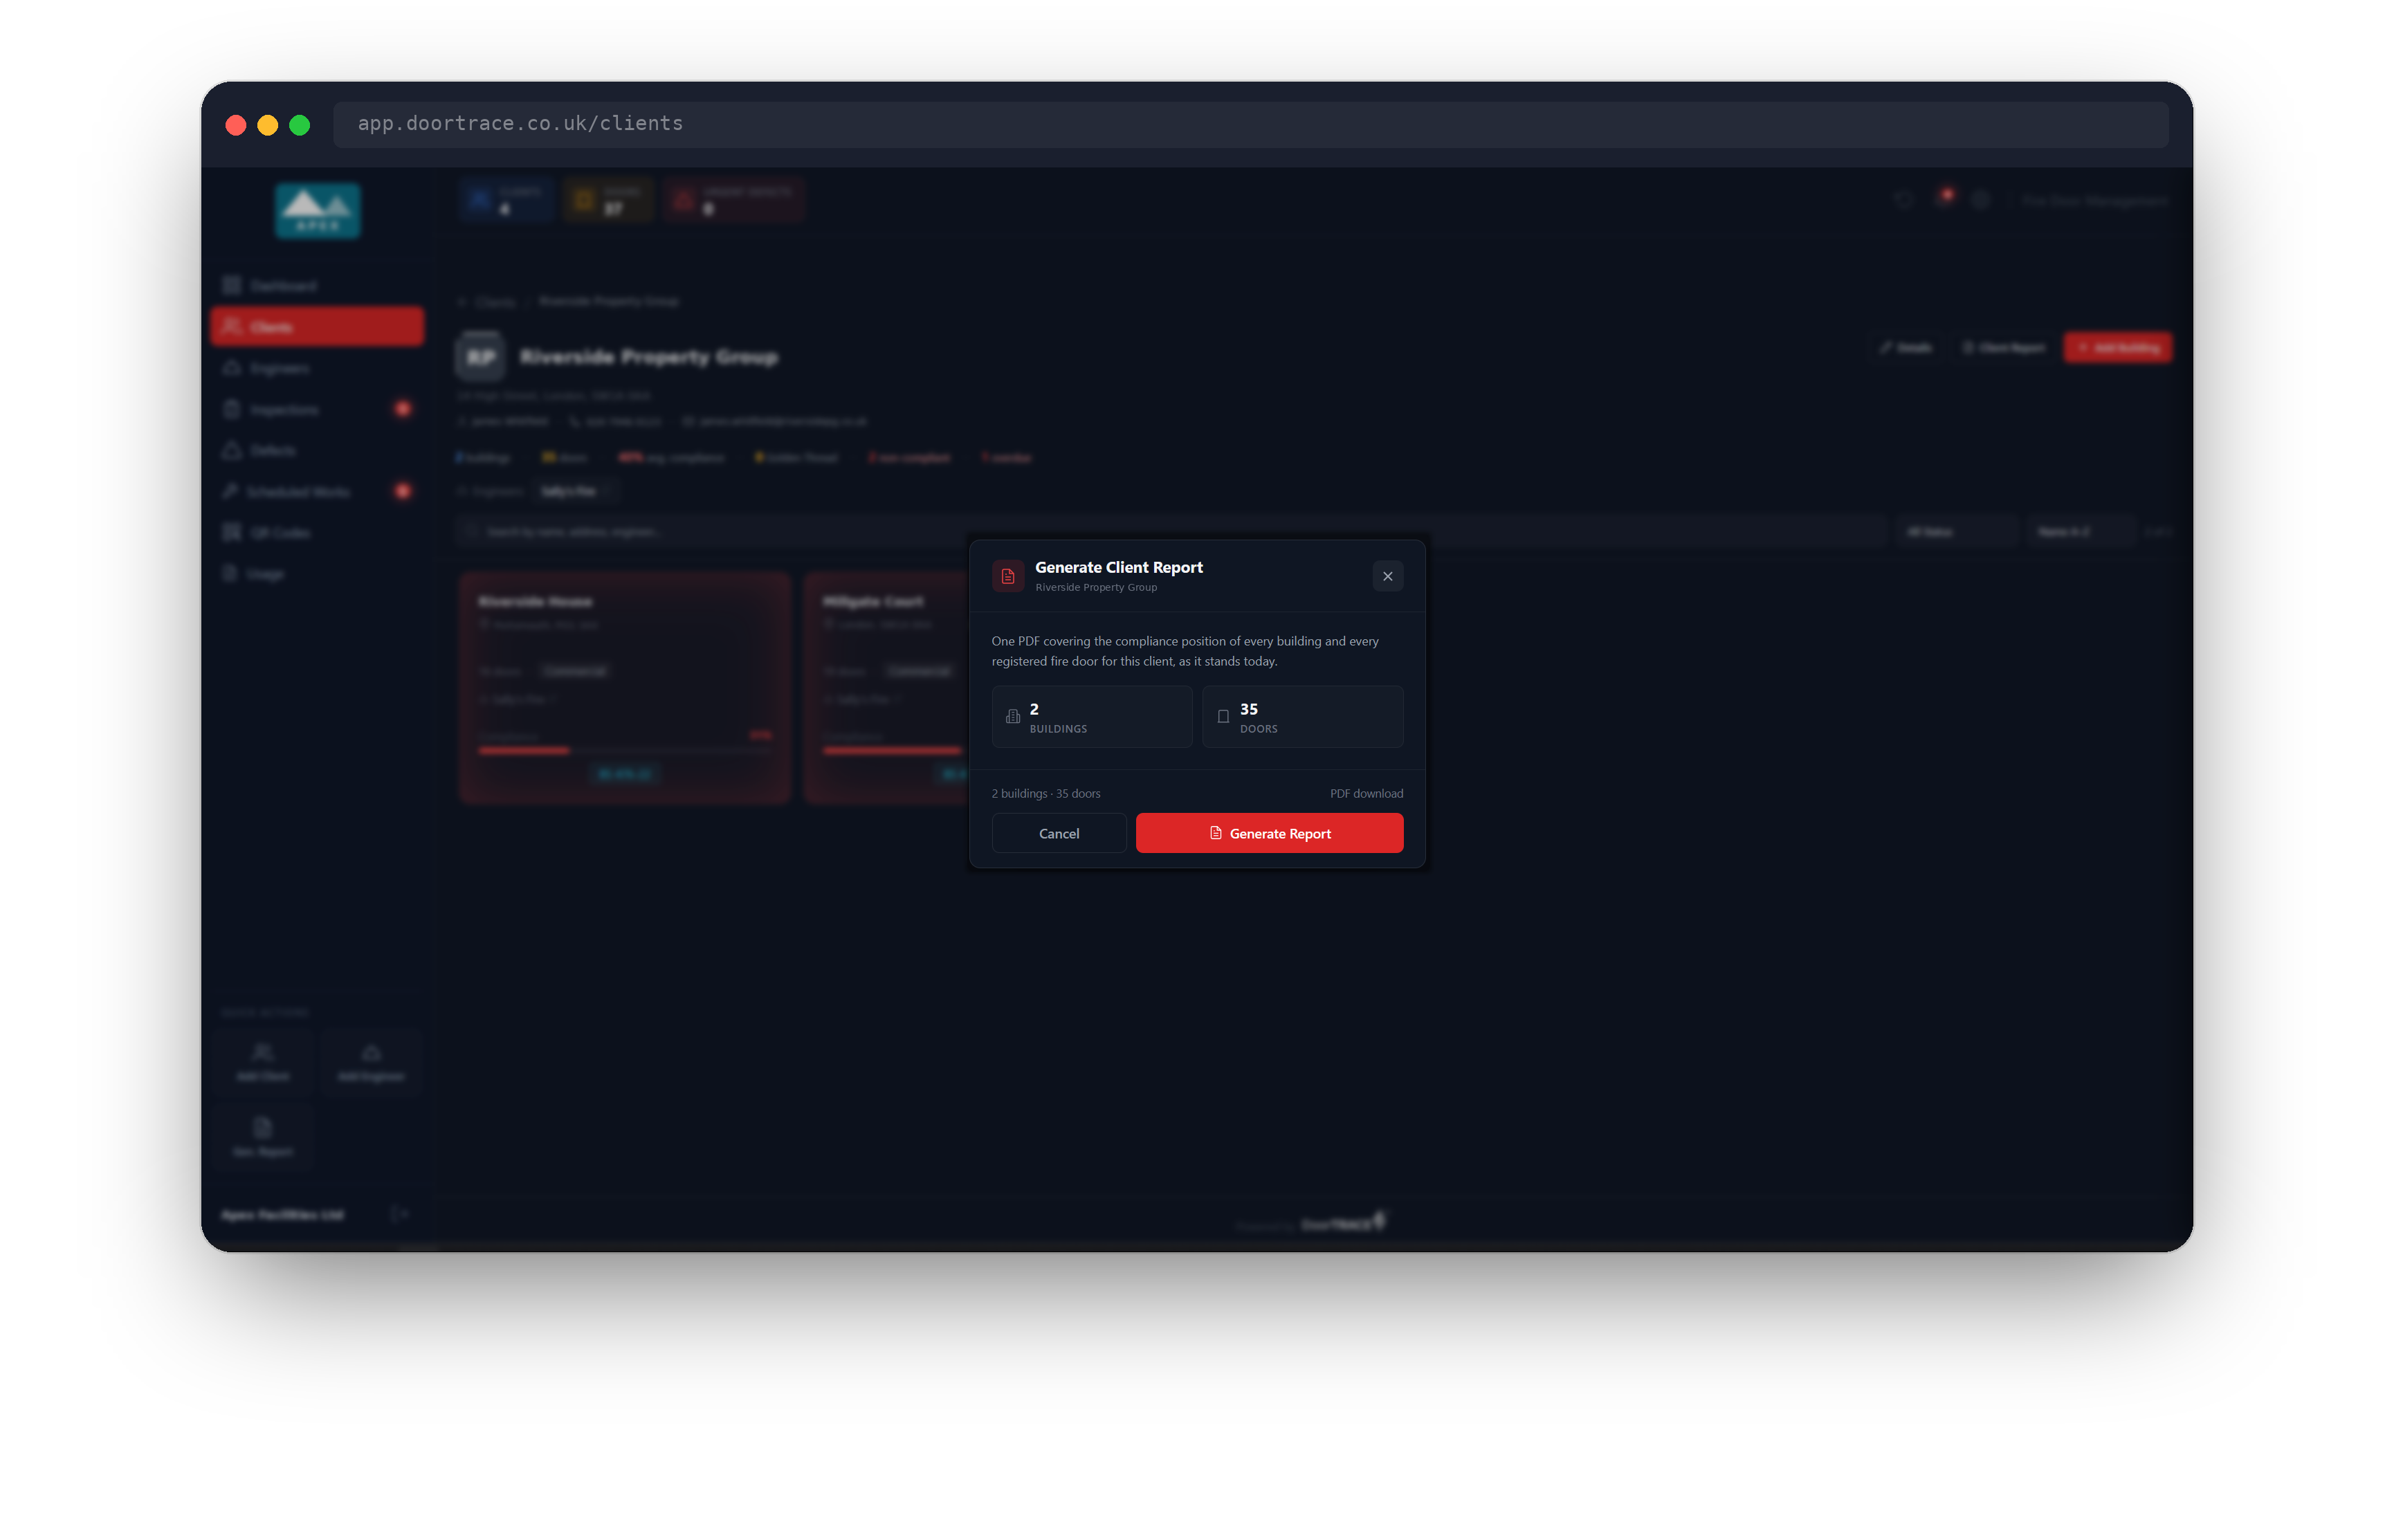
Client Report produces one PDF covering the compliance position of every building and every registered fire door for this client, as it stands today. There are no options to choose: the report is a fixed document with an overview, a page for each building, a list of doors requiring attention, and the regulations that apply.
Click Client Report, check the building and door counts, and click Generate Report. The report is built in your browser, so a progress bar shows each door being loaded; a client with several hundred doors can take a minute or two. The PDF downloads when it is ready, named ClientReport-<client>-<date>.pdf. Leave the window open until the download starts.
Tip: Generate Report is greyed out when the client has no registered doors yet, because there would be nothing to report on.
Editing a client's details
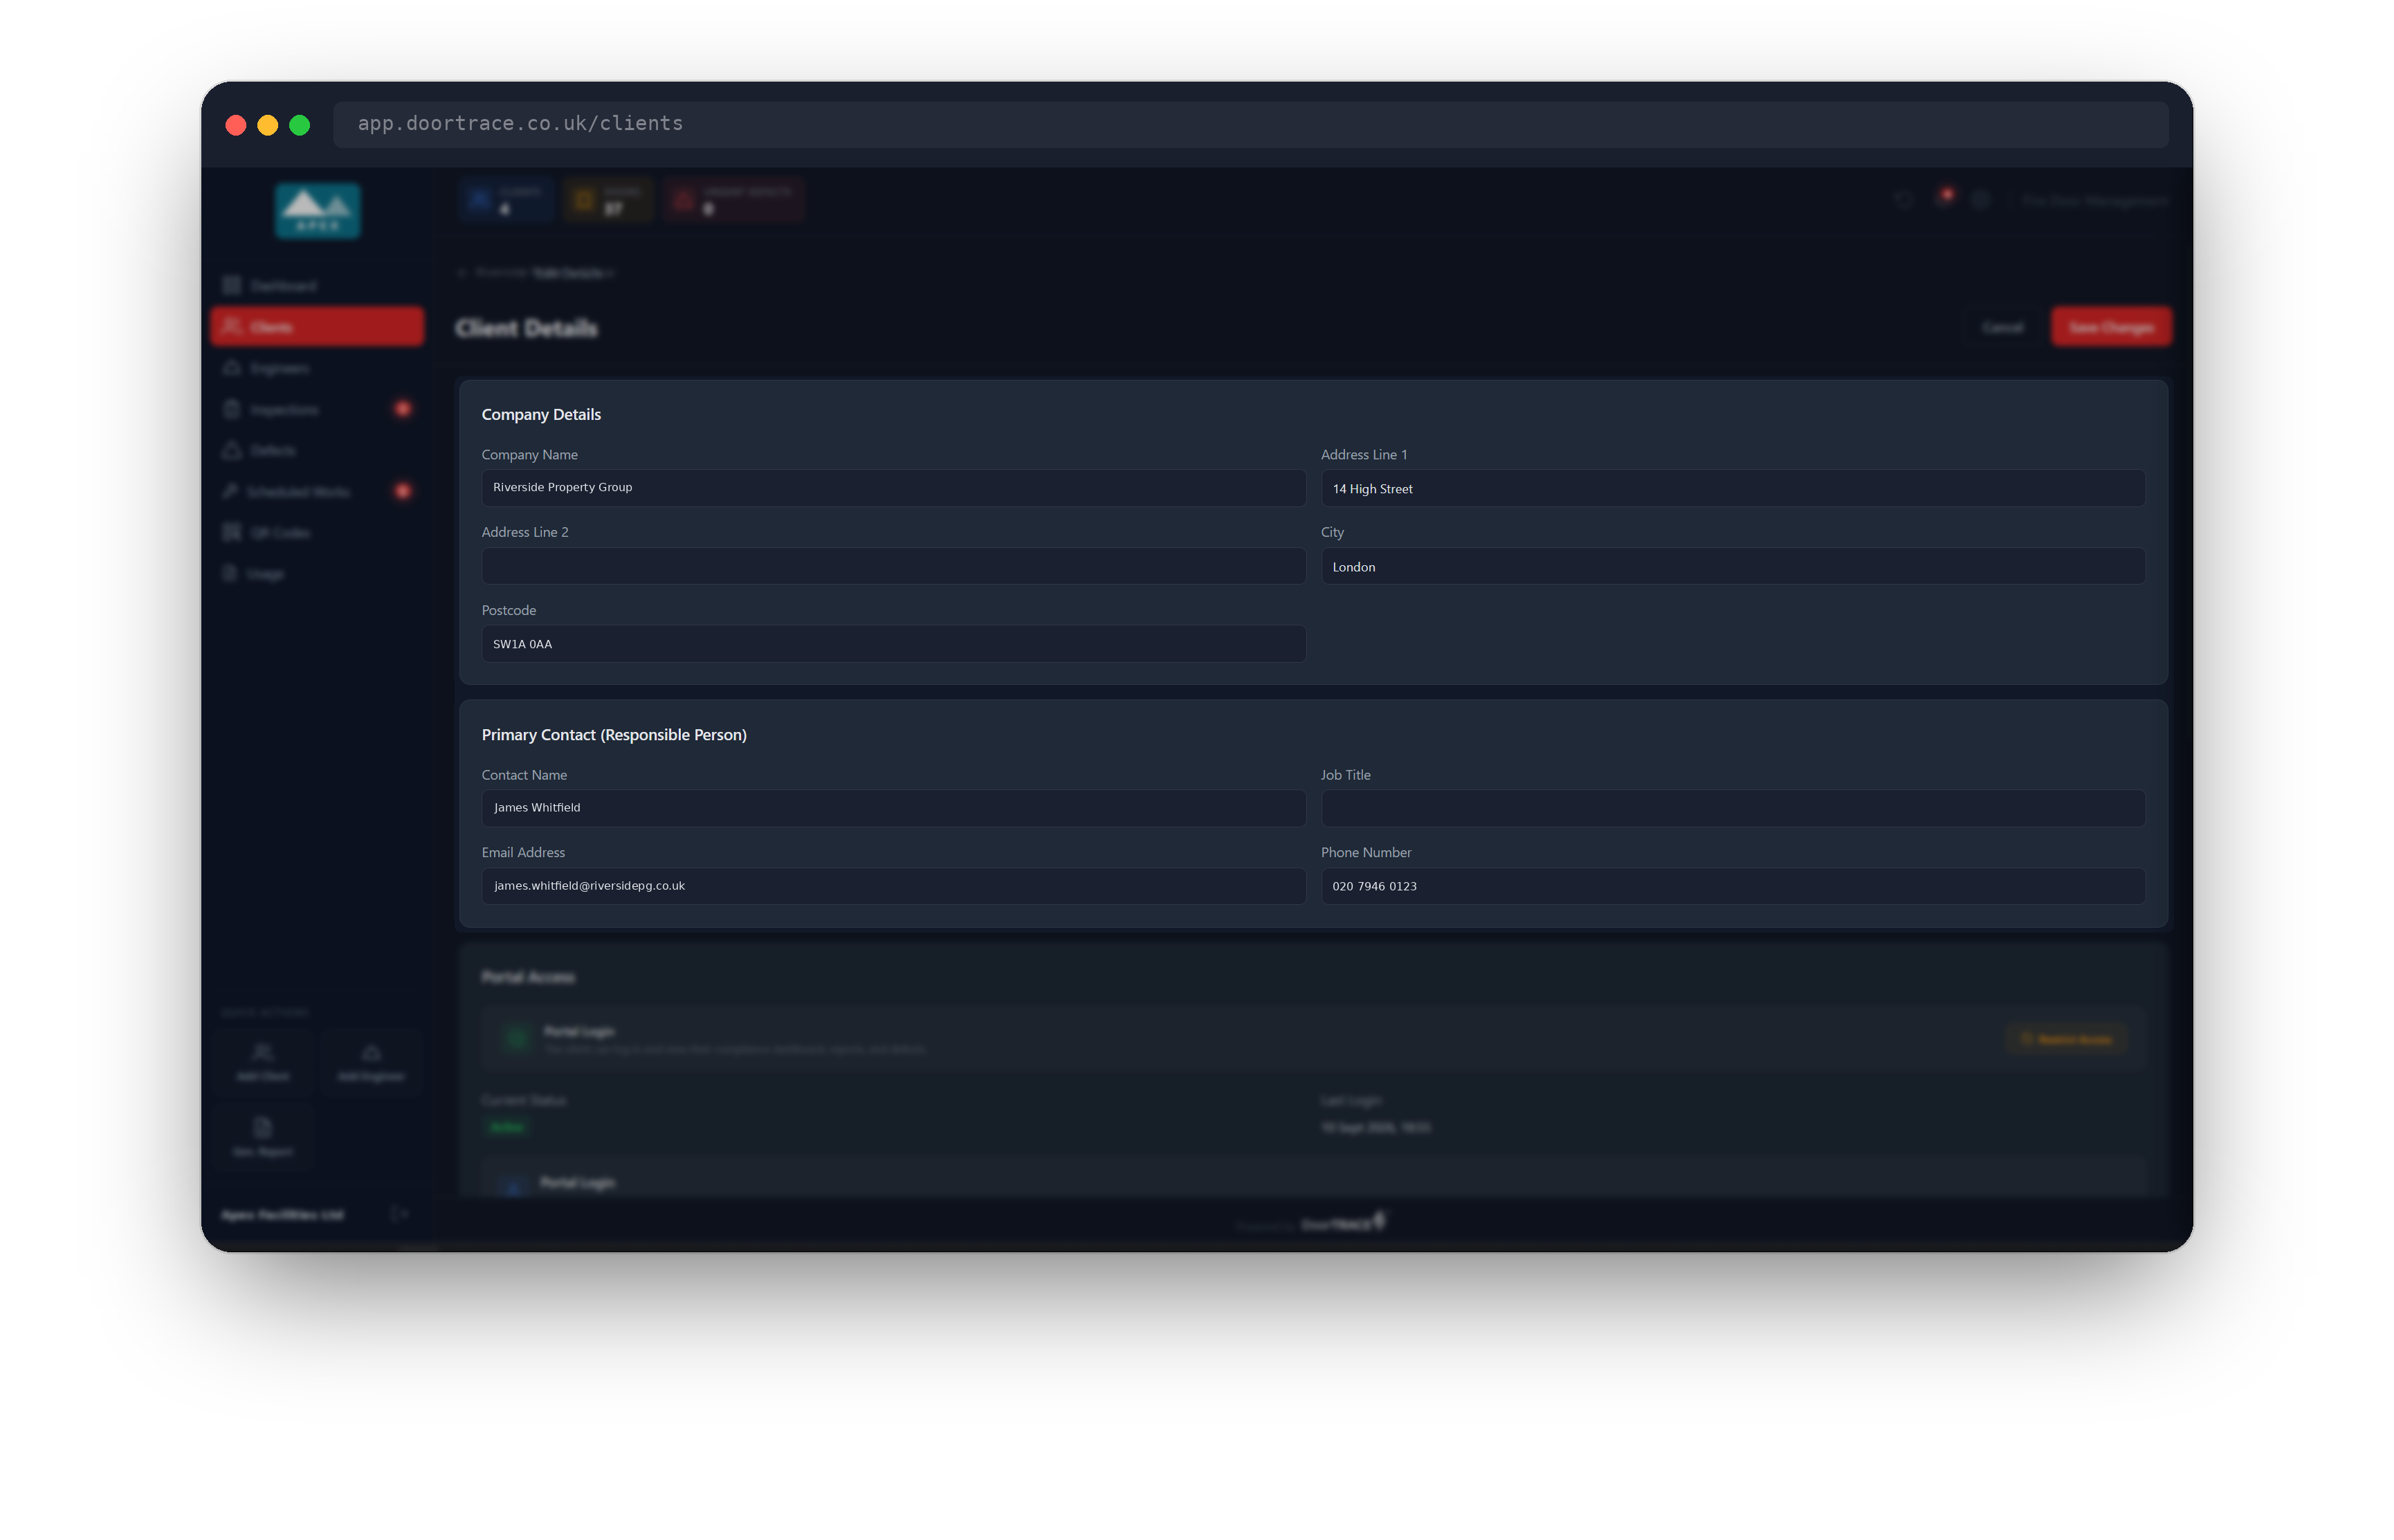
Click Details to open the edit page. Company Details holds the client's name and address. Primary Contact (Responsible Person) holds the contact's name, job title, email address and phone number.
Change what you need and click Save Changes (there is one at the top of the page and one at the bottom). You will be asked for your portal password to confirm. Nothing is saved until you confirm.
Important: The primary contact's email address is also the client's portal login. If you change the email address here, the portal login changes with it, as long as the new address is not already registered on DoorTRACE. If it is already in use, the contact details save but the login keeps the old address.
Controlling portal access
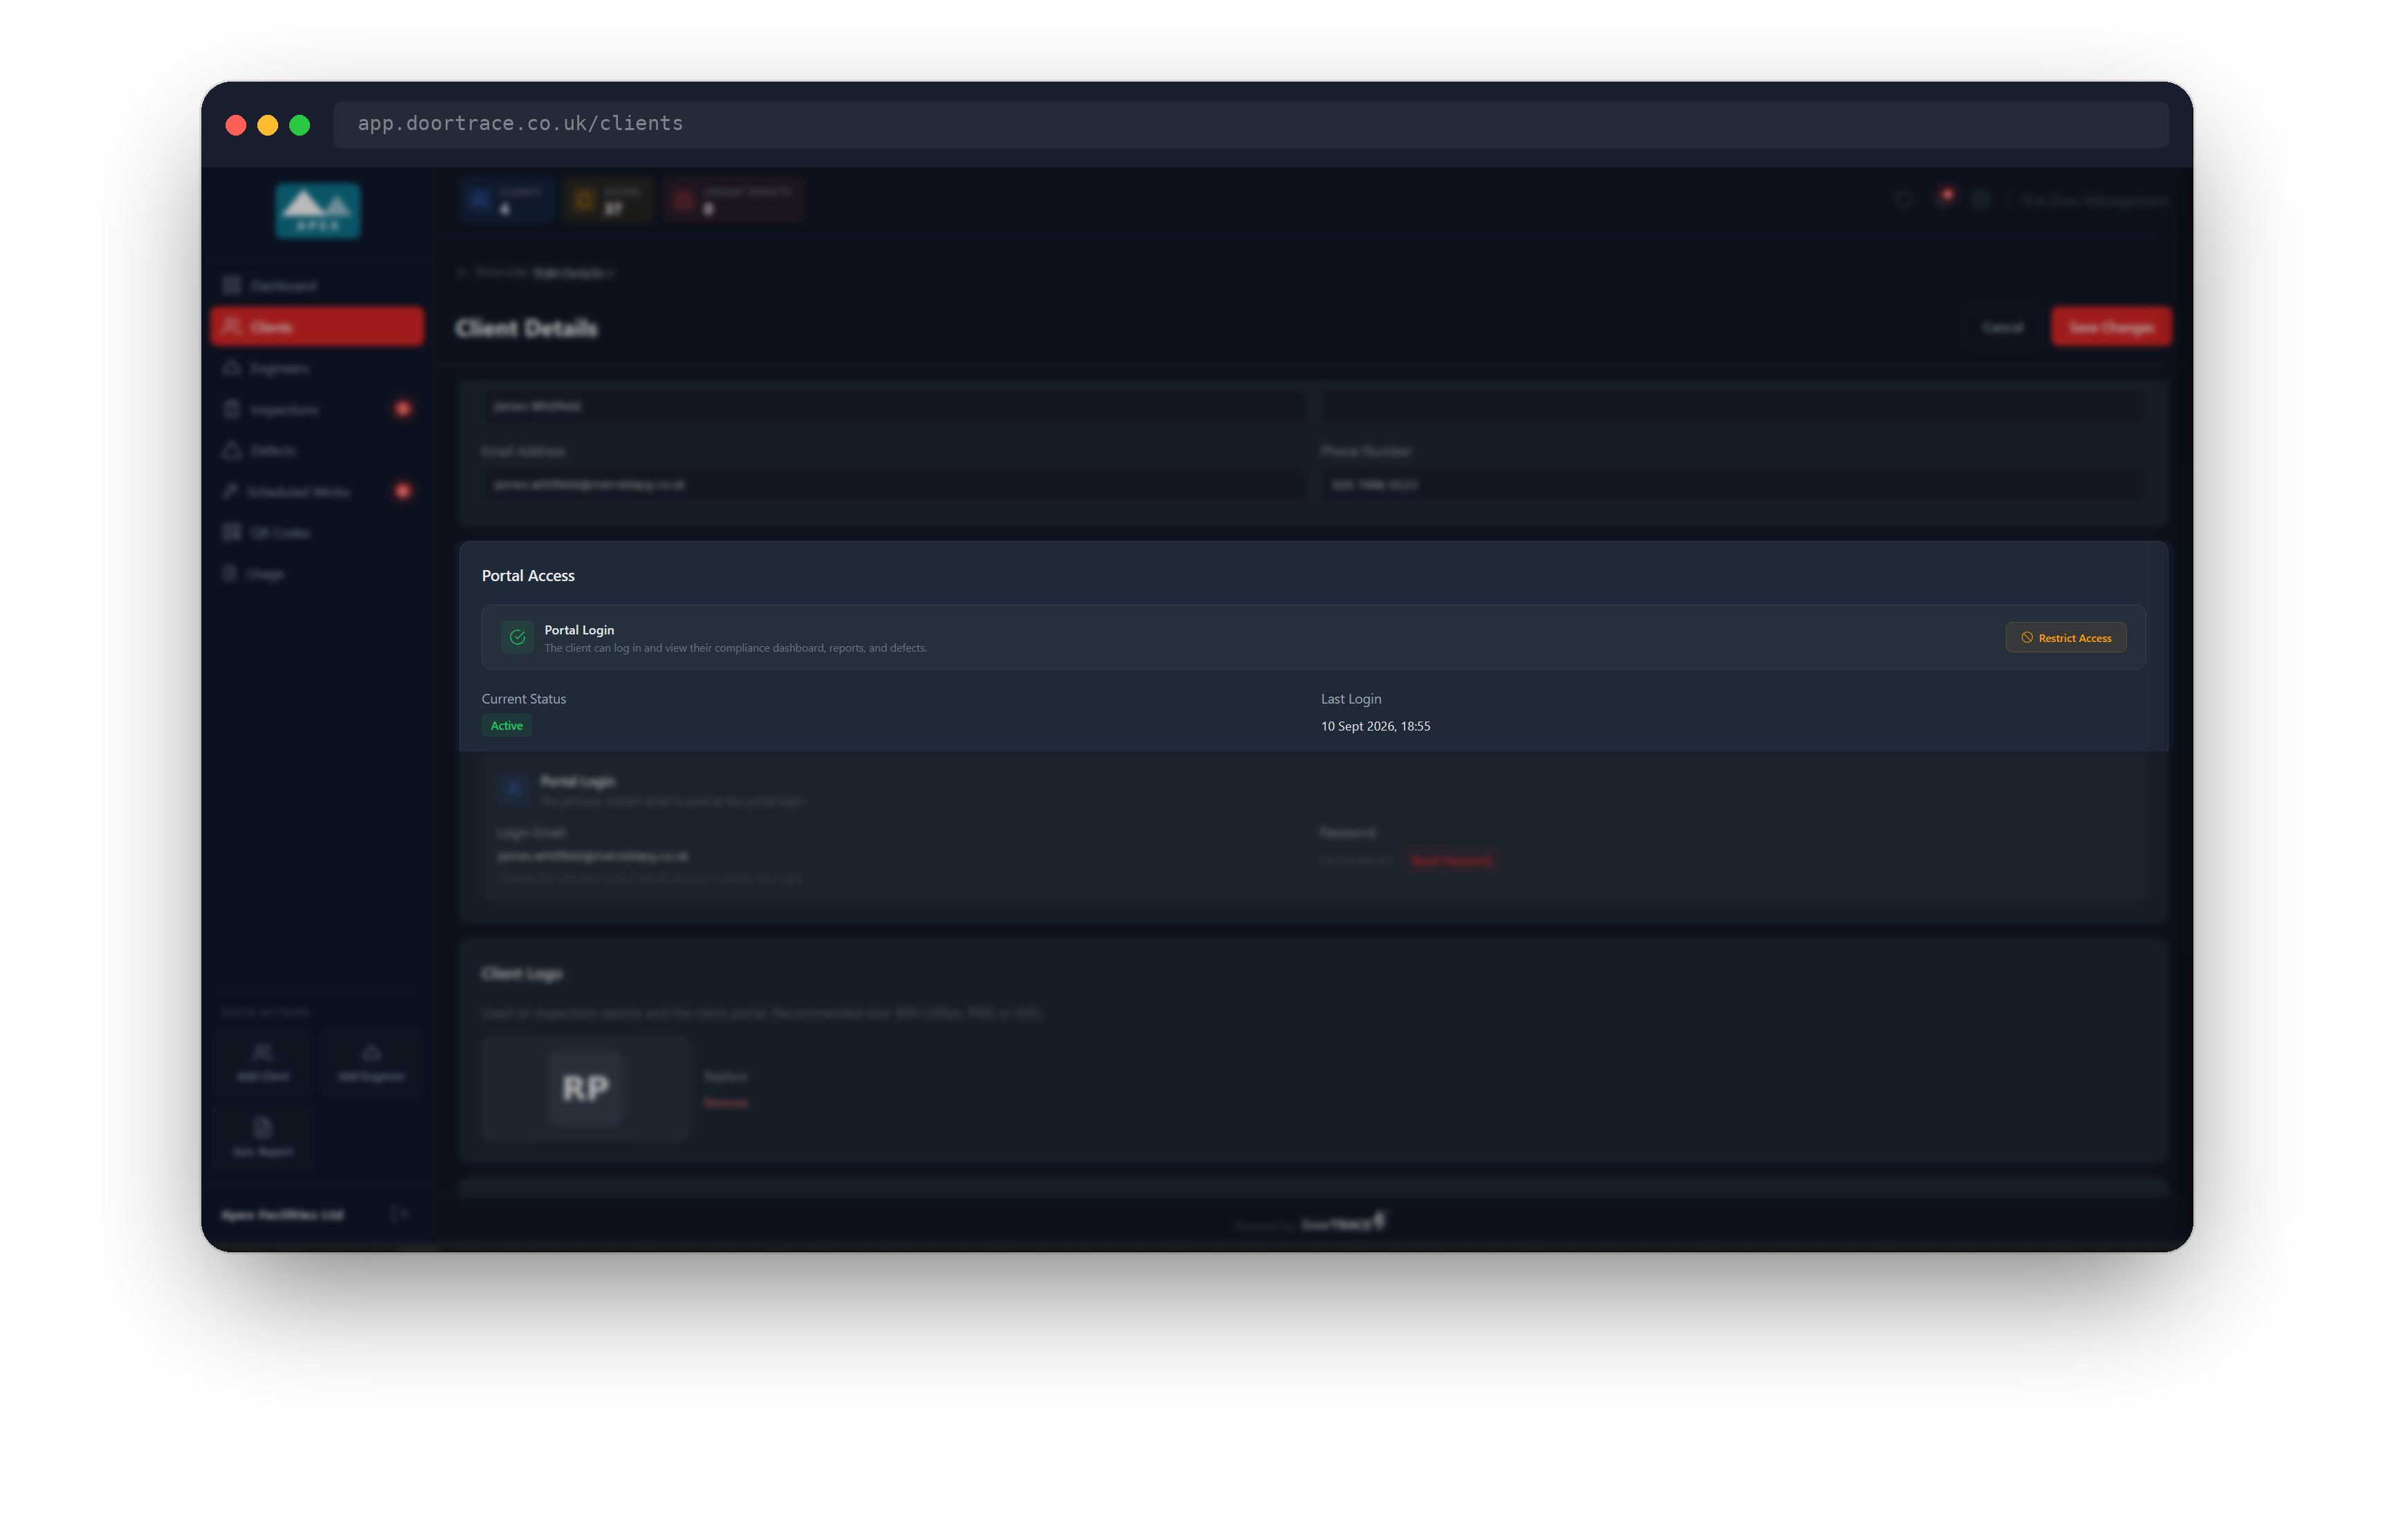
The Portal Access section controls whether the client can sign in to their own portal. Normally the status is Active and the client can log in and view their compliance dashboard, reports and defects.
If you need to lock a client out, for example over an unpaid invoice or a contract dispute, click Restrict Access. The status changes to Restricted with an "(unsaved change)" note, and an amber warning explains what will happen. Click Save Changes and confirm with your password. From that moment the client cannot sign in: they see the message "Your portal access has been restricted by <your company name>. Contact them to restore access." Anyone already signed in is logged out within fifteen minutes.
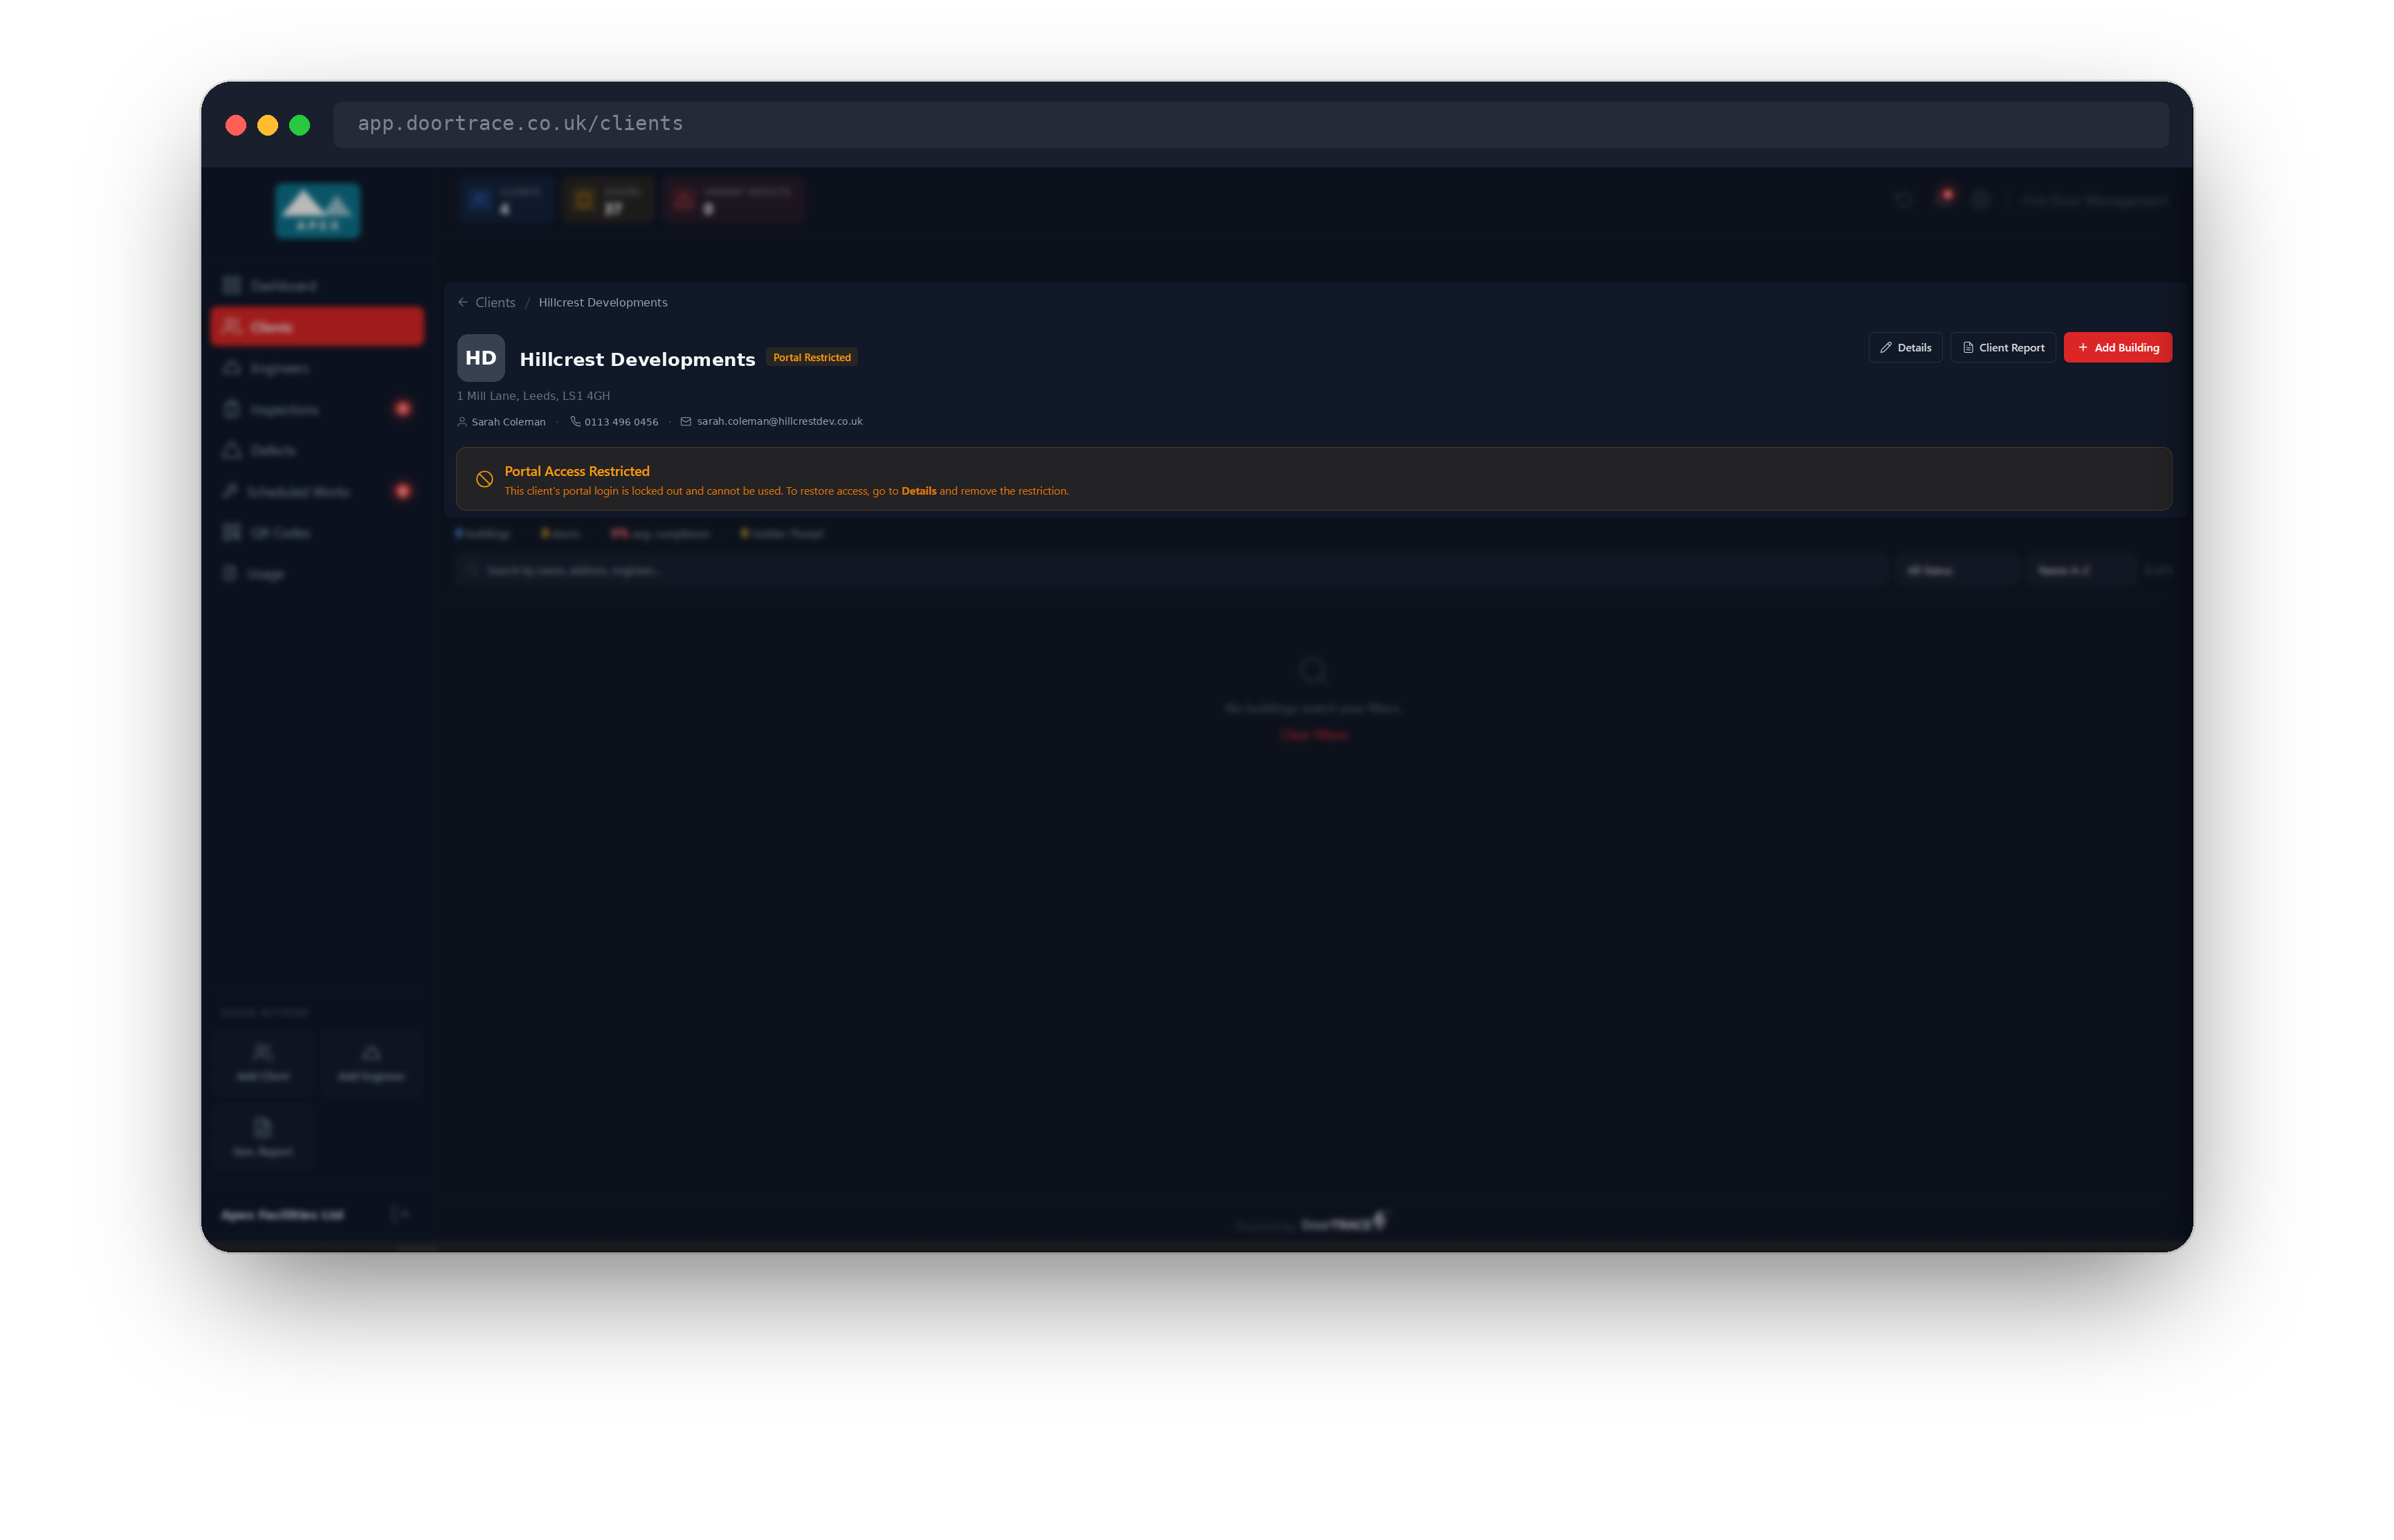
A restricted client stays on your Clients page with an amber Portal Restricted badge, and their page shows a Portal Access Restricted banner as a reminder. Nothing else changes: their buildings, doors, inspections and reports carry on as normal for you and your engineers.
To let them back in, open Details, click Restore Access, save and confirm. The badge and banner disappear and the client can sign in again straight away.
The client's portal login
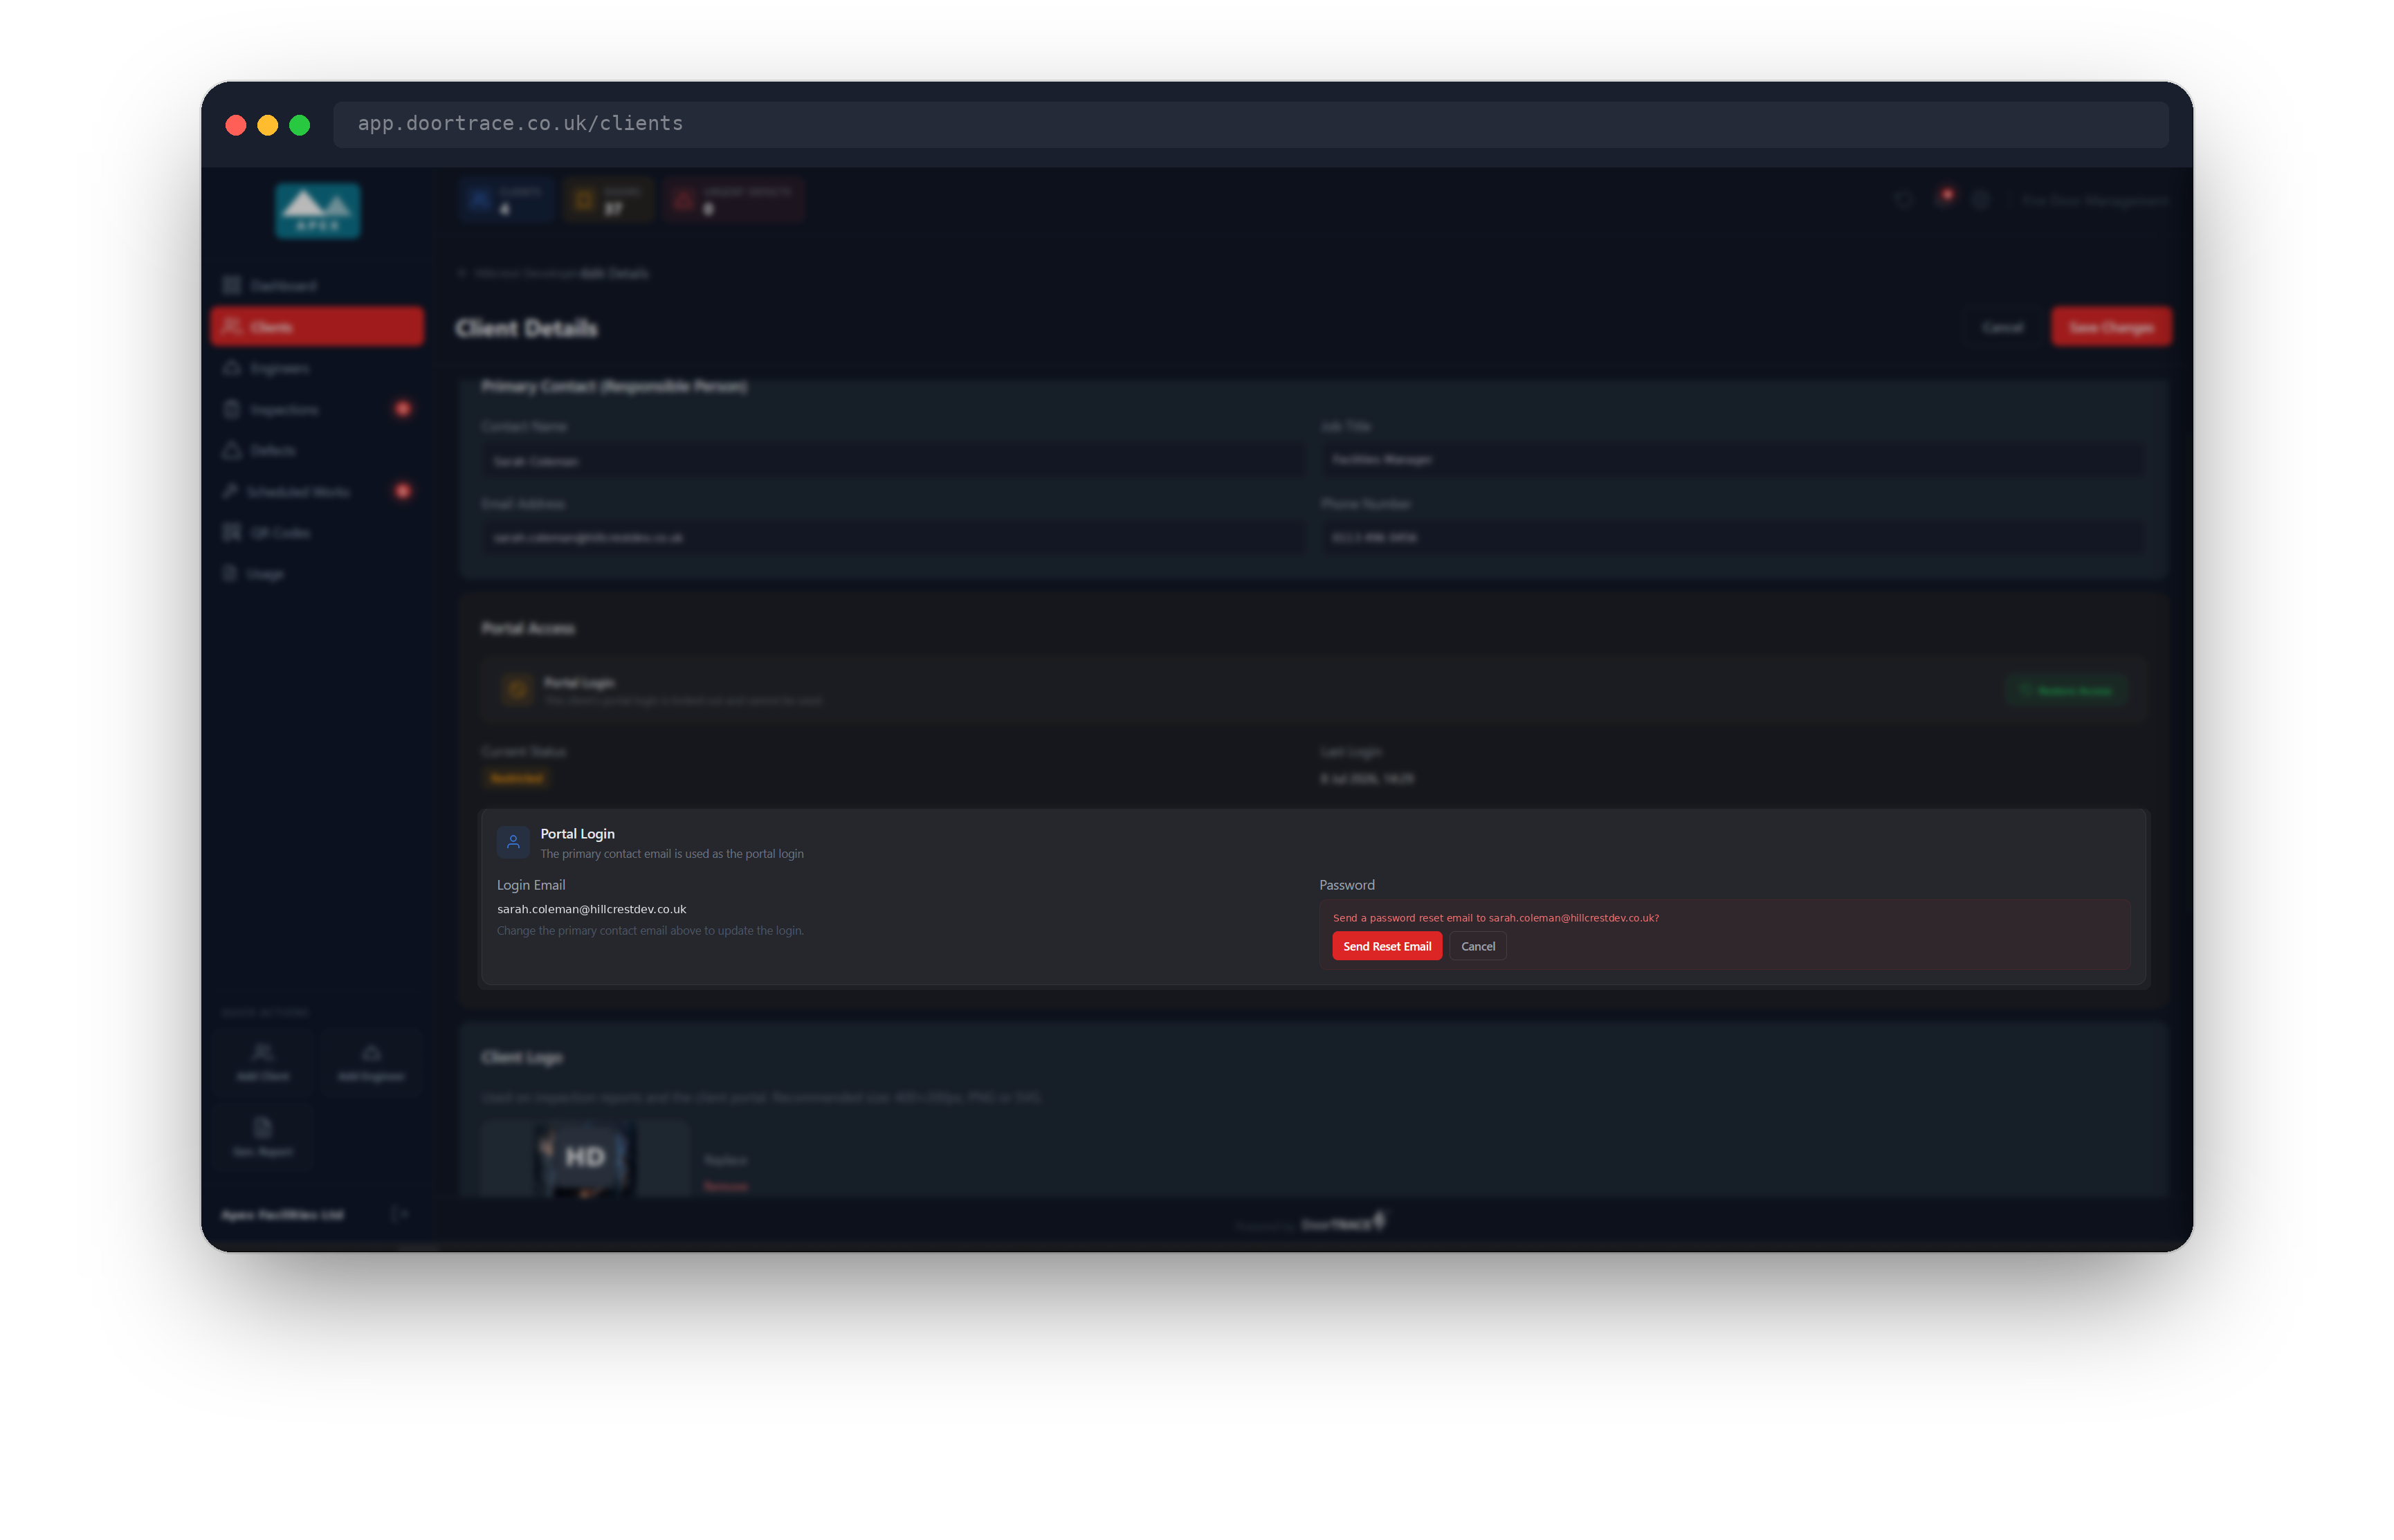
Below the access control is the Portal Login card. Login Email is the primary contact's email address. Last Login shows the most recent time anyone signed in to this client's portal, or "Never" if they have not used it yet.
If the client has forgotten their password, click Reset Password, then Send Reset Email. The contact receives an email from noreply@doortrace.co.uk titled "Reset your DoorTRACE password" with a Reset Password button. The link expires after one hour. The card confirms "Password reset email sent to <address>." and you click Done.
This is also the answer when a new client missed the 72-hour window on their invitation: the reset email gives them a fresh link to set their password.
If the client has no portal login yet
Most clients get their login when you add them, but a client created without the invitation, or whose invitation could not be sent, will show "No portal login has been created for this client yet." Check the primary contact's name and email address are filled in, then click Create Portal Login. The contact receives an email from noreply@doortrace.co.uk titled "Your Fire Door Compliance Portal: Login Details", with their login email, a temporary password and a Sign In to Portal button. The email suggests they change the password after their first sign-in.
Important: One email address is one login on DoorTRACE. If the contact's address is already registered, by any company or as an engineer, the login cannot be created with that address. Change the primary contact email first.
The client's logo
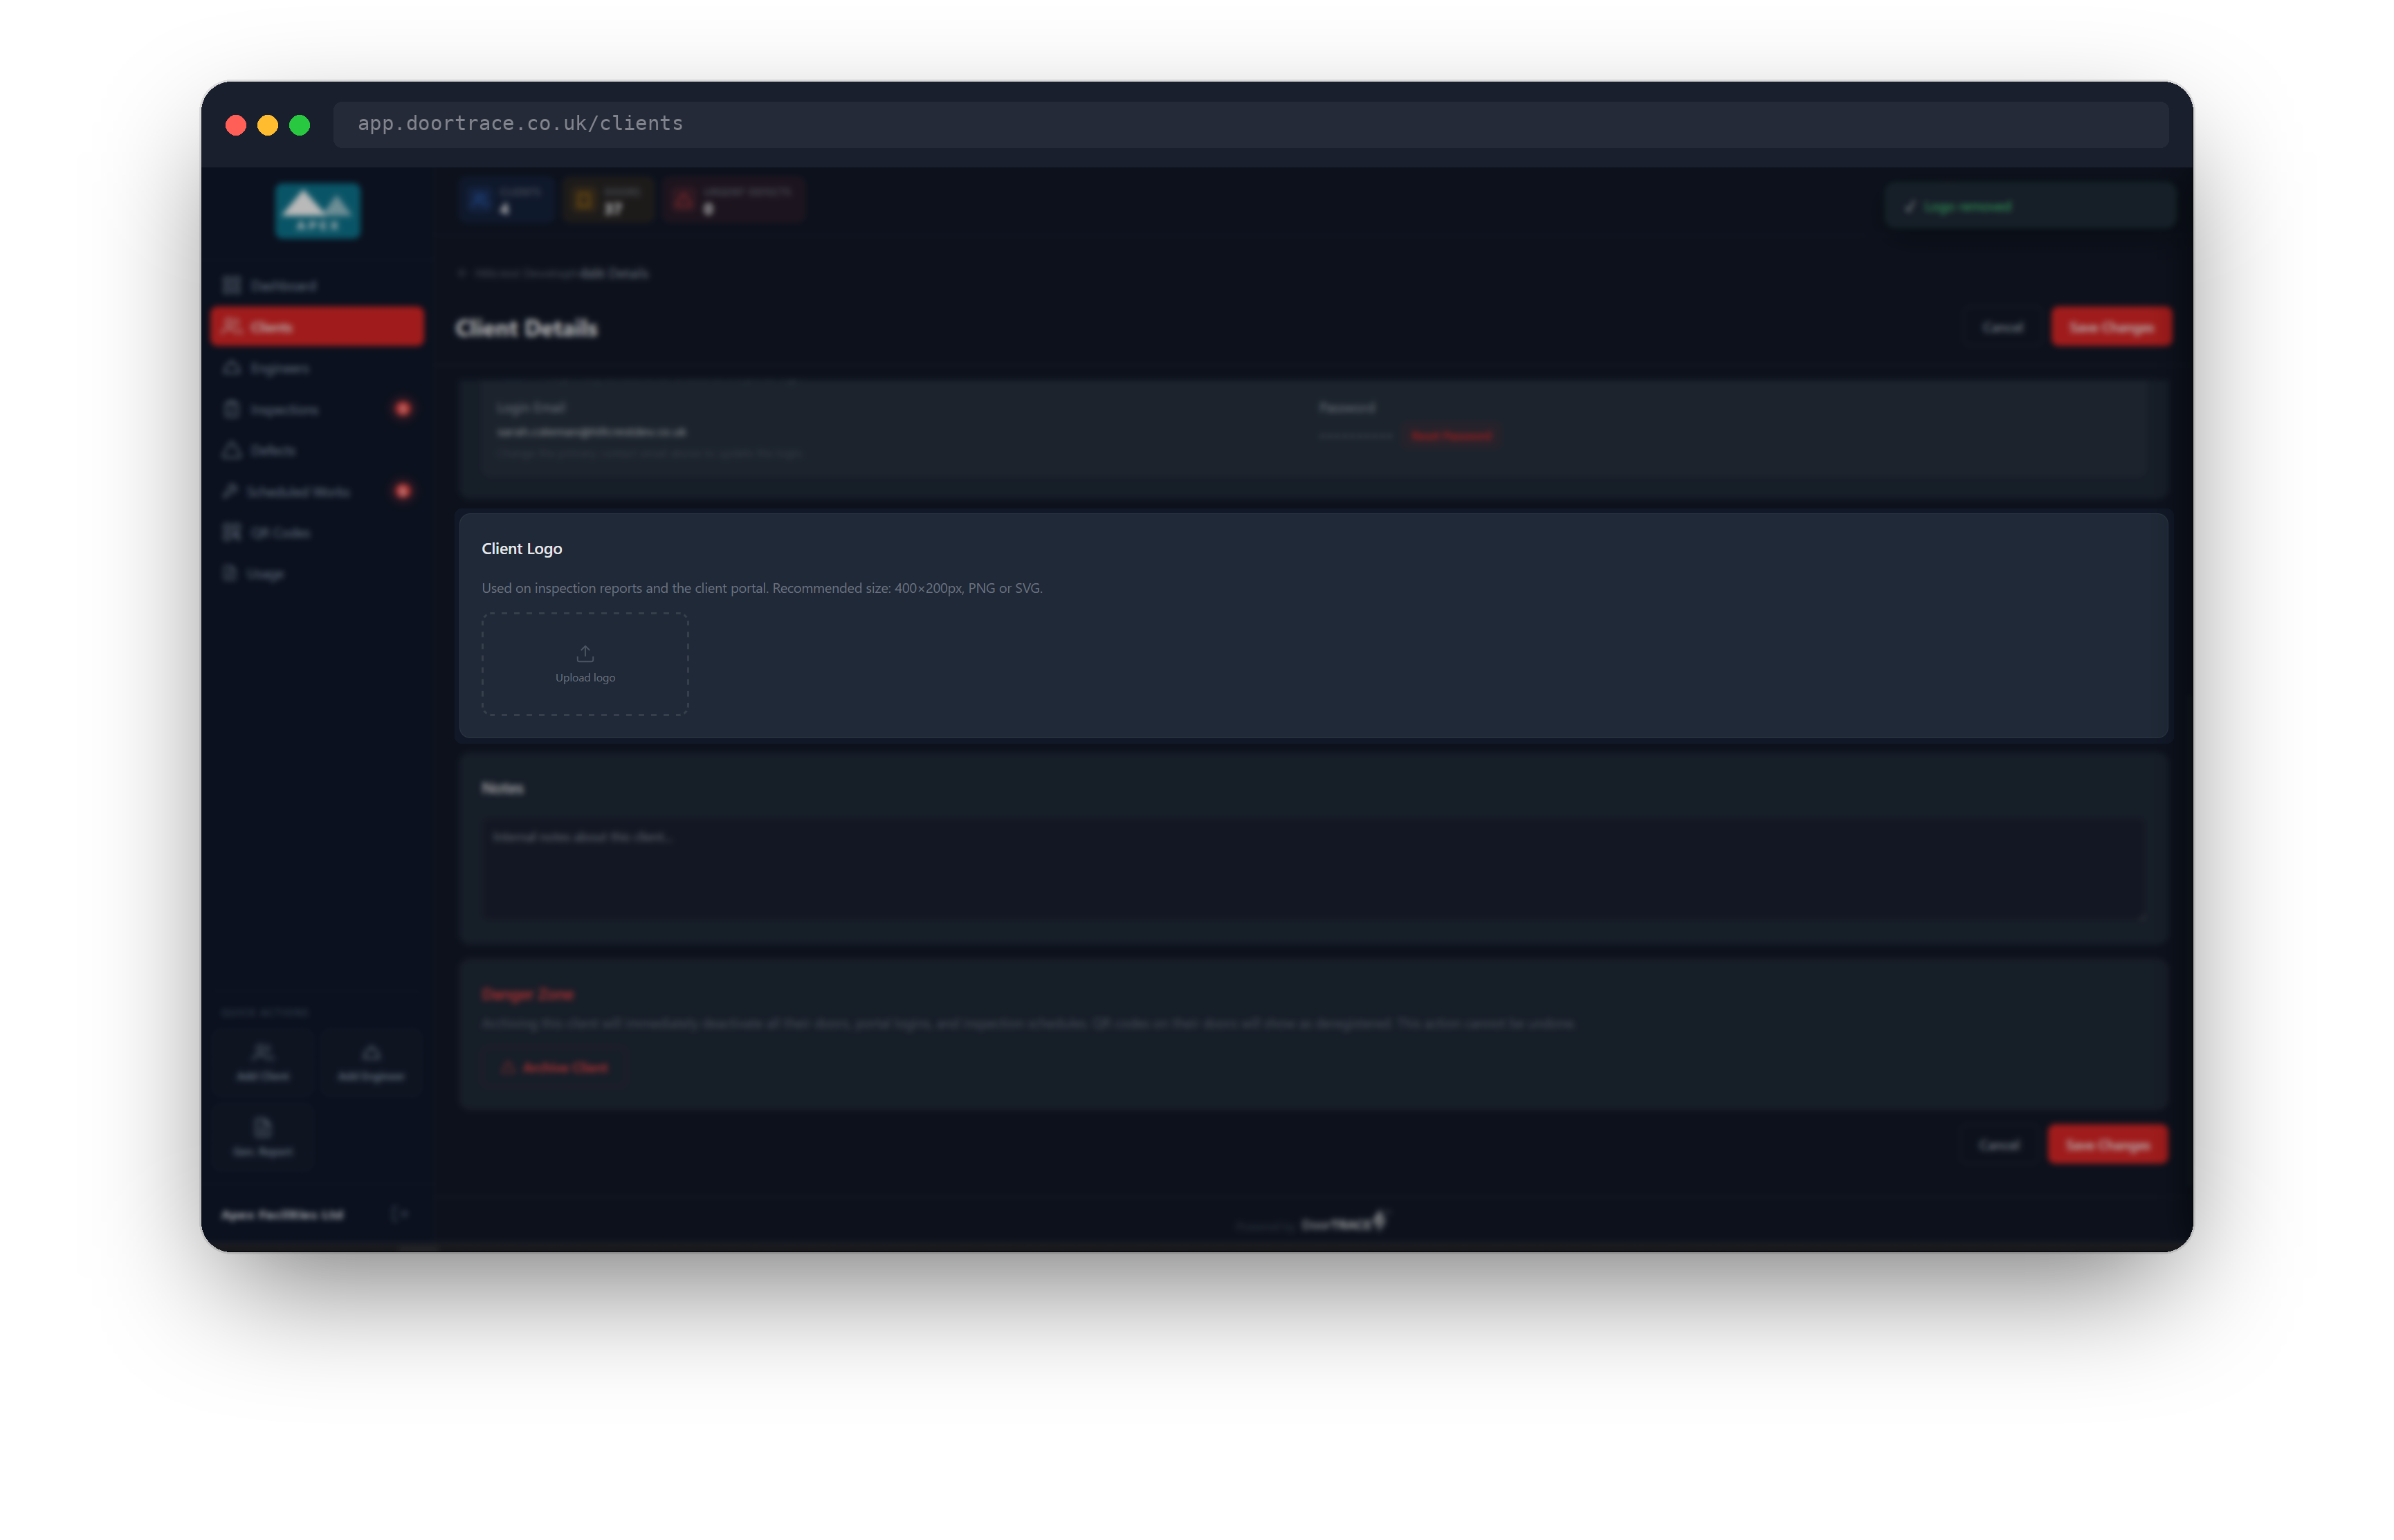
The Client Logo section is where you upload a logo for the client. It appears on their inspection reports and in their portal. Click the Upload logo box and choose a PNG, SVG, JPEG or WebP file up to 2MB; 400 by 200 pixels works best. The logo saves the moment you choose the file: it does not wait for Save Changes and it does not ask for your password.
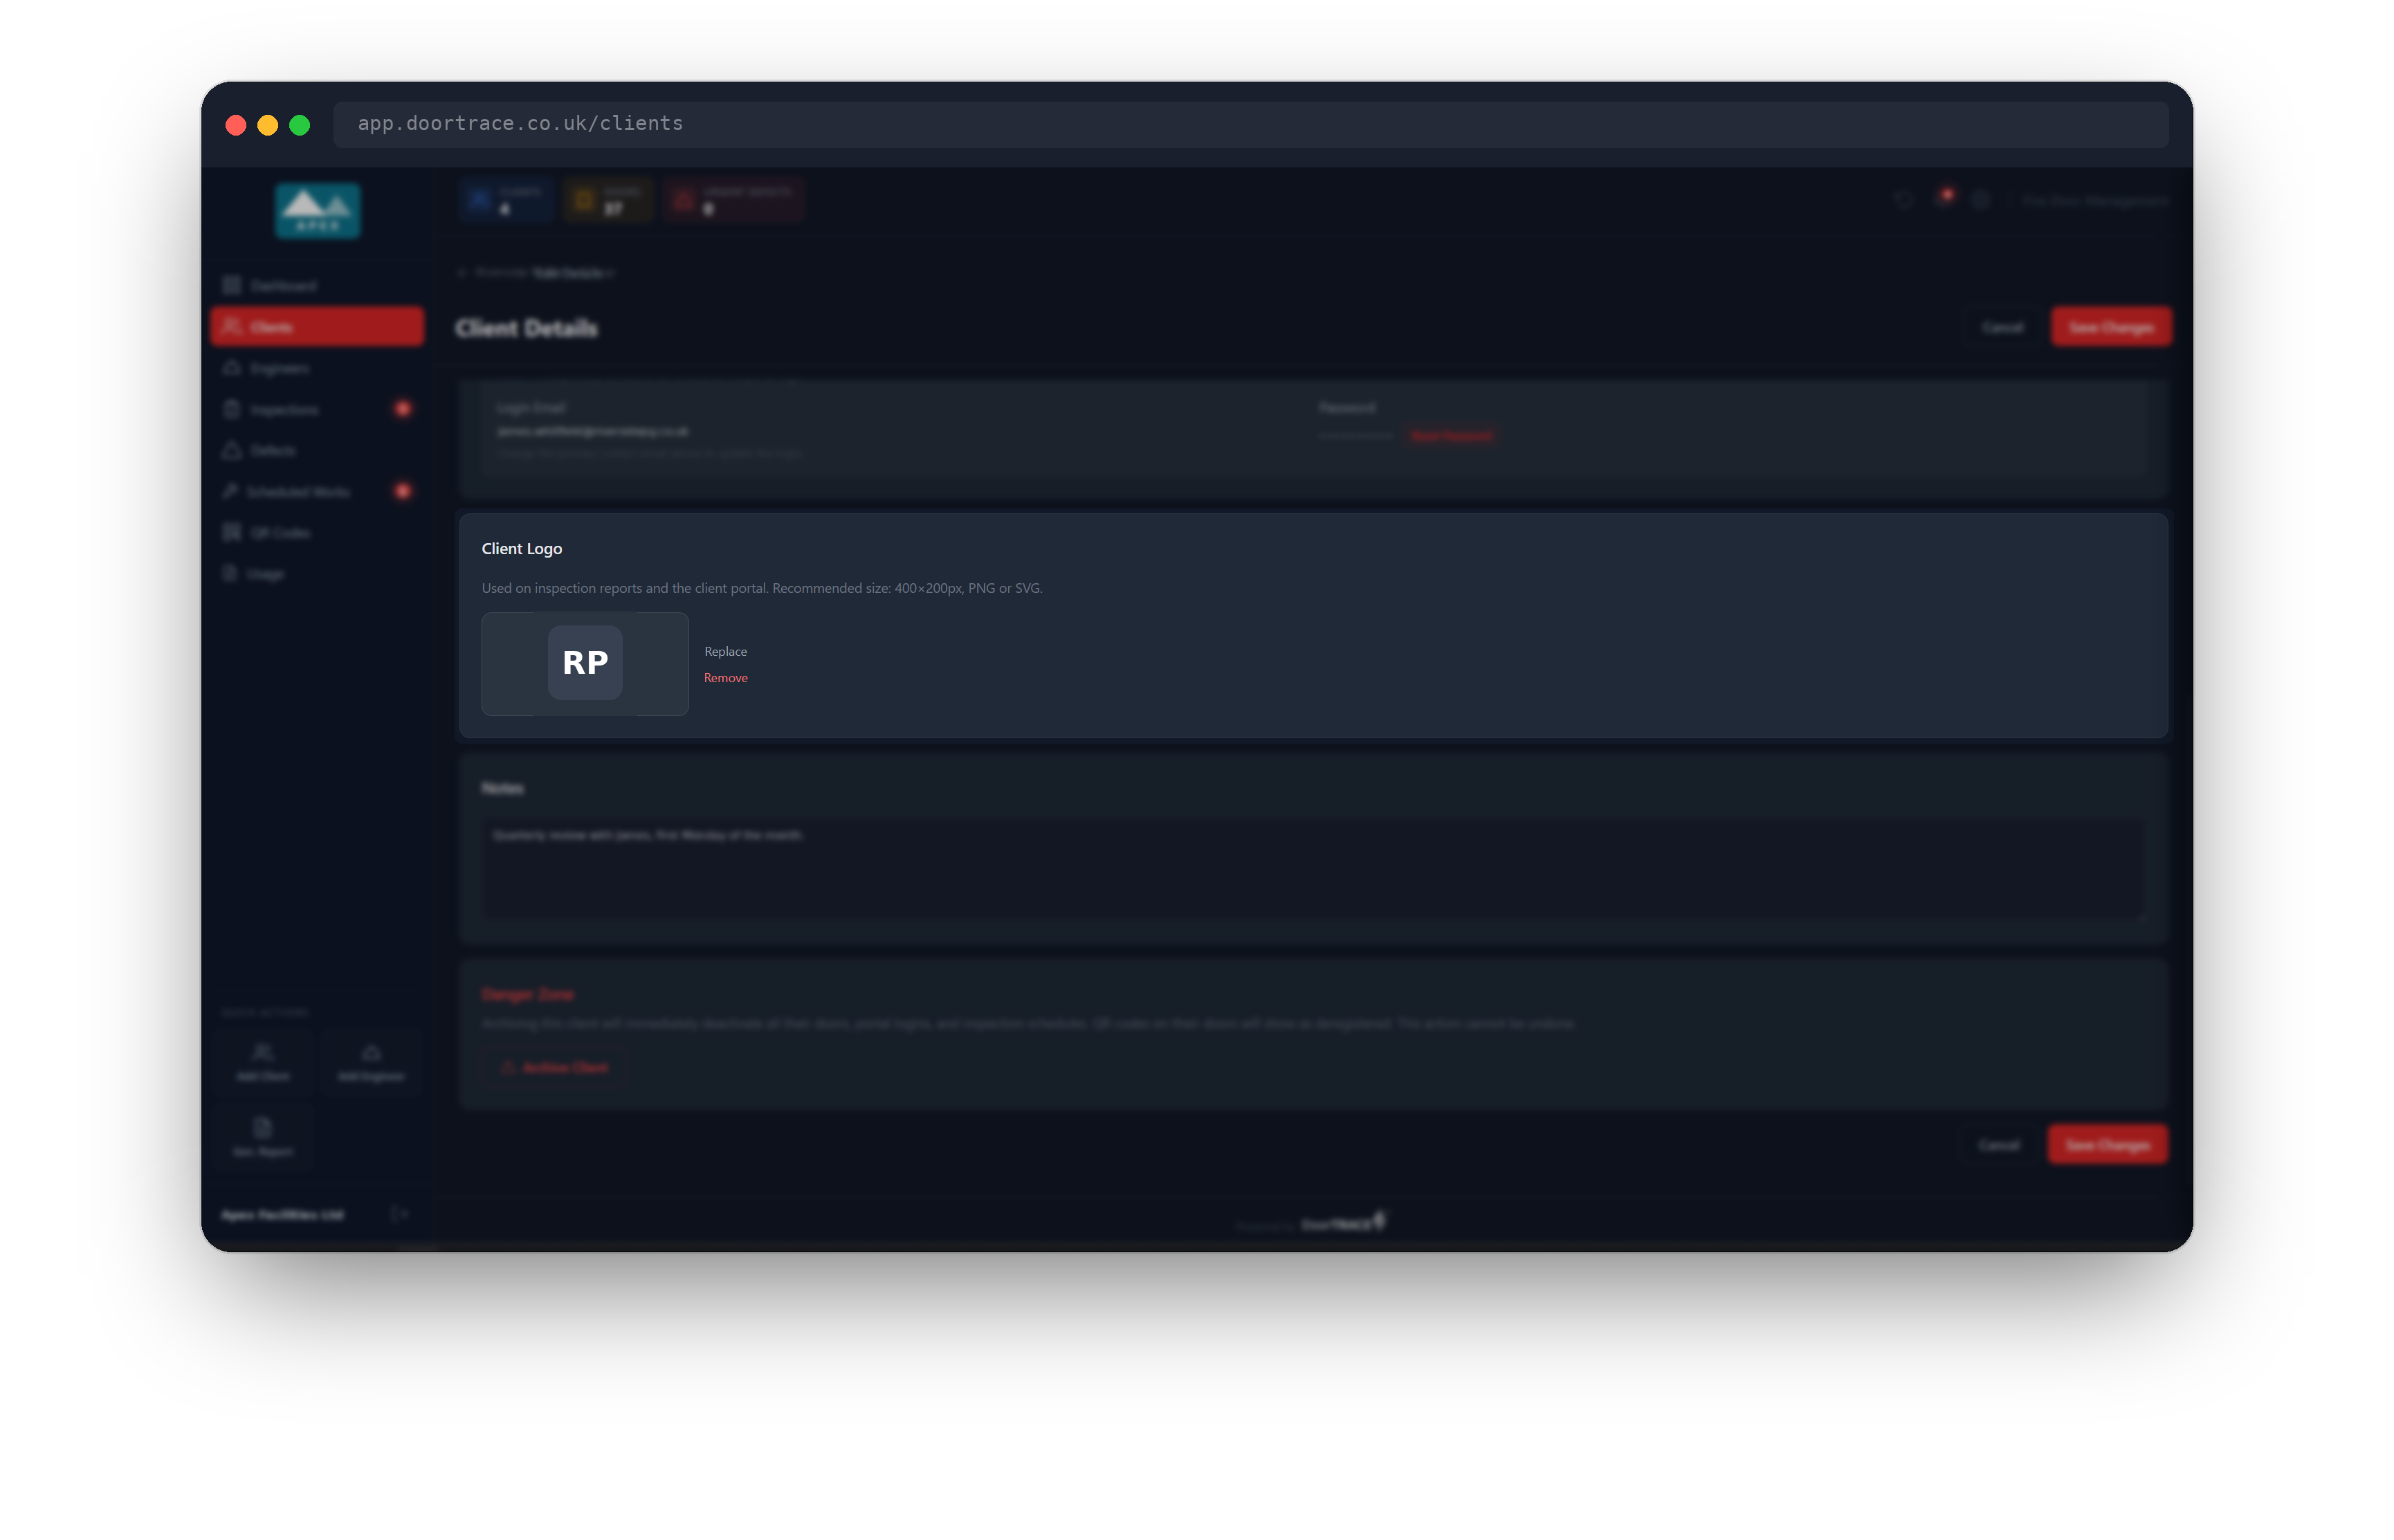
Once a logo is in place it shows in the box with two links beside it. Replace lets you choose a different file, and Remove takes the logo off so reports and the client's portal fall back to the client's name in plain text. Both take effect immediately, in the same way as the upload.
Notes
The Notes box is for anything your team needs to know about this client: billing arrangements, who to speak to, site quirks. Notes are only visible to your company in the portal. The client never sees them. They save with Save Changes like the other details.
Archiving a client
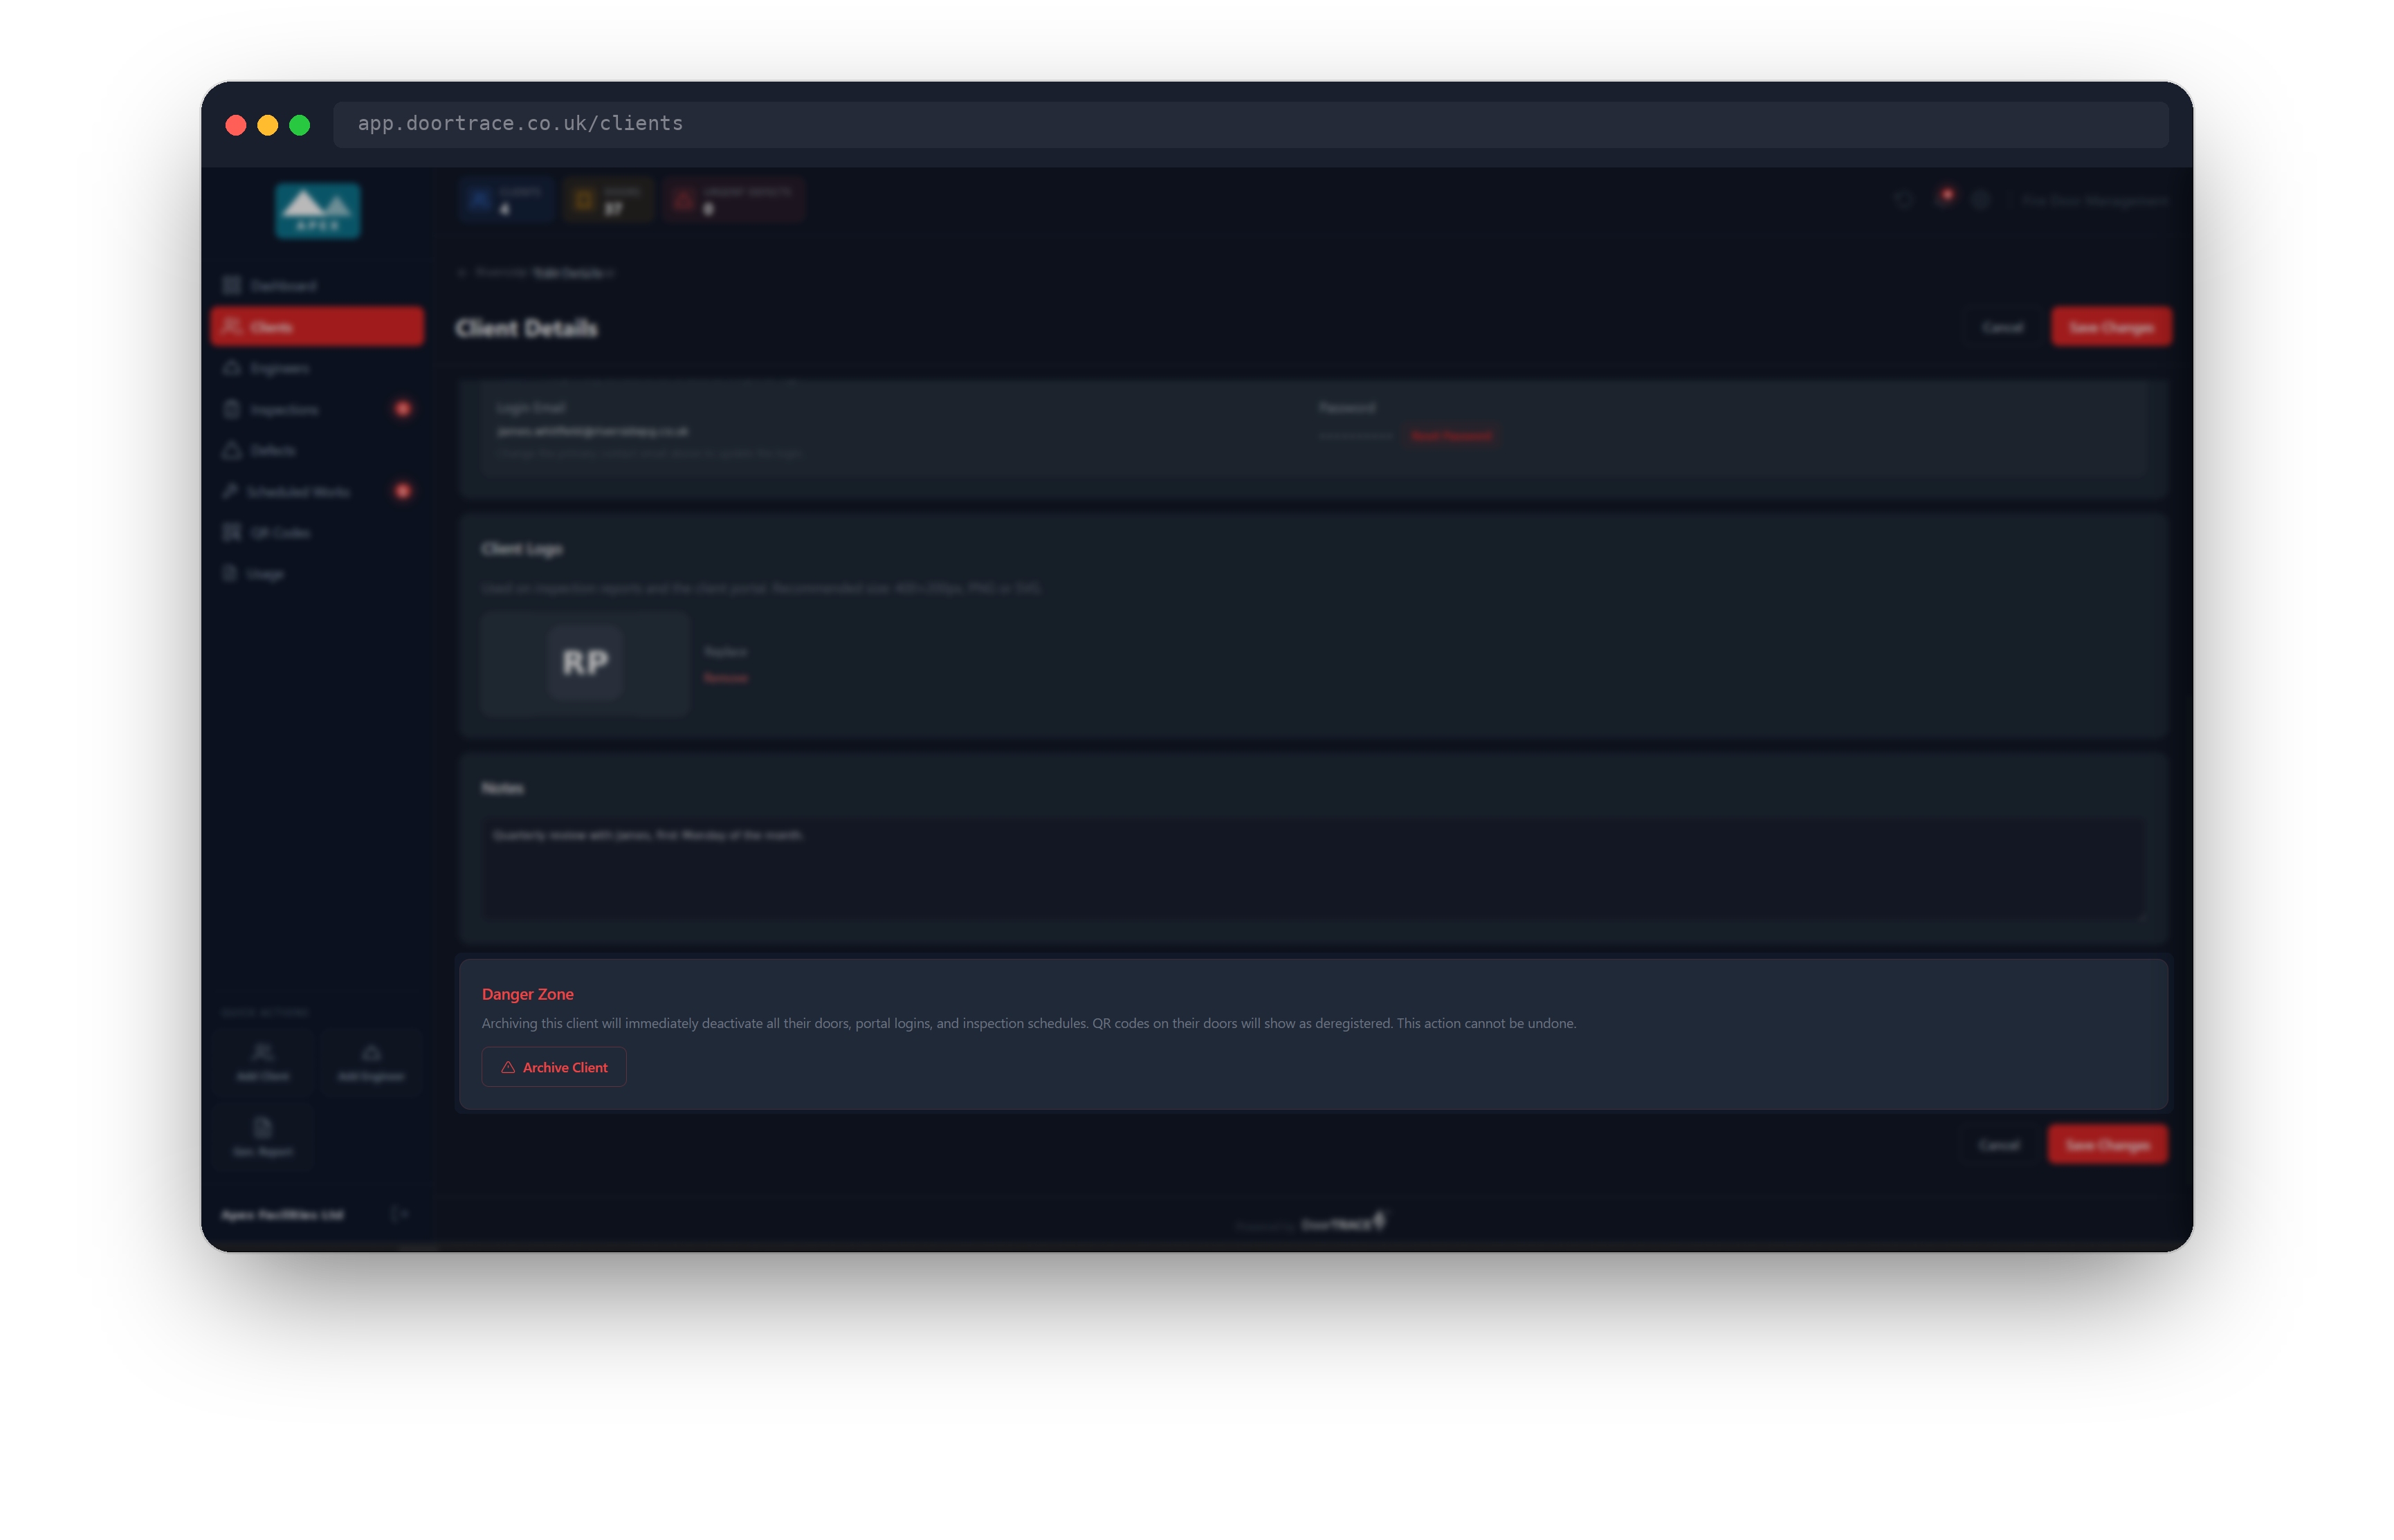
If you stop looking after a client, archive them from the Danger Zone at the bottom of the edit page. Archiving immediately deactivates all of their doors, their portal login and their inspection schedules. Their QR tags show as deregistered when scanned. Their records are kept for your compliance history and can be seen under Settings, Archive, on the Removed Clients tab, covered in The archive.
Click Archive Client, read the confirmation, enter your portal password and click Archive Client again. The portal confirms how many doors were deactivated.
Important: Archiving cannot be undone from the portal. If you only need to stop the client signing in for a while, use Restrict Access instead.
What's next
With the client set up, add their buildings: see Adding a building.
Still can't find the answer?
Send us a message and we'll help. We respond within one working day.