FM Portal guides
FM Portal · Clients and buildings
Pinning doors on a floor plan
Last updated 14 Sept 2026
Once a floor has a plan attached (see Maps and floor plans), you can open it in the plan viewer and mark where each registered door sits. Every pin is coloured by the door's current status and labelled with the floor code and a number, so an engineer walking the floor with a printed plan can find each door without hunting for the QR tag first. This guide covers placing, moving and clearing pins, saving your changes, and downloading the marked-up plan.
Before you start
Open the client, then the building, click Maps at the top of the building page, and scroll down to Floor Plans. Click Pin doors on plan on the floor you want. The breadcrumb reads the building name, then Maps & Site Plans, then the floor name, and the page is titled with the floor name.
Only doors registered on that floor are listed. Engineers pick the floor when they register a door in the app, so if a door is missing from the list, check its floor on the door page first. A door that is moved to another floor loses its pin automatically, because a pin is a position on one particular plan.
If the building has more than one floor, a floor switcher sits next to the title. It lists every floor with how many of its doors are pinned, for example "Level 2 (3/8 pinned)". Floors with no plan yet are greyed out and read "(no plan)".
The plan viewer
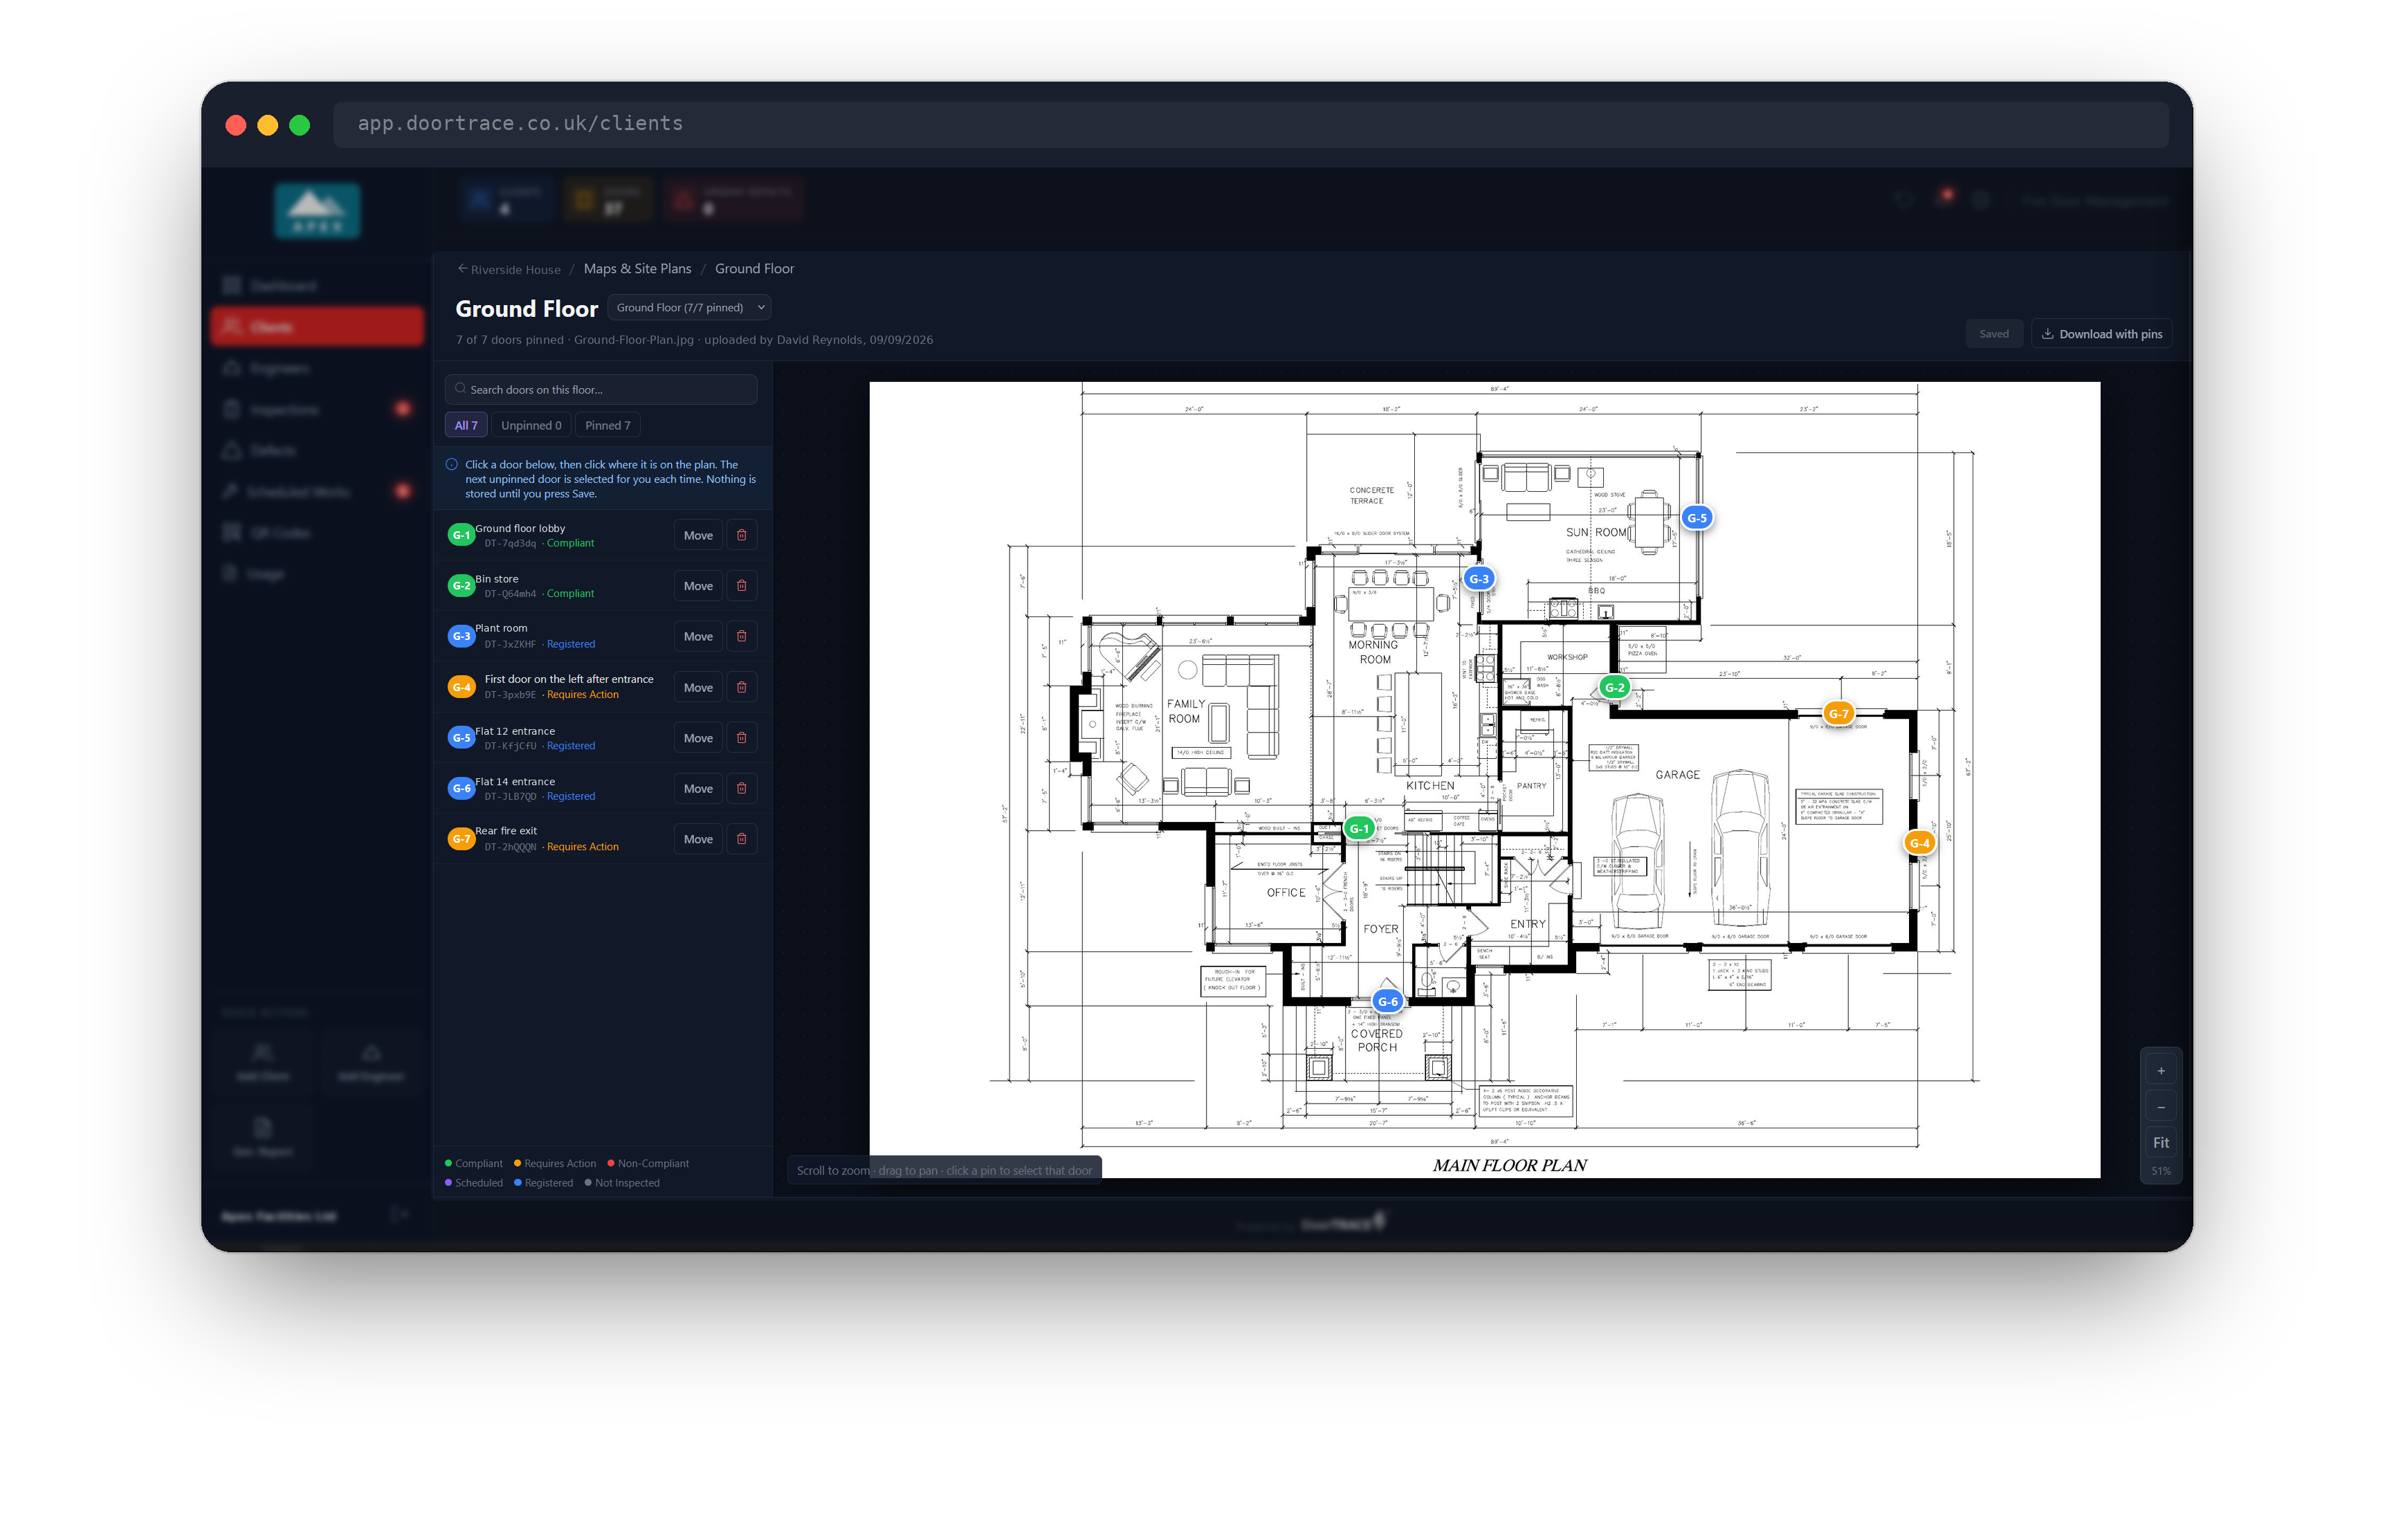
The line under the title reads "n of m doors pinned" followed by the plan's file name and the date it was uploaded. Below that the page splits in two.
On the left is the door list. At the top are a search box and three filters, All, Unpinned and Pinned, each showing a count. Each door in the list shows its location, its QR code and its status. A pinned door has a coloured circle with its pin label (G-3, L2-5) and Move and bin buttons; a door that has not been pinned yet has an empty dashed circle and reads "Not pinned". The status colours are listed at the bottom of the panel.
On the right is the plan itself. Scroll to zoom in and out, drag to move around, or use the +, − and Fit buttons in the bottom corner (Fit brings the whole plan back into view). The current zoom is shown under the buttons. Hovering a pin enlarges it and shows the door's location and QR code; hovering a door in the list highlights its pin, and hovering a pin highlights its door in the list.
Placing a pin
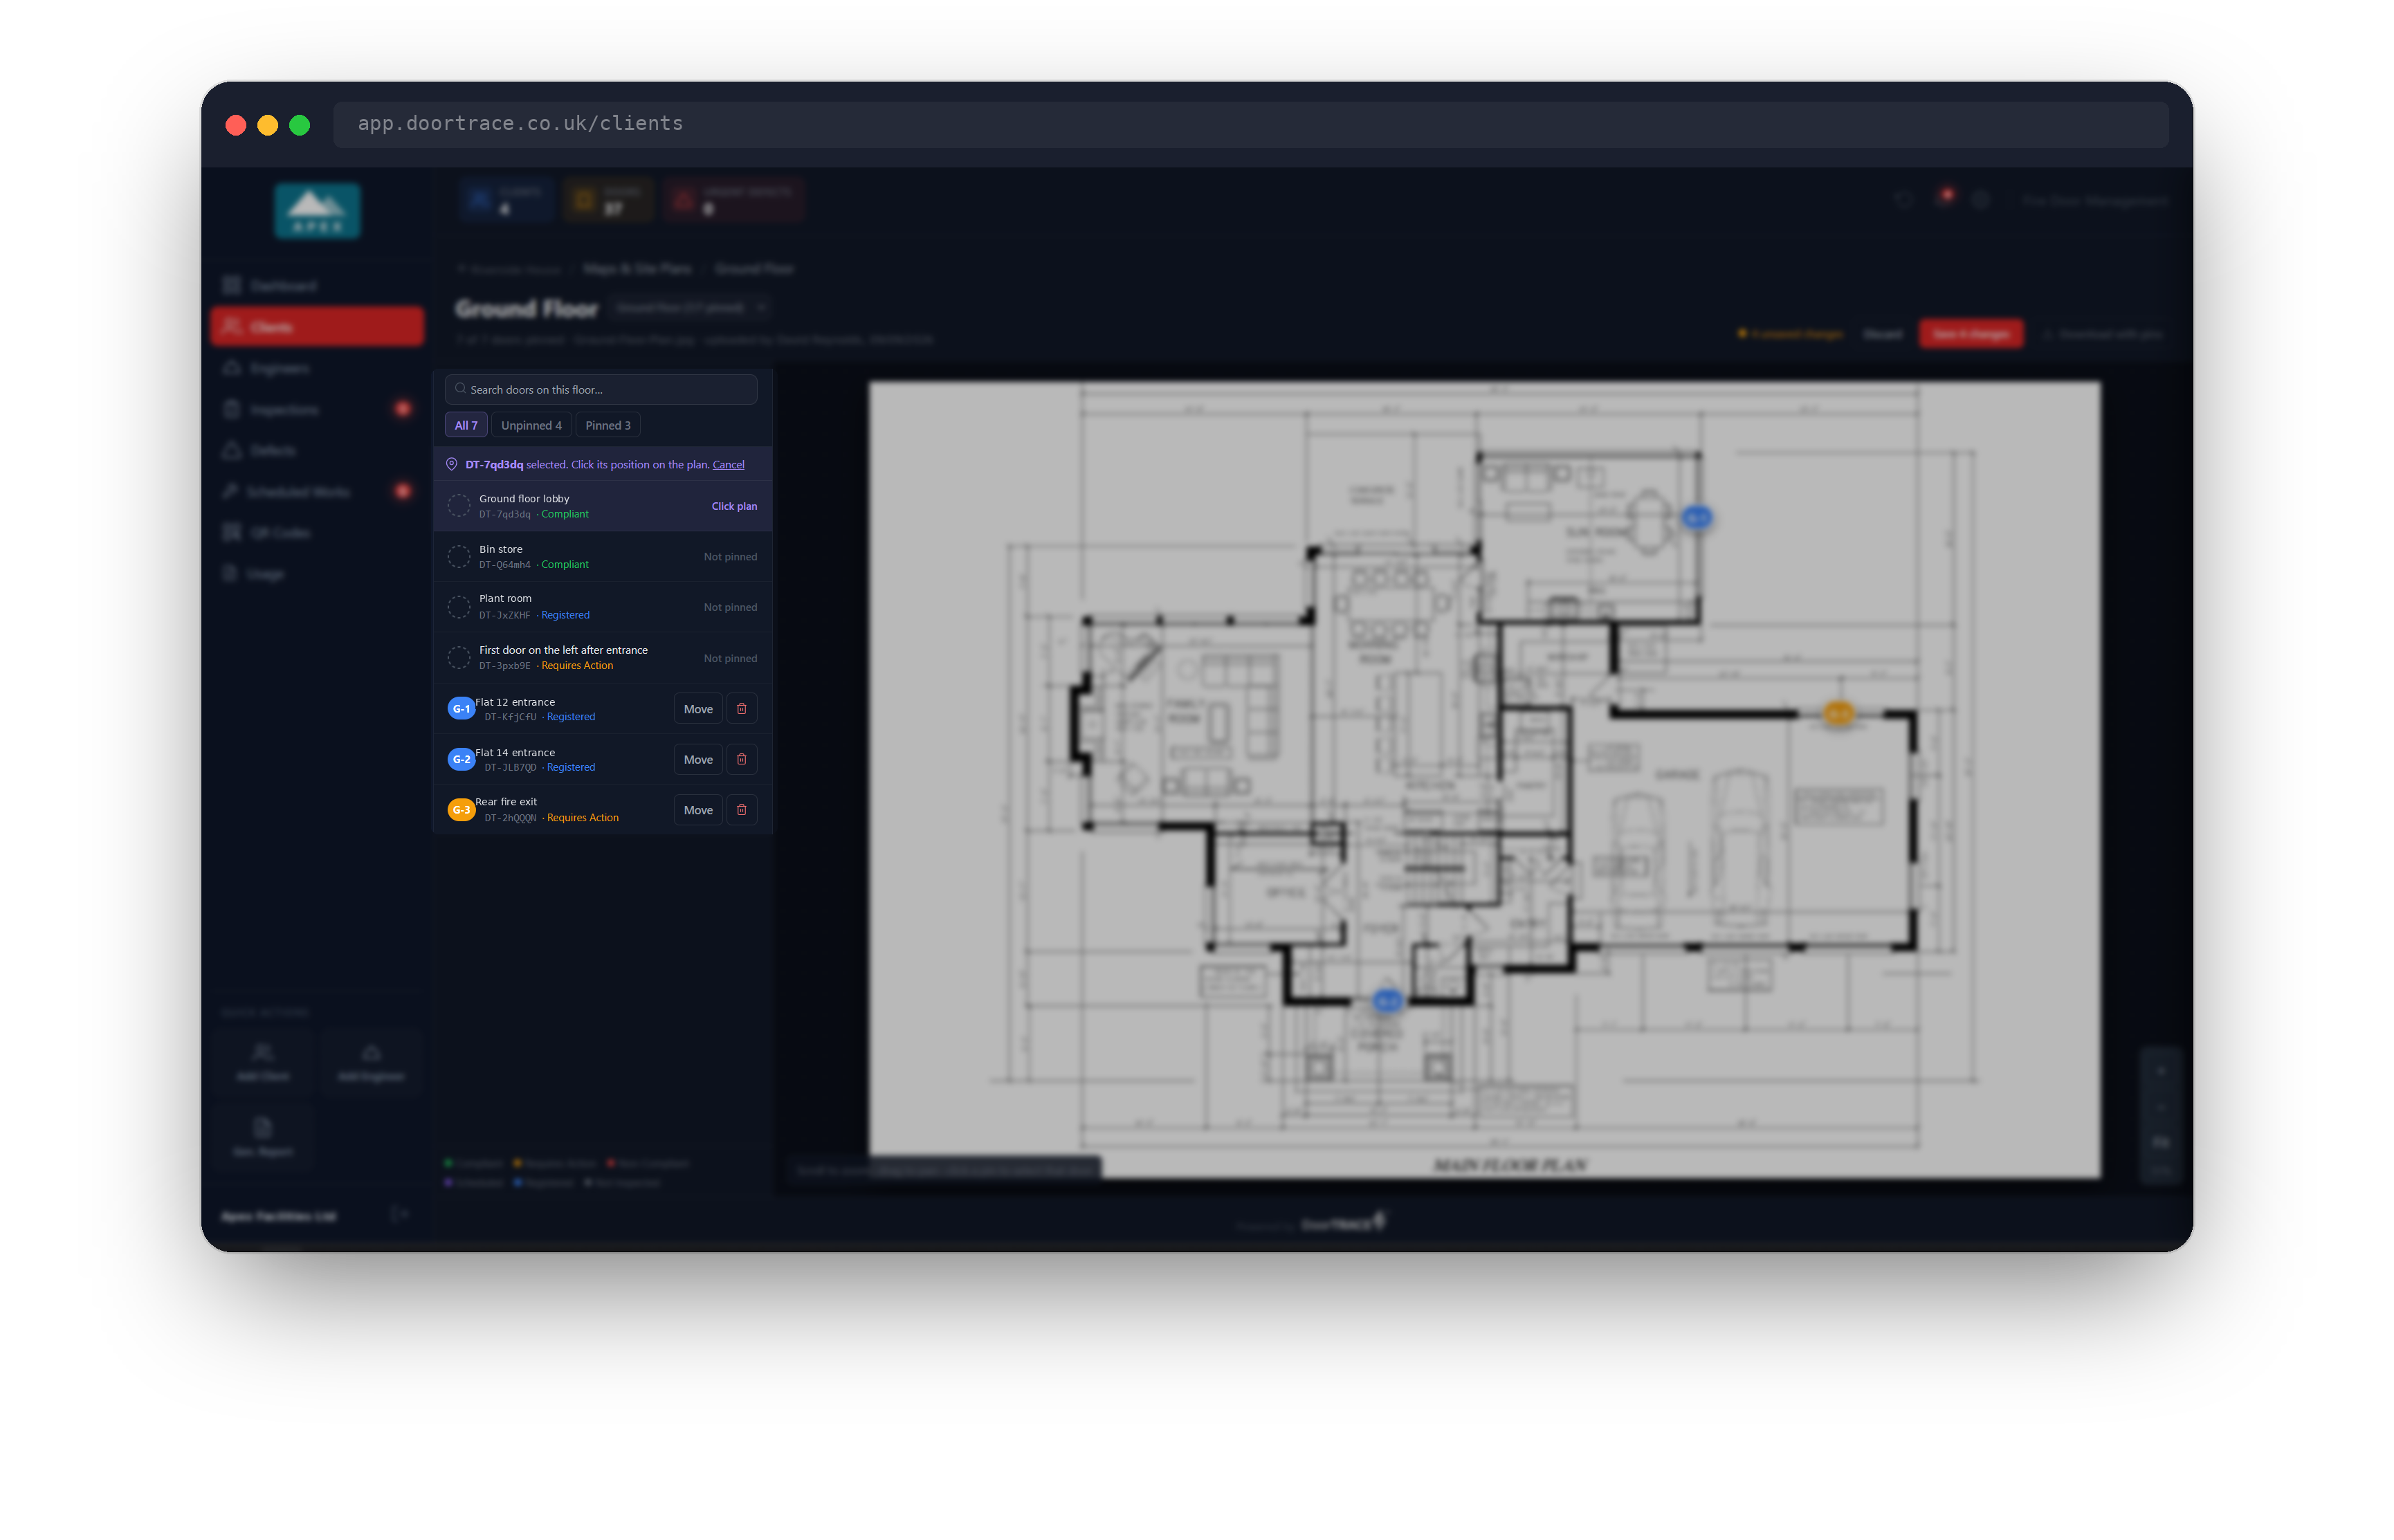
Click a door in the list. The row turns purple, the panel at the top of the list reads "<QR code> selected. Click its position on the plan", and the pointer becomes a crosshair over the plan. Click the spot where the door is and the pin appears there.
The next unpinned door in the list is then selected for you automatically, so you can work down a floor by clicking door, plan, door, plan without going back to the list each time. The list keeps whatever search or filter you have set, so with the Unpinned filter on, the list shrinks as you go. Click Cancel in the panel, or click the selected door again, to stop.
Clicking outside the plan image shows "Click inside the plan" and nothing is placed. Drag to move the plan around while a door is selected; only a plain click places a pin.
Tip: Zoom in before placing pins on a busy corridor. Pins keep the same size on screen at any zoom, so the closer you are, the more precisely you can place them.
Moving or clearing a pin
Click Move on a pinned door, or click its pin on the plan while no door is selected, and the panel reads "Click its position on the plan to move it". Click the new spot.
Click the bin button on a pinned door to clear its pin. The door goes back to "Not pinned" and can be placed again. Nothing is deleted on the server until you save, so if you clear the wrong one, click Discard to put everything back as it was.
Saving your changes
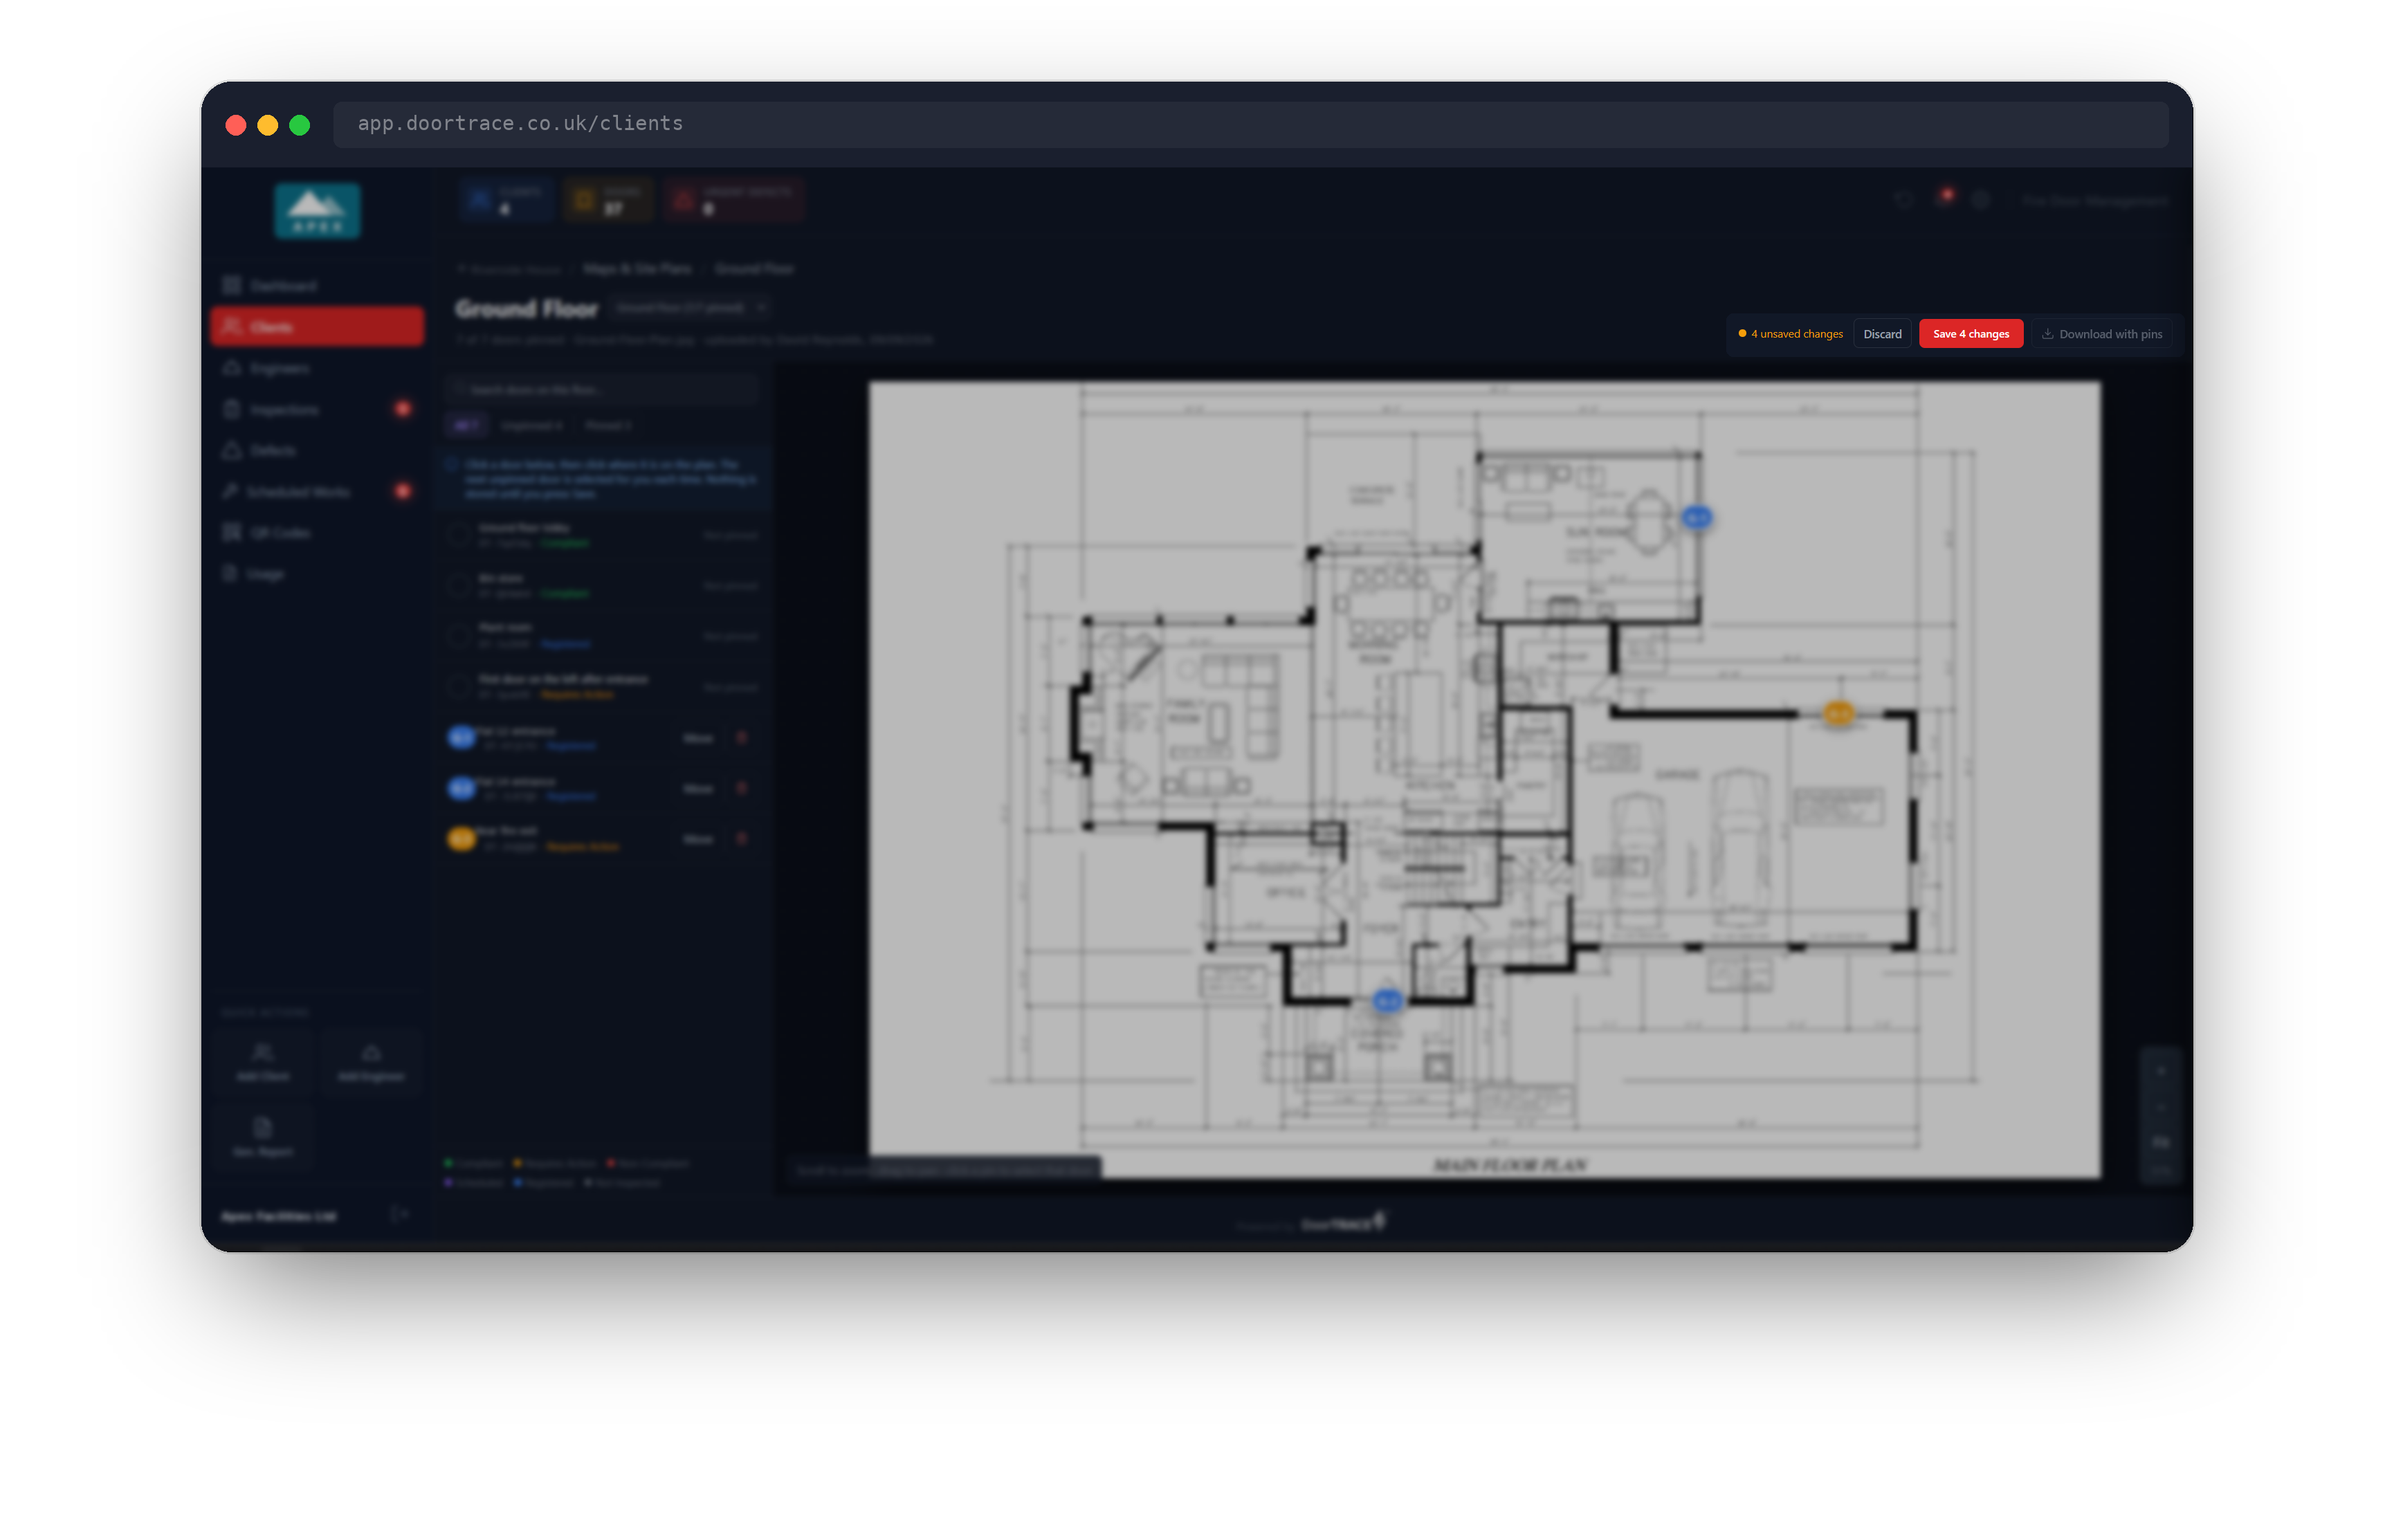
Nothing you do in the viewer is stored until you press Save. While you have changes, the header shows an amber dot with "n unsaved changes", a Discard button, and the red Save n changes button. Doors you have changed are marked with an amber bar on the left of their row, and pins you have placed but not yet saved sit on the plan like any other, so you can check them before committing.
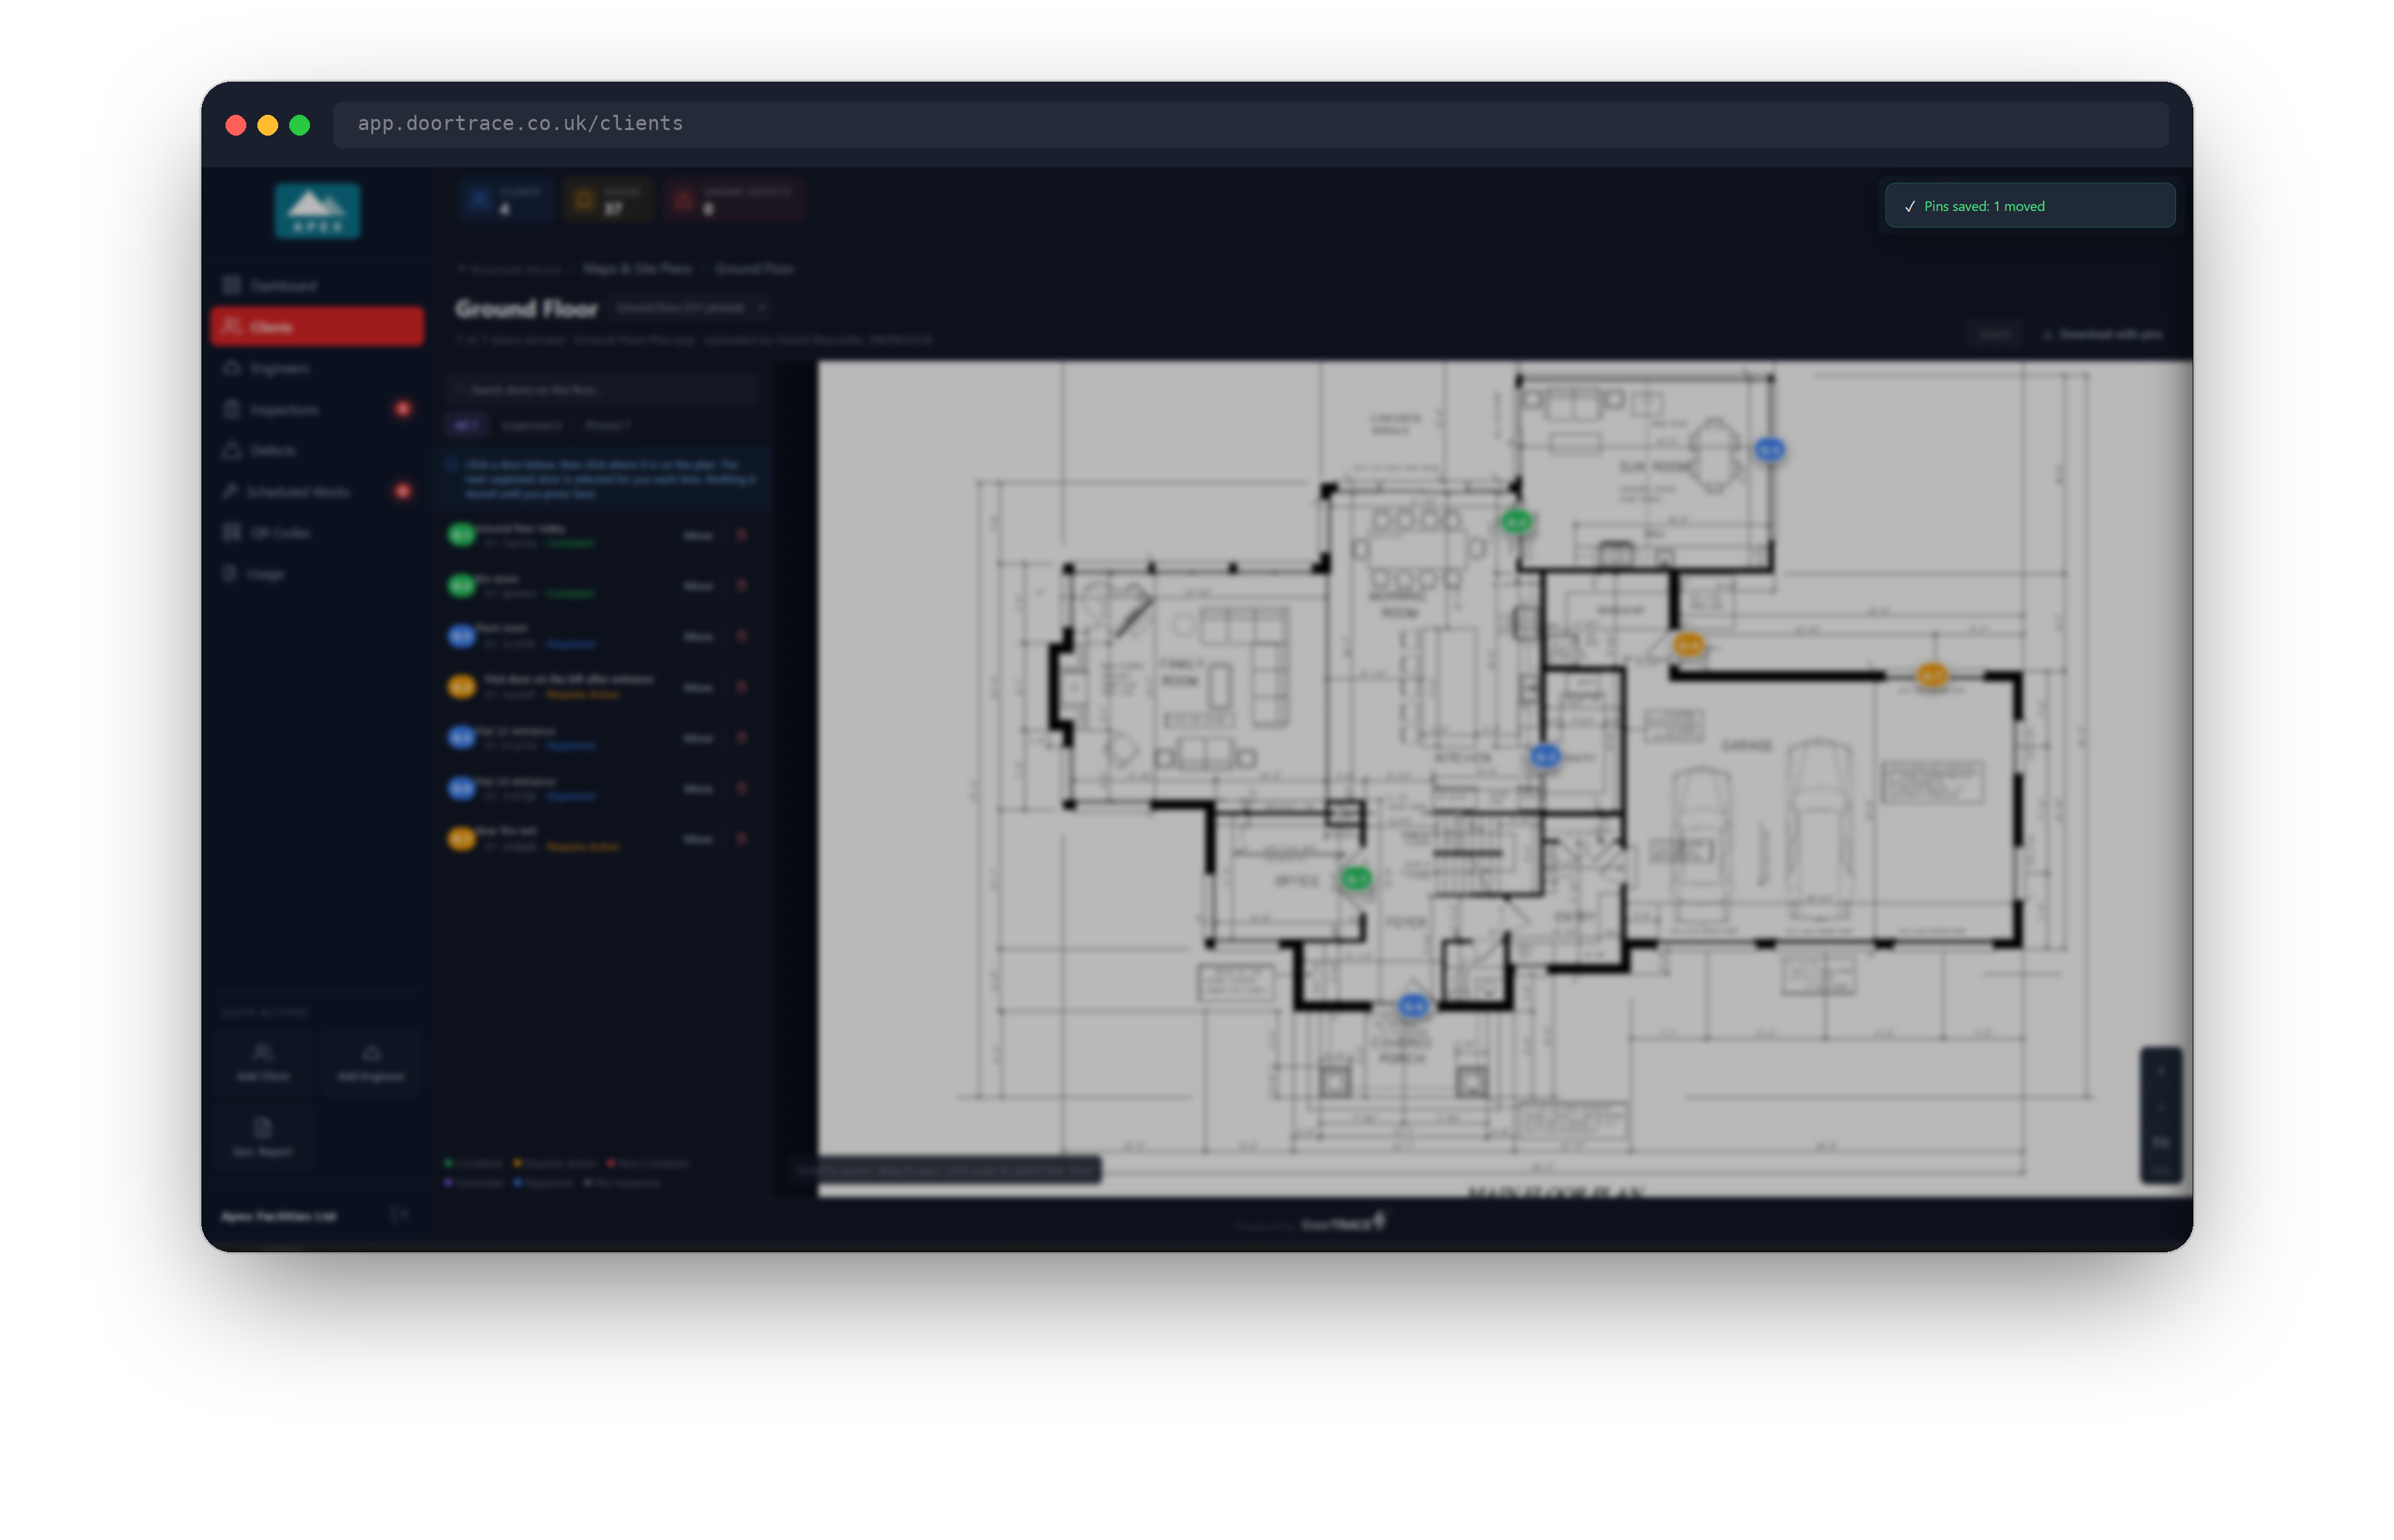
Click Save n changes. Every placed, moved and cleared pin on the floor is saved together, so either the whole set lands or none of it does. The message tells you what happened, for example "Pins saved: 3 placed, 1 moved, 2 cleared", and the floor switcher counts update. Each pin change is recorded in the audit trail against its door.
Discard throws away every unsaved change and shows "Changes discarded".
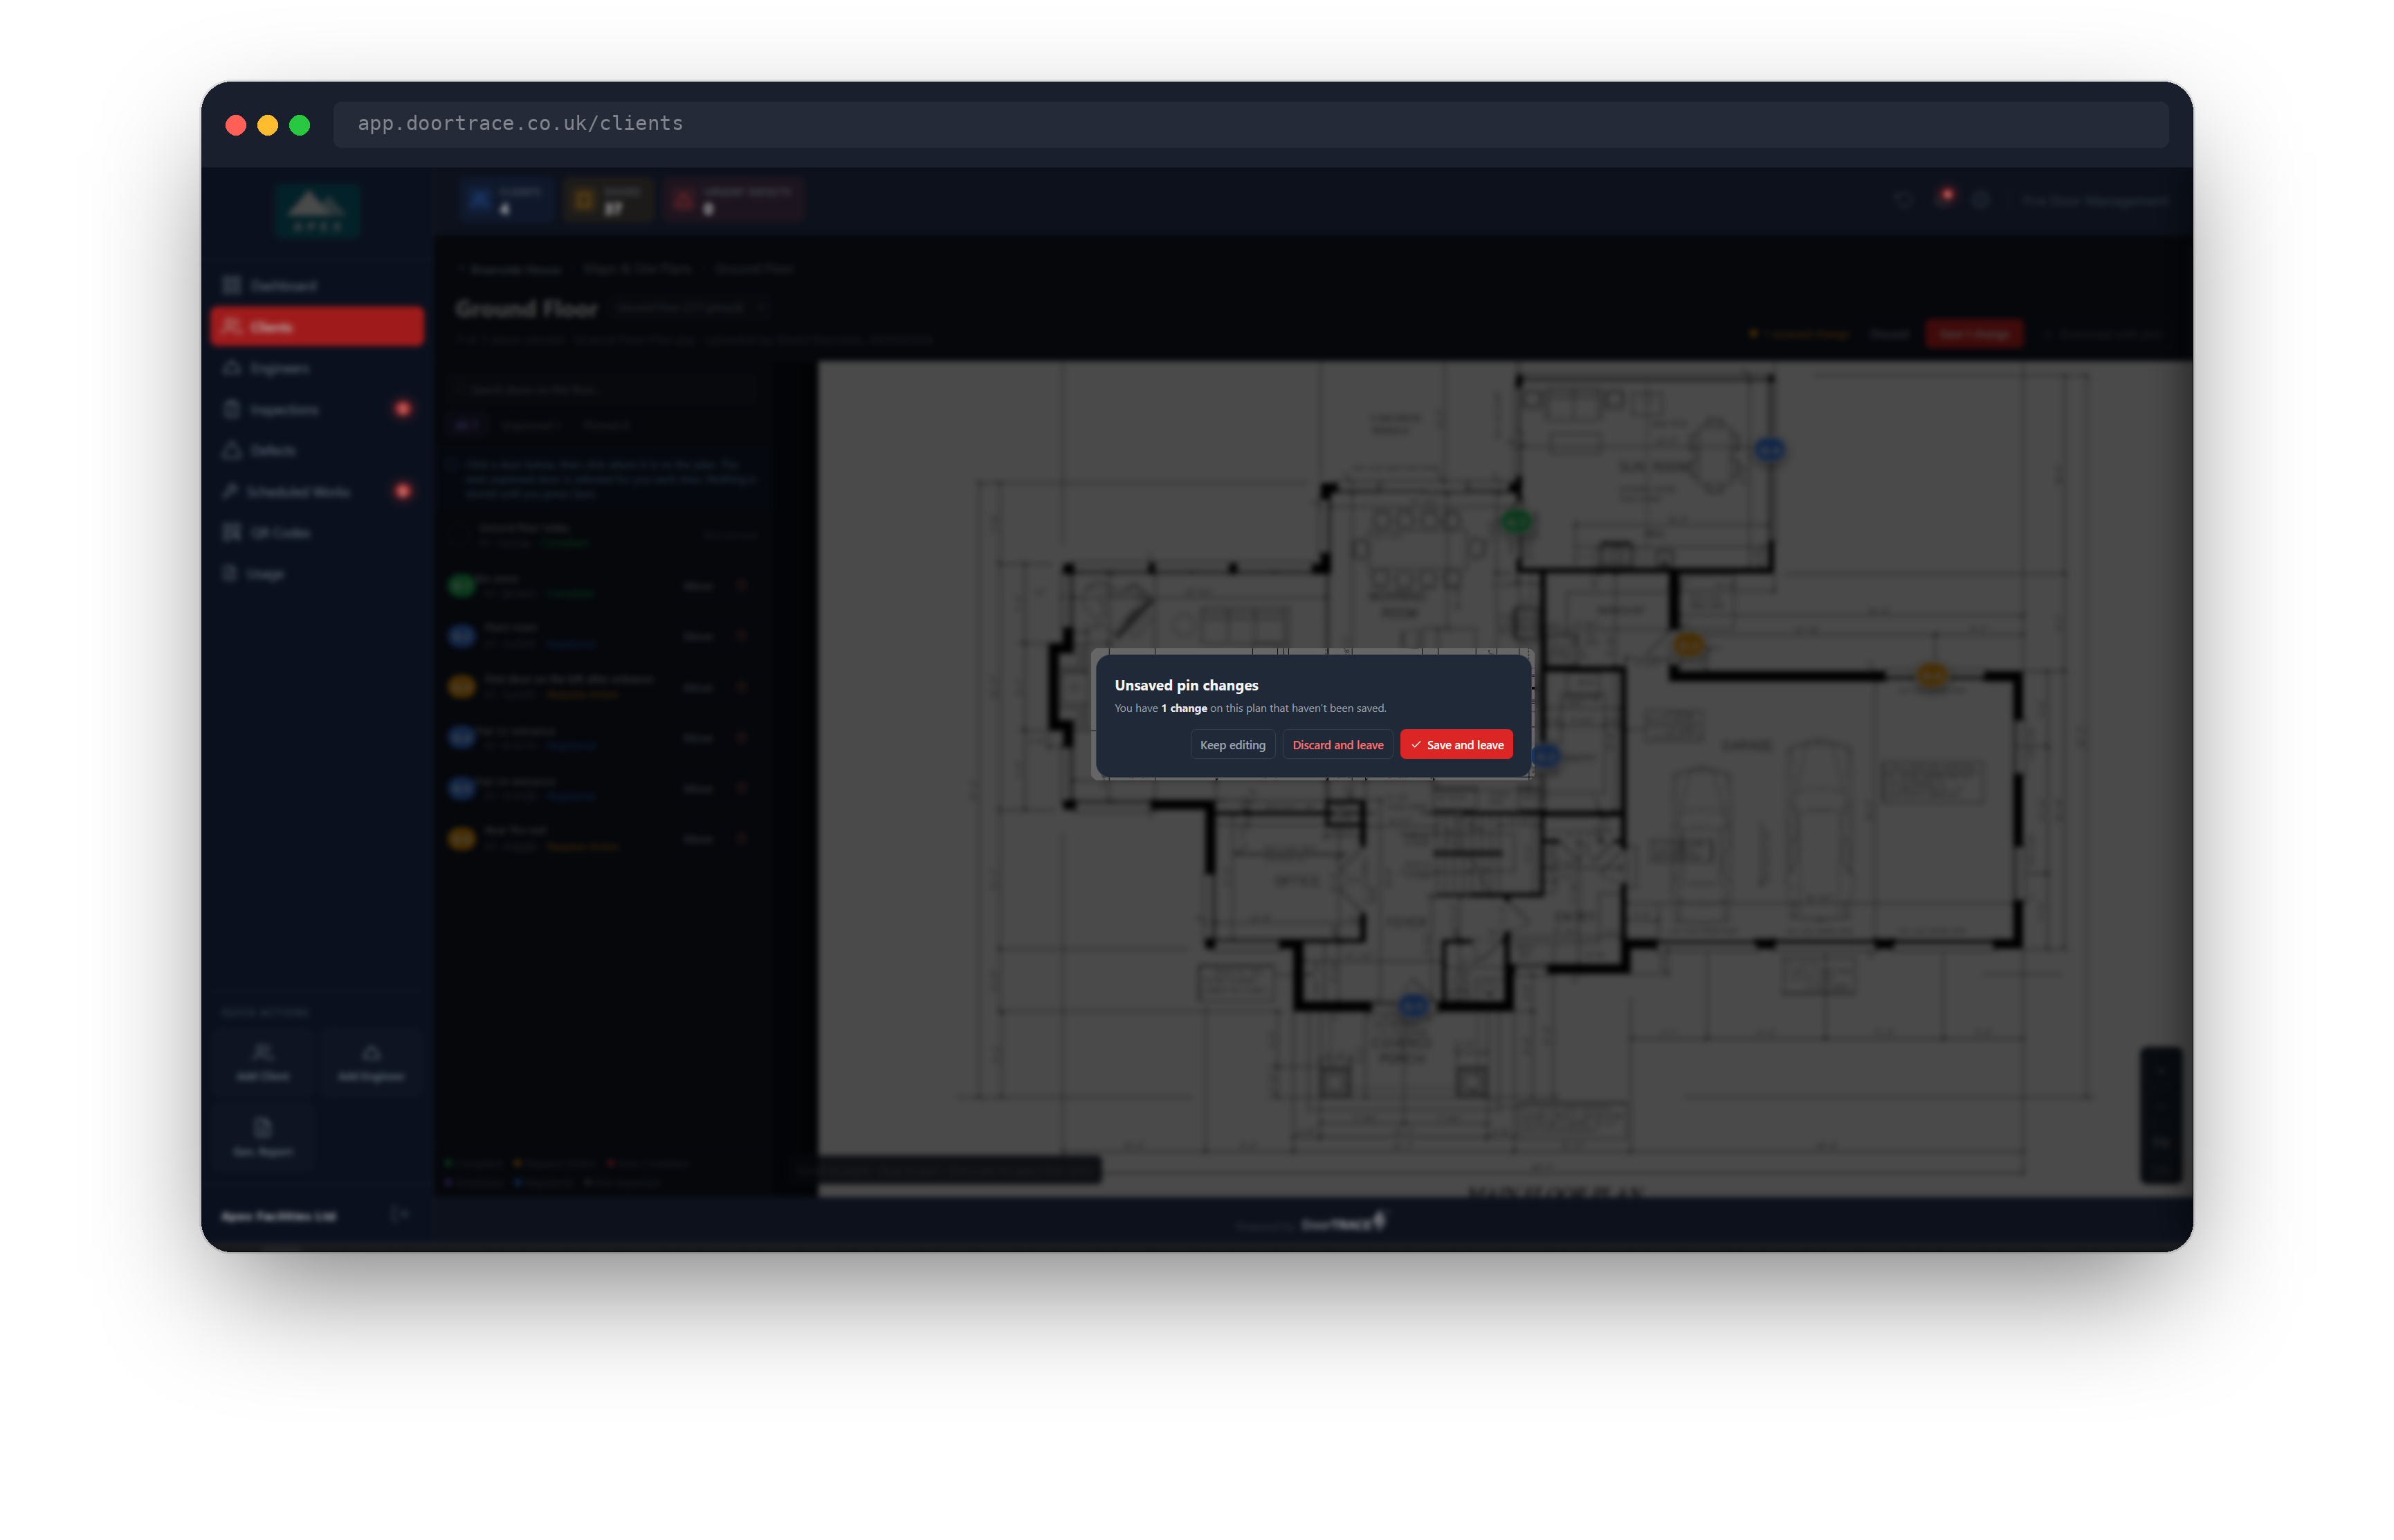
If you click the building name in the breadcrumb or pick another floor in the switcher while you have unsaved changes, a pop-up titled Unsaved pin changes tells you how many changes have not been saved and offers Keep editing, Discard and leave and Save and leave. Closing the browser tab with unsaved changes makes the browser ask you first too.
Important: A pin is a position on the plan image. Replacing or removing the floor's plan clears every pin on that floor, and moving a door to a different floor clears that door's pin. In both cases the pins need placing again.
Pin numbers
Pins are labelled with the floor code and a number: G-1, G-2 on the Ground Floor, LG-1 on Lower Ground, B2-1 in Basement 2, L12-1 on Level 12, R-1 on Roof Level. The numbers run in order of the doors' locations, so the key on the PDF reads naturally from A to Z. The same labels appear in the list, on the plan and in the downloaded PDF.
Tip: The pin numbers are not stored. They are worked out from the pinned doors each time the page or a PDF is built, so pinning another door, or clearing one, can change the numbers of the others. Treat the QR code as the door's fixed reference and the pin number as a guide to the drawing.
Downloading the plan with pins
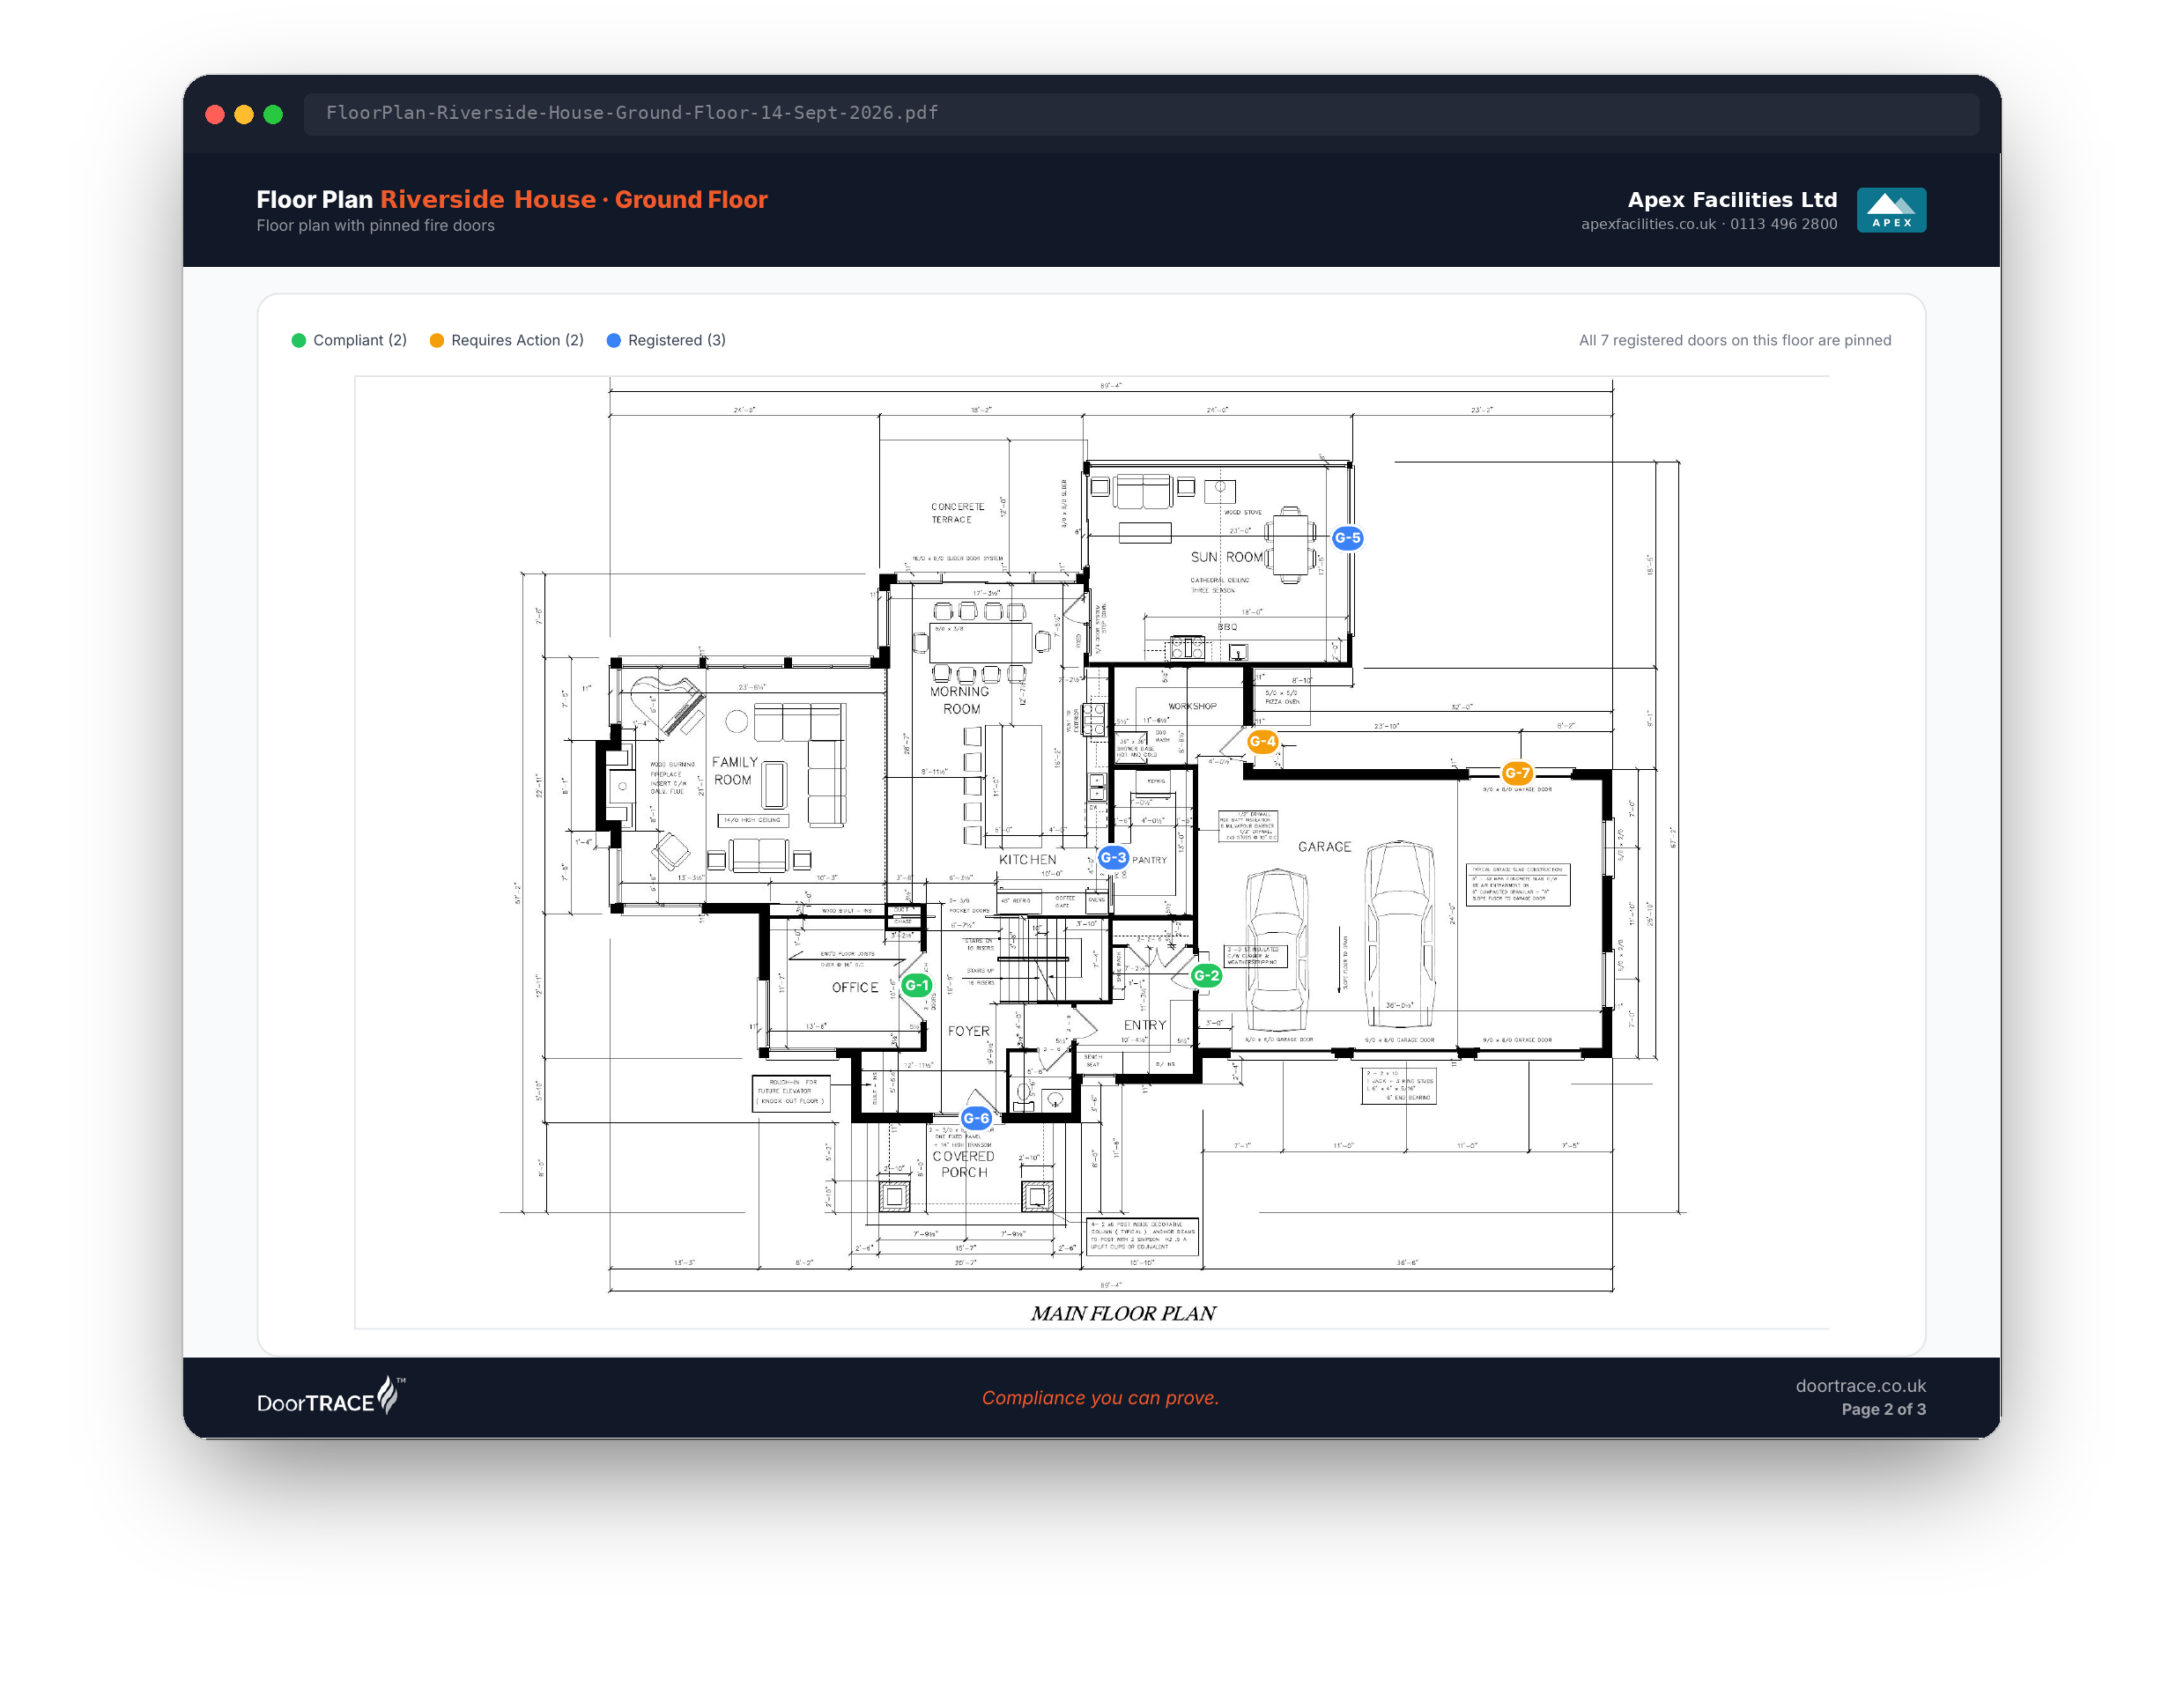
Download with pins in the header saves this floor as a PDF, named FloorPlan-<building>-<floor>-<date>.pdf. It is greyed out until you have saved your changes ("Save your changes first" when you hover) and until at least one door is pinned ("Pin at least one door first"). While the file builds the button reads Generating....
The PDF has three parts:
- A cover for the building and floor, with a tile for each status showing how many pinned doors have it, a tile for doors not yet pinned, a key explaining what each status means, and the report reference
- The plan with every pinned door drawn on it, numbered and coloured by status, and a line above it reading how many of the floor's doors are pinned
- A door key listing each pin with the door's QR code, location and status
The same button appears on the floor card on the Maps page, and Download floor plan pack there produces every floor of the building in one file (see Maps and floor plans).
If something does not work
- "<floor> has no floor plan yet. Upload one under Maps & Site Plans first." with Back to Maps & Site Plans: the plan was removed while you were away. Attach one on the Maps page, then come back.
- "This floor no longer exists": the floor has been removed since the page was opened. Go back to the Maps page.
- "The floor plan image could not be loaded": the plan file could not be read. Try again, and if it keeps happening, replace the plan on the Maps page.
- "n doors are not on this floor or no longer active. Reload the page and try again." when saving: a door in your changes was moved to another floor or de-registered while you were working. Reload the page; your unsaved changes are lost, so re-place any pins that are still needed.
- "No doors are registered on this floor yet.": the plan is attached but no door has been registered on this floor. Doors are registered by engineers in the app.
- "No doors match.": clear the search box or switch the filter back to All.
- Download with pins is greyed out: save your changes first, or pin at least one door.
What's next
With every floor pinned, print the plans for your engineers, or open Viewing a door to see a single door's history, defects and documents.
Still can't find the answer?
Send us a message and we'll help. We respond within one working day.